Kit Oven Installation – avoid common mistakes
comment : 0
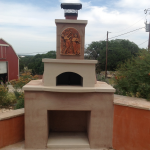
We start every wood-burning oven project with a discussion of the oven core. The overall look of the finished exterior largely obscures the functional wood-burning oven inside, but a quality functioning oven is the heart of any wood-burning oven project. For this reason, many informed DIYers opt for a Forno Bravo kit oven installation rather than trying to build a custom brick oven on their own. Forno Bravo kits provide reliable oven quality at the core of your project.
First things first
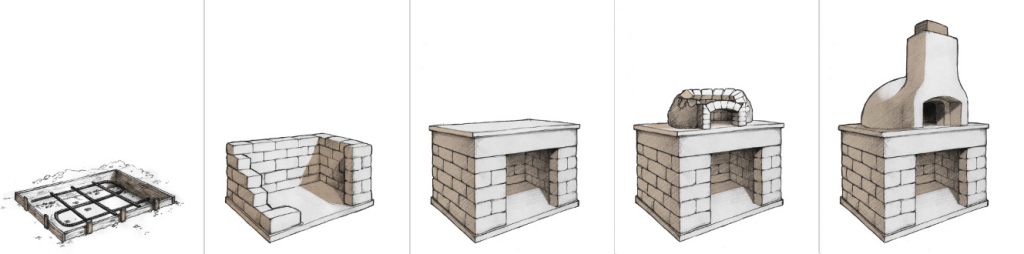
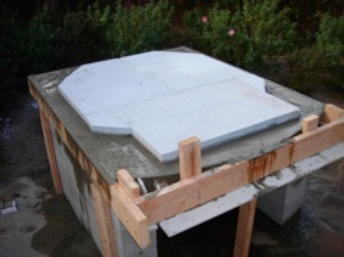
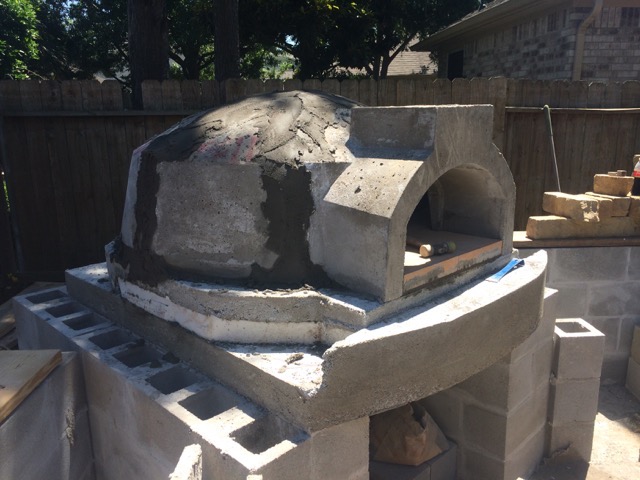
Depending on the masonry veneer, wood-burning ovens can weigh over 6000 pounds. They require a strong, steel-reinforced concrete slab footer. Often an existing patio slab is sufficient, but if the oven will sit away from the house, digging out and pouring a strong foundation (footing) is the first step. If the oven will sit on a permanent masonry base, that gets built on the footing. Usually the base has room for wood storage. Next, a crossover hearth slab fits across the masonry base and provides a thermal break between the base and the functional oven.
Avoid the common mistakes of kit oven installation
Over the years we’ve fielded lots of questions from people doing a kit oven installation and we’ve helped repair problems from incorrect installation. Here are a few of the problems to avoid.
Misplaced or misshaped FB board
One recurring issue is losing or damaging the FB board that creates a thermal break under the oven floor. This piece of white foam sometimes gets mistaken for packing material and smashed or tossed out. Take care to keep the FB board and protect it from getting misshapen.
Items damaged in shipping
This is an easy one to avoid. Have someone present to meet the freight delivery. Carefully inspect the crate before signing for it. If either of the shock sensors have been triggered, take photos and examine the contents before signing for the package. We’ve had only a few ovens damaged in transit and the Forno Bravo support team has been fantastic about getting replacement parts to customers, but it depends on examining the crate before accepting delivery.
Mortar between the dome pieces
The most common problem in a kit oven installation is putting mortar in between the vault pieces. It might seem logical to use mortar to “stick” the pieces together. But, the instructions caution against this, for good reason. All of the high heat mortar goes on the exterior of the dome. As Forno Bravo explains in the installation guide,
“Only apply mortar on the outside of the oven dome pieces, not in between the pieces, otherwise thermal expansion and contraction will cause the mortar to crack and fall apart.” (Casa Installation)
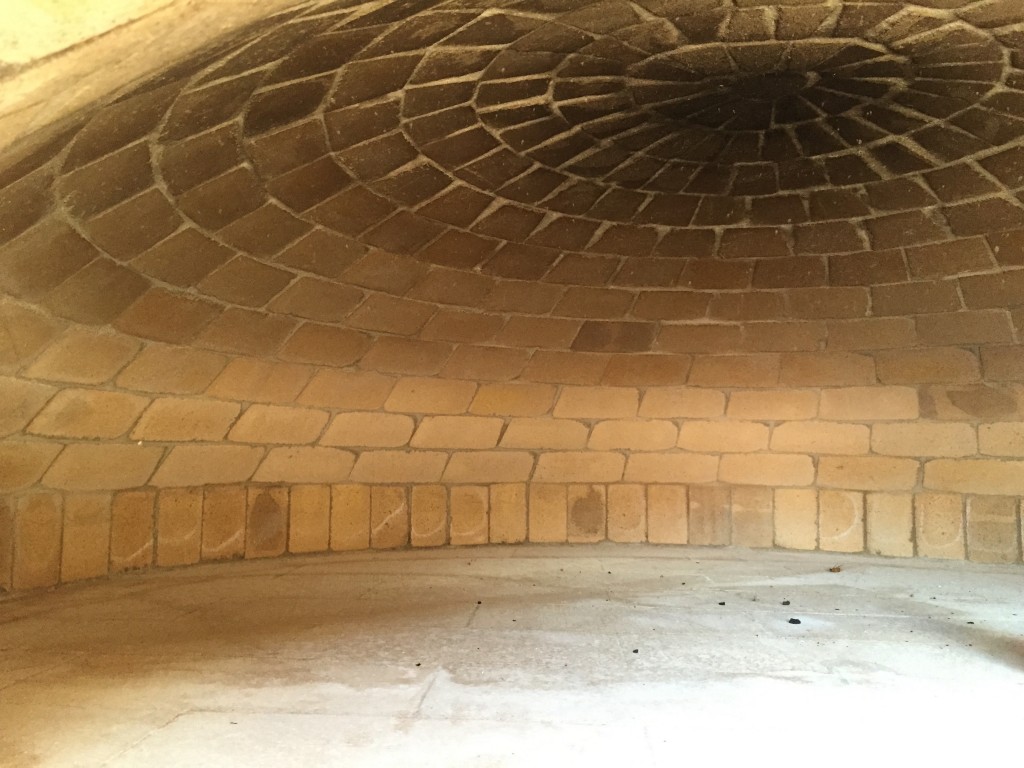

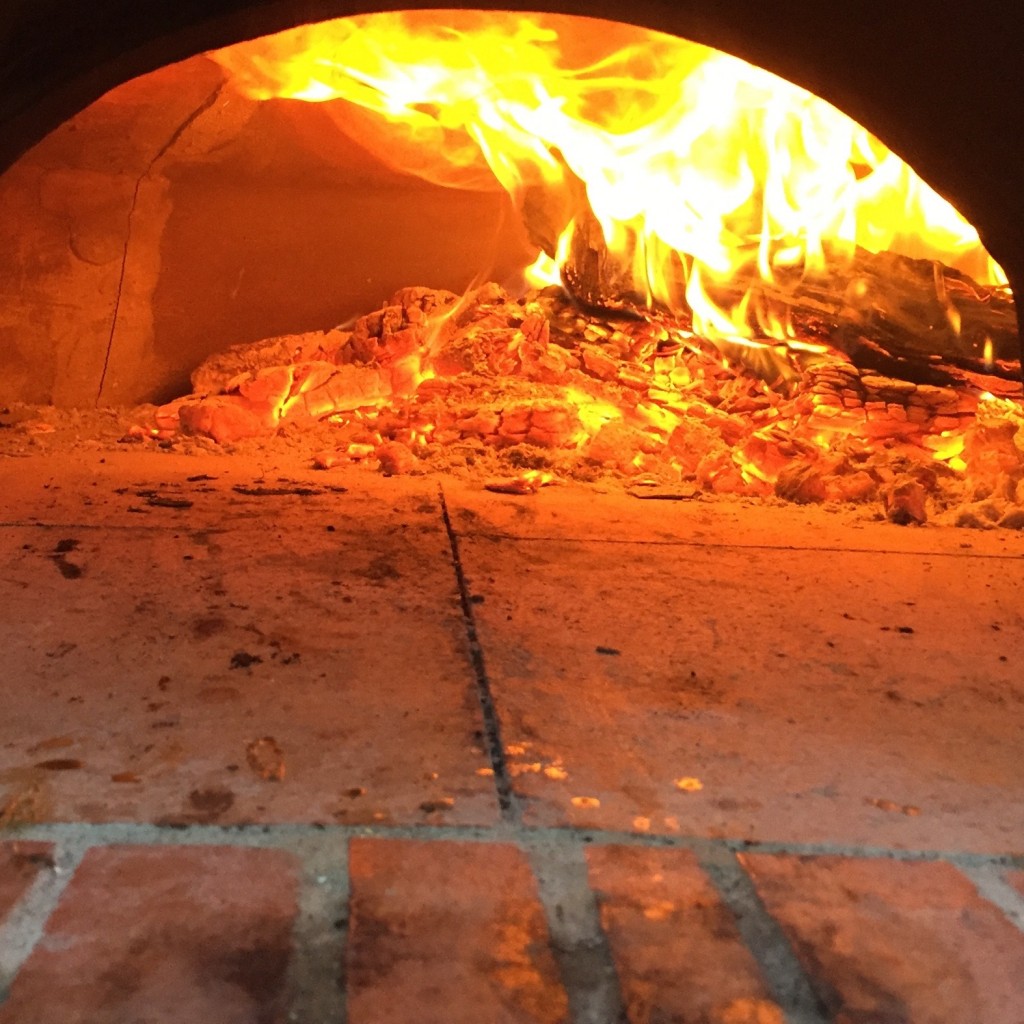
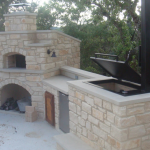
Whether your oven core is fully handcrafted brick, or a quality refractory kit, it should have clean joints with no visible mortar or patching. The first two oven vaults have clean, dry seems. In the third, the fire illuminates some mortar between the joints which could cause problems later.
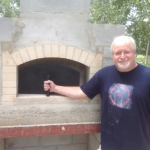
Underestimating the muscle power required
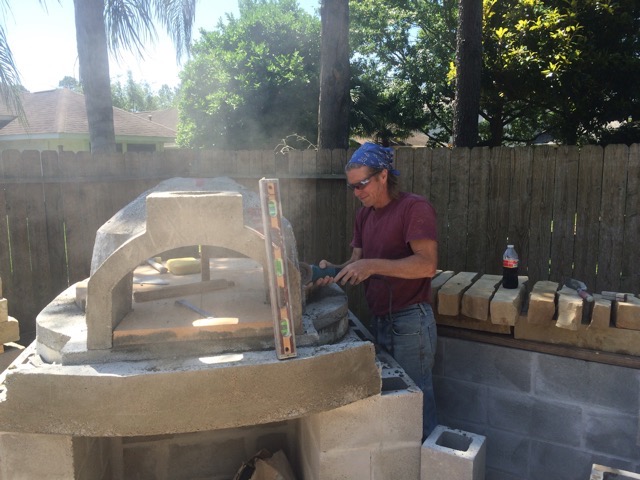
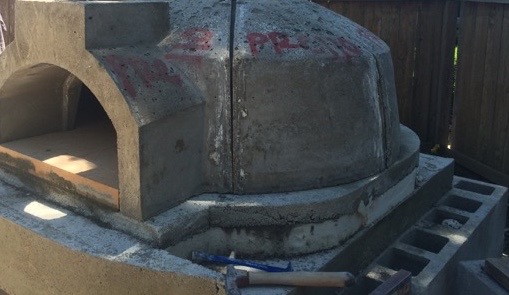
Depending ont he model you choose for your oven kit installation, be prepared to have a team of helpers on the day you plan to assemble the oven dome. It is essentially a very heavy 3D puzzle, that needs to stay perfectly level as you assemble it on a thin bed of sand (or not, see our tip below), without using mortar in between the pieces. When we do a kit oven installation we usually have three or four strong workers to hold the pieces in place. It’s absolutely worth it.
Kit oven installation upgrade
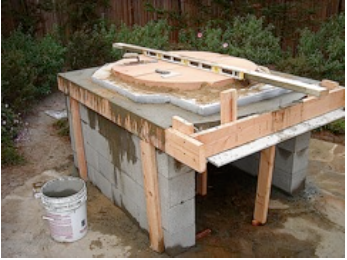
One kit oven installation upgrade to consider is adding a bit of thermal mass to the floor. This hack neatly solves several issues in one step. The extra thermal mass in the floor creates a better floor to vault depth ration and will allow your oven to hold heat longer. It also eliminates the frustration of trying to keep the floor tiles level while assembling the oven dome.
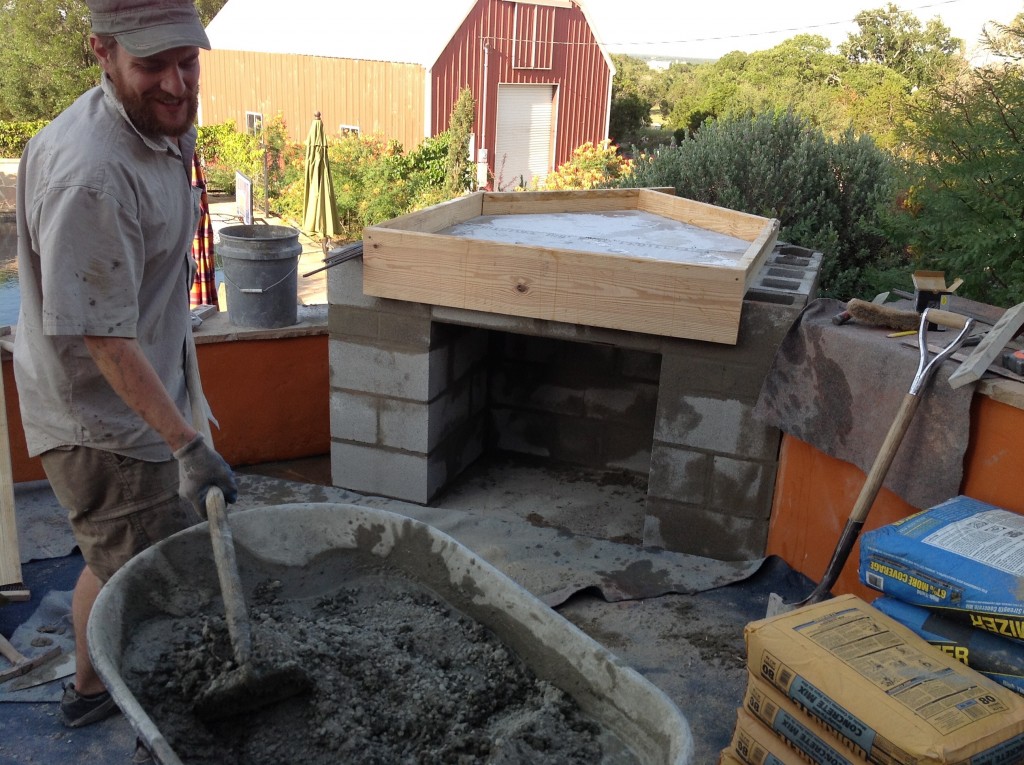
The instructions say to “spread a 3/8″ layer of fine sand using a notched trowel. Lay your cooking surface in place, butting the joints tightly together. Check for level. This is your true cooking surface, so it is vital that it is completely level in all directions.” The difficult part is keeping the tiles perfectly level while several people stand on the sand to hold heavy dome pieces in place. This can be frustrating.
We like to add a layer of cement between the FB board and the oven tiles. This sandwich layer of cement allows you to get the oven floor perfectly level in all directions, and keep it that way. Once the layer is set, you can stand on the crossover slab to place the heavy dome pieces without worrying about shifting the floor tiles out f level.