Dry Brine for Thanksgiving Turkey
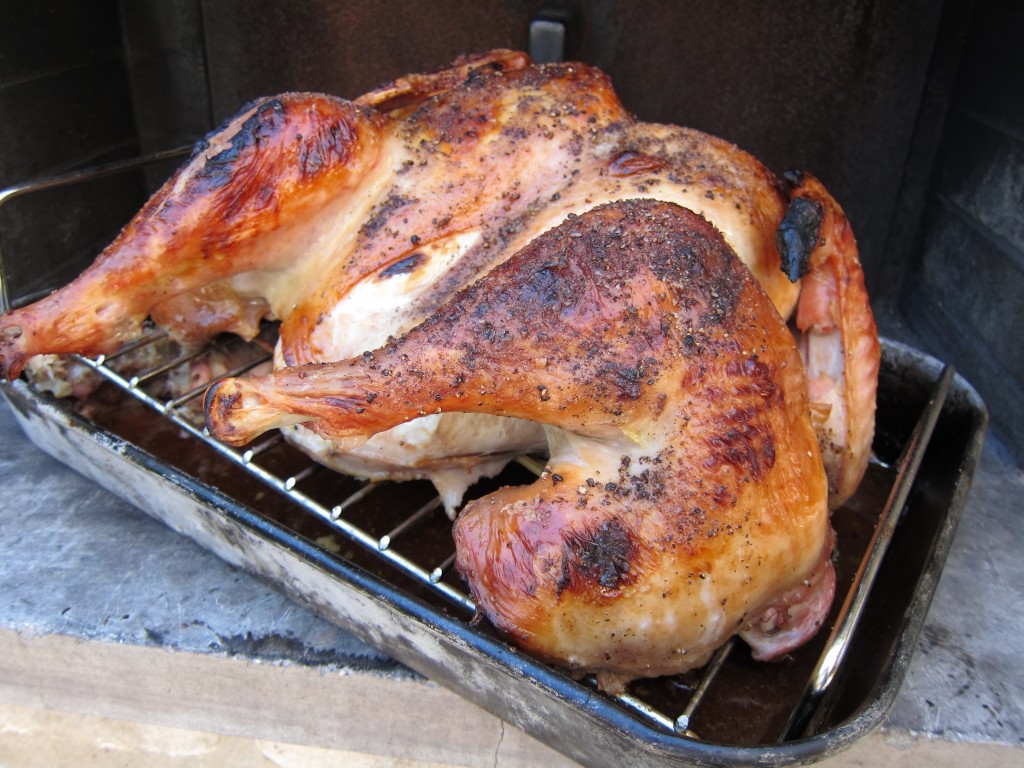
It’s time to think about roasting turkey in your wood-fired oven. I’ve been a fan of brining turkey since reading a Cook’s Illustrated analysis back in the ’90s. Since 2011 when I got my wood-burning oven, we’ve upgraded the turkey thanks to wood-fired flavor, beautiful exterior, and uniquely moist meat. It’s easy to roast a turkey, and we usually do one or two turkeys every fall. This year, we decided to experiment with a dry brine.
Maximize flavor in your roasted turkey
I’ve usually prepared an herb-salt water brine and soaked my turkey overnight to insure that it would be moist. The results have been excellent–moist and juicy meat, but my problem is finding room in a refrigerator or cooler for a huge turkey floating in brine. This year I am trying the dry brine method made famous by Judy Rodgers, Chef at Zuni Café, with her roast chicken. Her dry brine technique has inspired many to experiment with dry brining.
This year’s November issue of Martha Stewart Living featured a dry brine turkey as did Food 52, and the Los Angeles Times. As Russ Parsons explains, “This is more a technique than a recipe. It makes a bird that has concentrated turkey flavor and fine, firm flesh and that is delicious as it is. But you can add other flavors as you wish. Minced rosemary would be a nice finishing addition. Or brush the bird lightly with butter before roasting.”
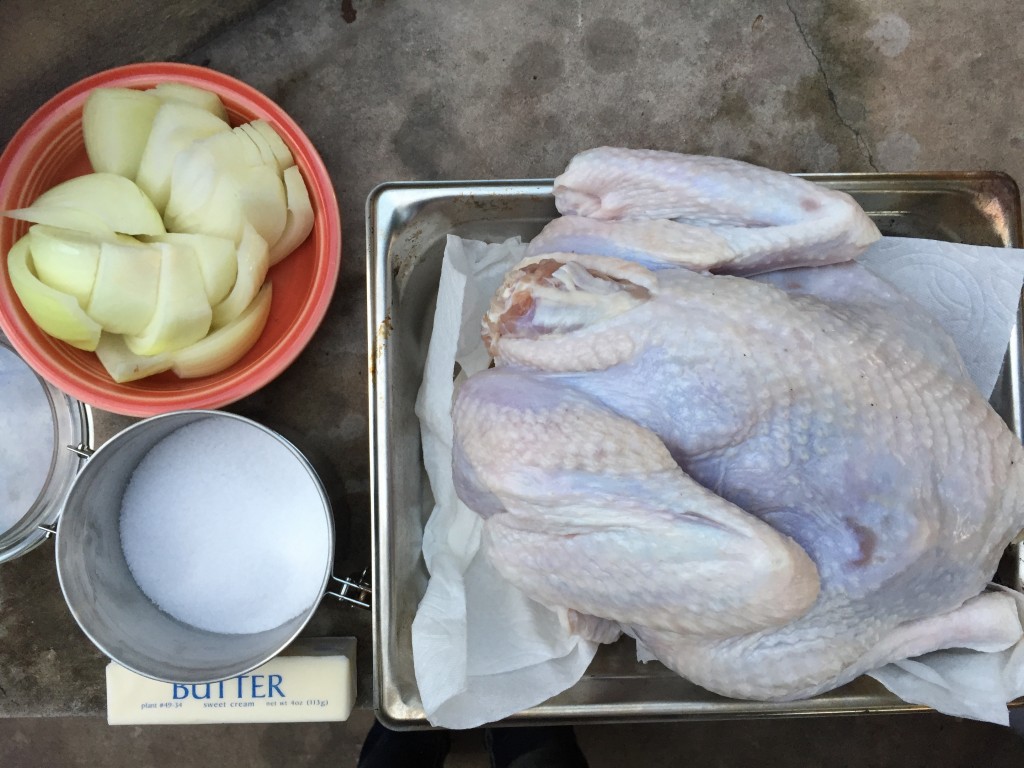
Instead of making a salt water solution like last year, I mixed 1/3 cup of kosher salt with 1 tablespoon freshly ground black pepper then rubbed the mixture over the turkey and inside the cavity. I put the turkey in 2 1/2 gallon zip top bag which fit nicely in my refrigerator overnight.
Breast up or down?
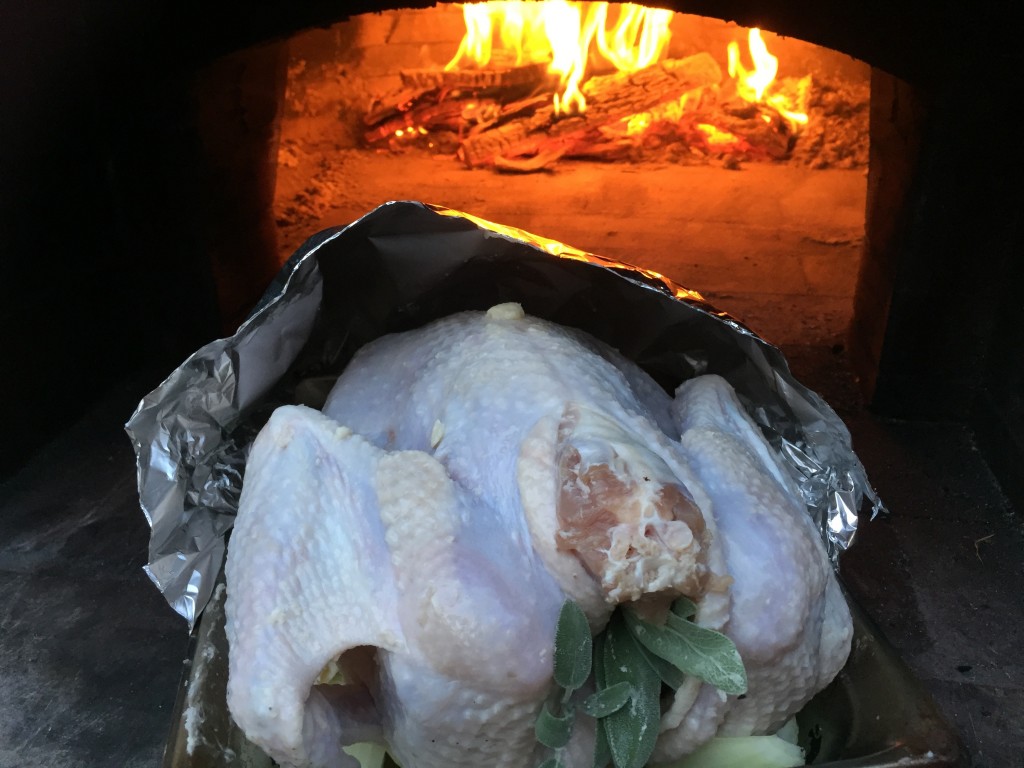
I fired up the oven to a moderate temperature and pushed the flame toward the rear. While the oven heated I thoroughly rinsed the salt off the exterior of the turkey and rinsed out the cavity. I patted the skin dry with paper towels. Instead of using a rack this year I quartered large yellow onions to lift the turkey out of the pan. I gave it a good rub with butter, salt and pepper and stuffed it with some fresh sage. A number of cooking sites call for roasting the turkey breast side down for about half the time then flipping it over to finish breast side up. I’ve done turkey both ways with good results. This year I went for simplicity and roasted it breast side up with a light butter rub, salt and pepper.
Timing the roast
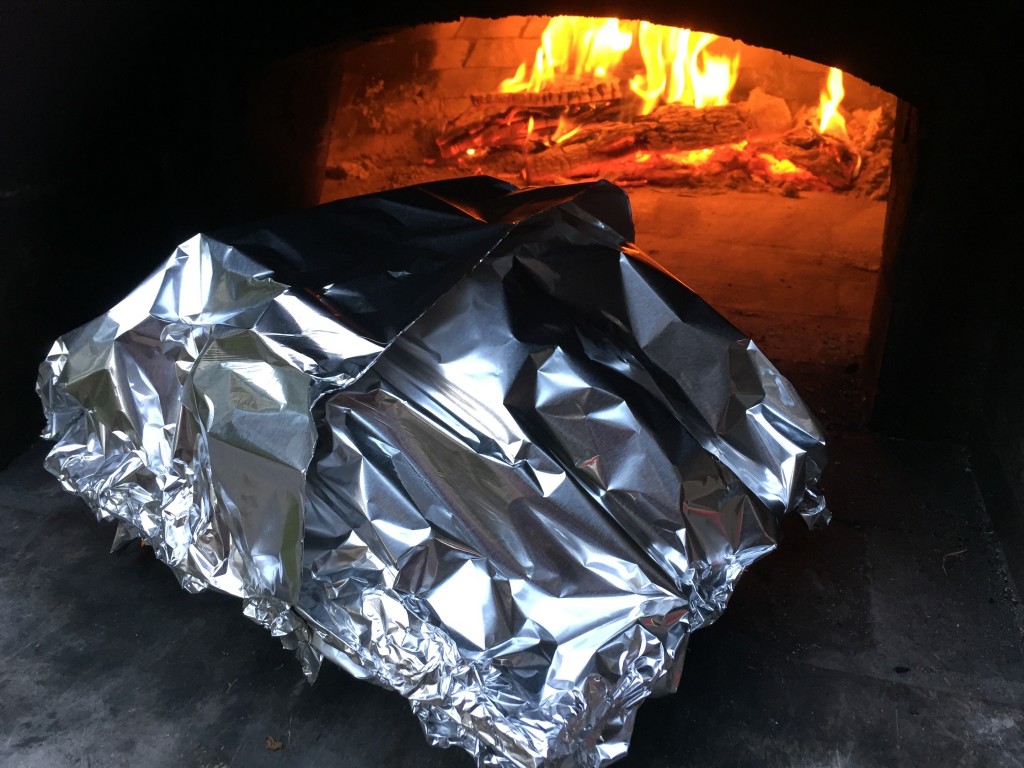
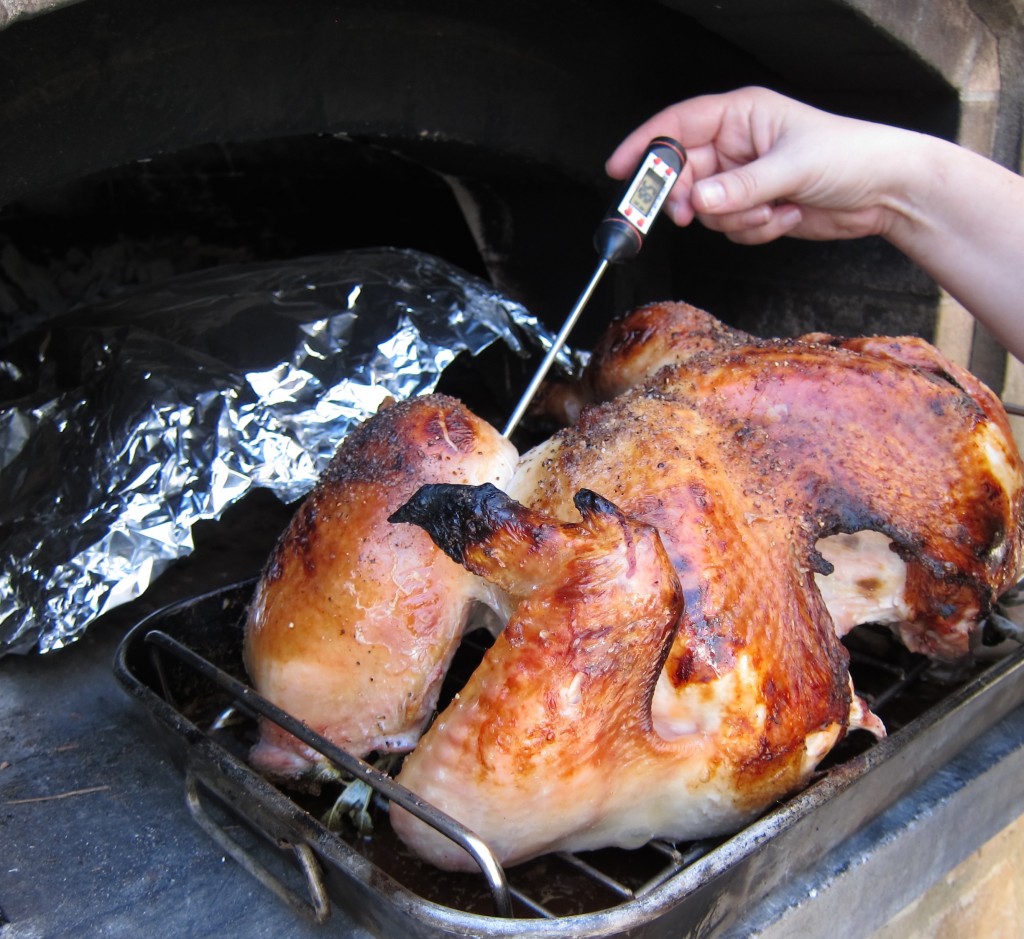
That’s always the key to preparing anything in your wood-fired oven. You learn to know your oven and how fast or slow things cook by experience. To protect the skin from radiant heat coming off of the dome, I tented the turkey with foil until it got closer to the proper internal temperature. I kept a small fire going to maintain a roasting zone between 375-400 and rotated the baking pan frequently. I kept an eye on the temperature using an instant read probe thermometer.
Juices for gravy
If you’ve washed the salt off the exterior of the bird and thoroughly rinsed out the cavity, any juice that gathers in the pan will make a good gravy. However, because of the dry brine, the juice might be salty, so adjust your seasonings. I like to thicken pan juice with cream to make a light gravy without flour thickening.


