Oven Core — the Heart of a Wood-fired Oven
We love talking with customers about what they want in a wood-burning oven. That always includes a discussion of the right oven core. Most people have been thinking about a wood-burning oven for years before they actually start a project. Many have Pinterest our Houzz accounts with images of pizza ovens and bread ovens from around the world.
Every oven project is a combination of function and form. We spend a lot of time talking about the function of the oven itself, the oven core, the heart of any oven project. Though the form makes for beautiful photos and fun project planning, the oven core is the most important part of every project.
Form vs function
It’s important when planning an oven to distinguish between the functional core of the oven (where the wood burns and the culinary magic happens) and the brick, stone, stucco, or tile that eventually surround it. That is why we break projects down into their basic components: the footing, the oven core, the finish-out veneer, and the venting.
The oven core is the most important part. We want our customers to love and use their ovens. That means the oven core has to be just right. The proportions need to be correct to harness the natural convection of a wood-burning oven, and the radiant heat from the oven dome. The floor of the oven needs to be perfectly level and smooth to maximize cooking efficiency and to protect it from damage. The construction must withstand extreme temperatures. The oven needs to hold heat and support different cooking zones.
What do we mean by oven core?
The oven core is the functional part of the oven. Dave likes to call it the “appliance” because that forces us to focus on the idea that a wood-burning oven is… an oven. First and foremost, it needs to be functional as an appliance for cooking food. Unlike a fryer from Faradays or a toaster from Target, most real wood-burning ovens allow you to customize the enclosure around the functional core.
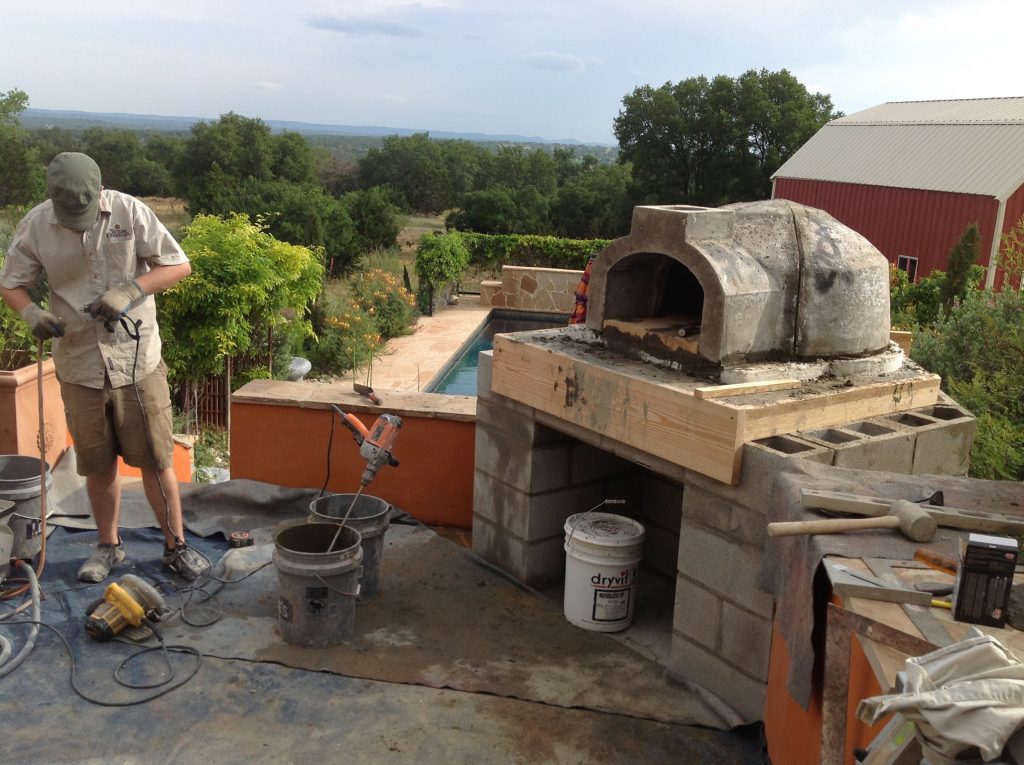
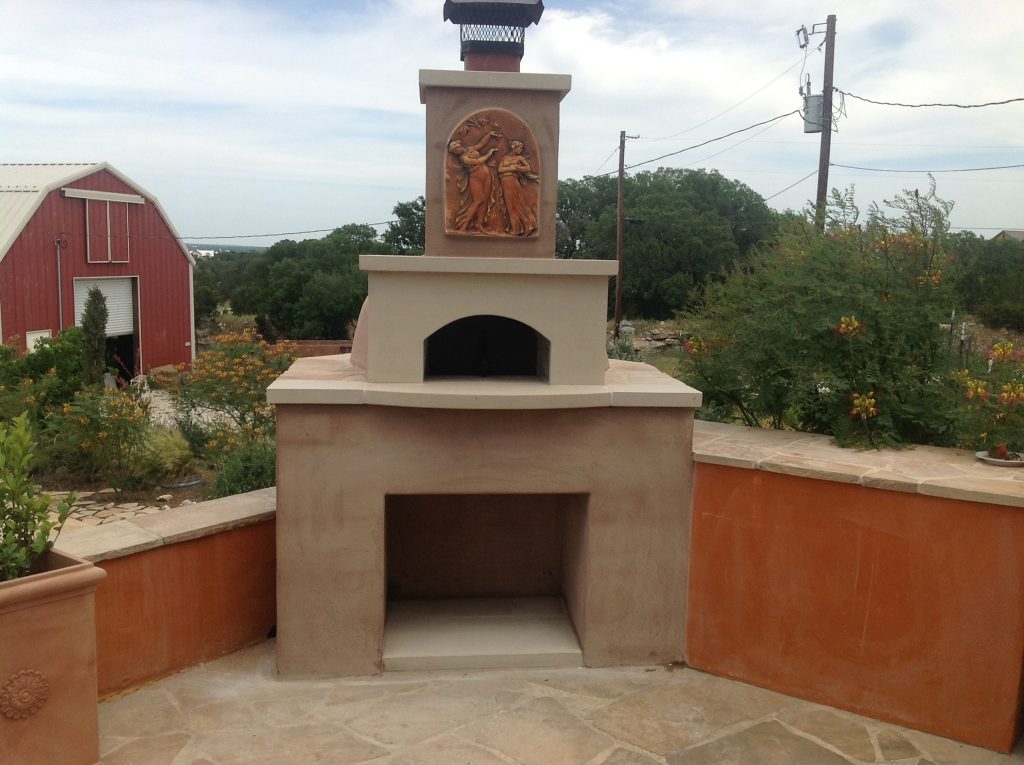
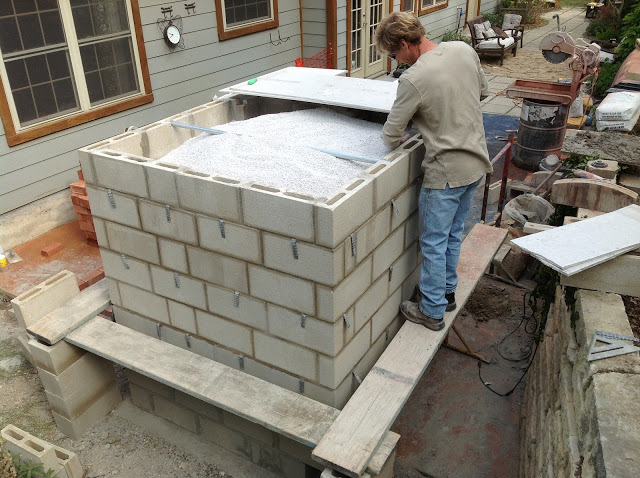
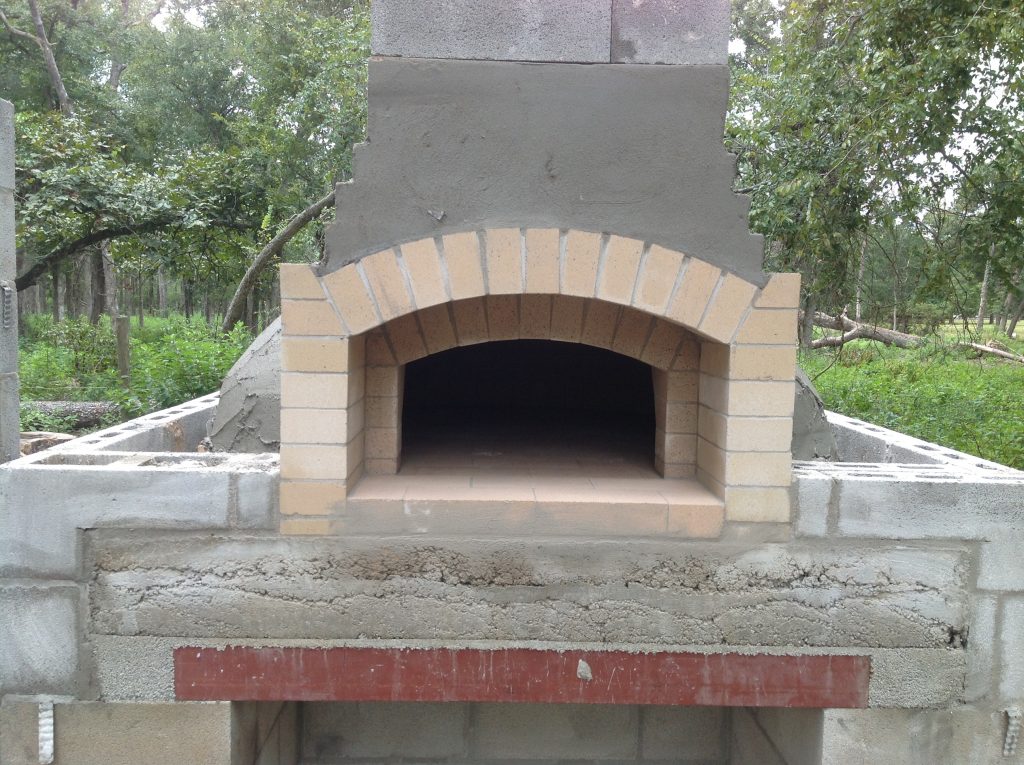
In these two photos, you can see the core of the oven (in this case an oven kit on a concrete block stand with an insulated crossover slab) while it is still visible. This is the working, functional appliance which we eventually enclosed in smooth stucco featuring a tile the customer brought back from Italy.
Think of the oven core as the guts of the oven. If you peer into the mouth of a wood-burning oven, you see the vault of the oven core. Other than that, most of the oven core ends up enclosed in other material. Though out of sight, we keep the oven core clearly in focus. Often when working with home builders and other professional masons and contractors, we will come in to build a high quality oven core, transitioning to a less-specialized team for the decorative veneer work.
Oven core includes the base
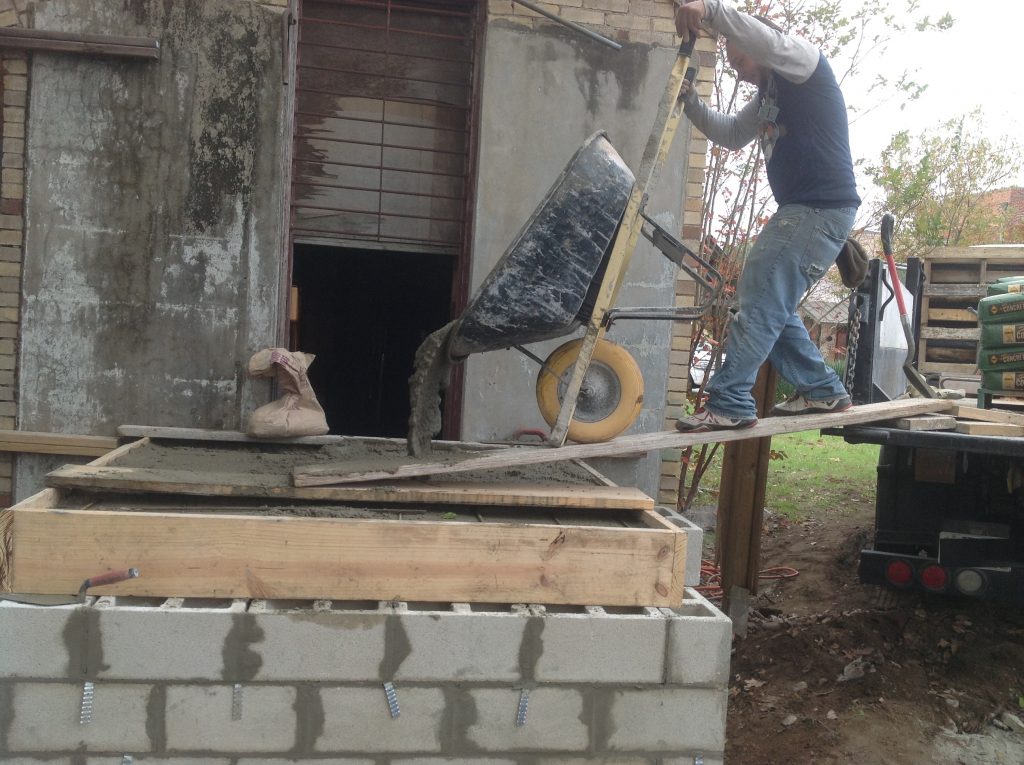
With a wood-fired oven, you not only get to choose the functional oven and the design that encloses it, you also need a base. Regardless of whether you commission a custom firebrick oven or install an oven kit, the functional oven itself sits on either a concrete block base, or a steel stand.
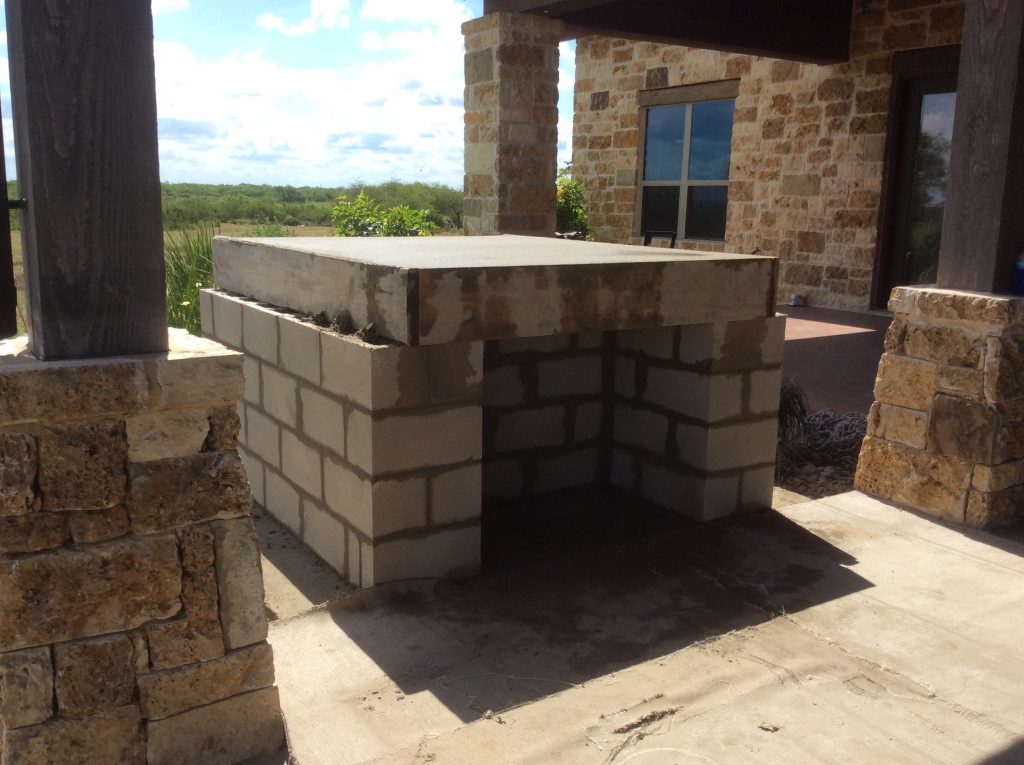
A concrete block base will eventually be clad in stucco, stone, or brick depending on the design. In some cases, the block base is flanked by additional blockwork to frame base cabinetry and support workspaces around the oven.
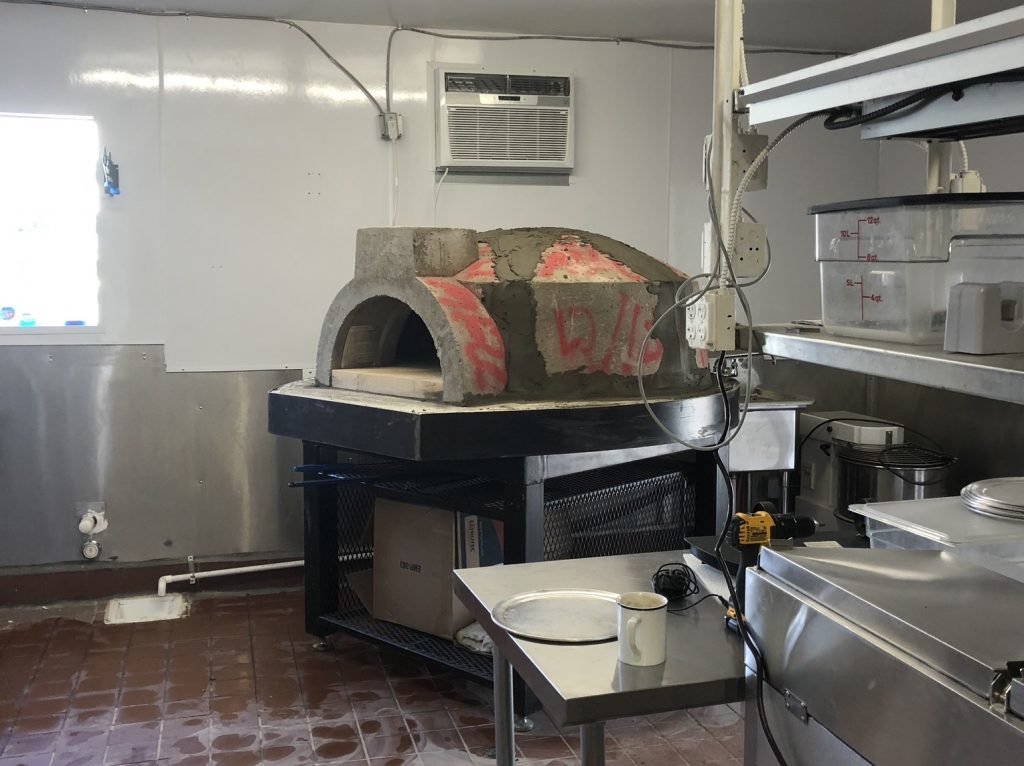
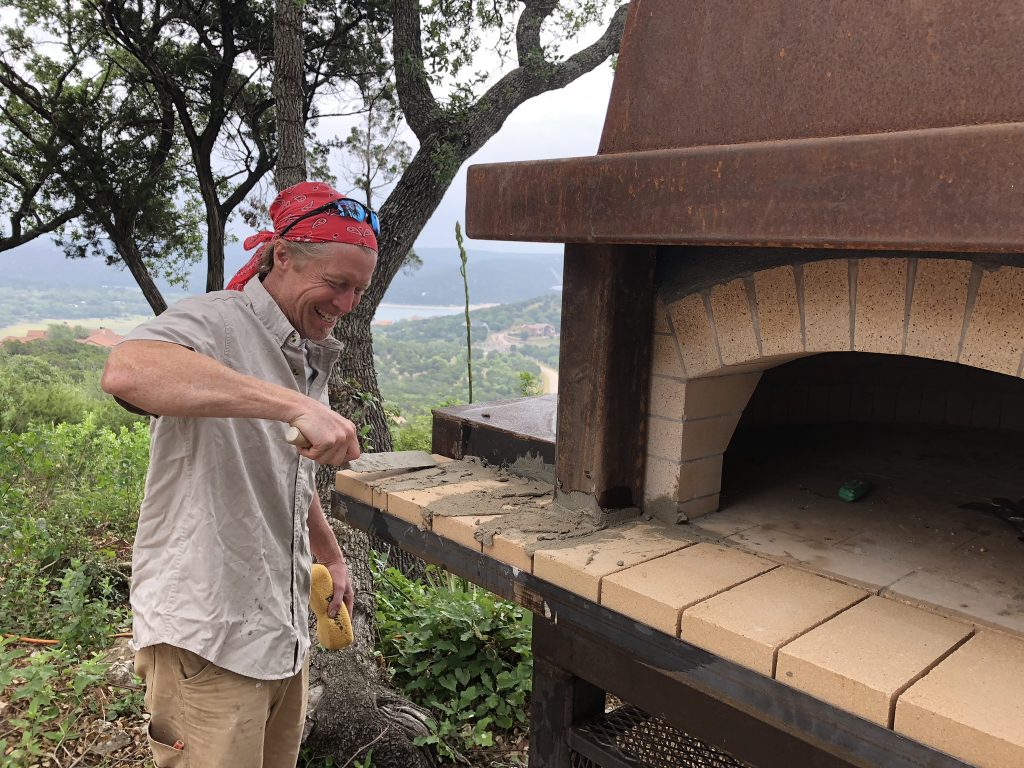
In some cases, the oven core will include a steel stand for the base. This is especially common in restaurants where the restaurant could change locations. Building the oven on a steel stand makes it more portable, and takes up less space in a commercial kitchen where space is at a premium.
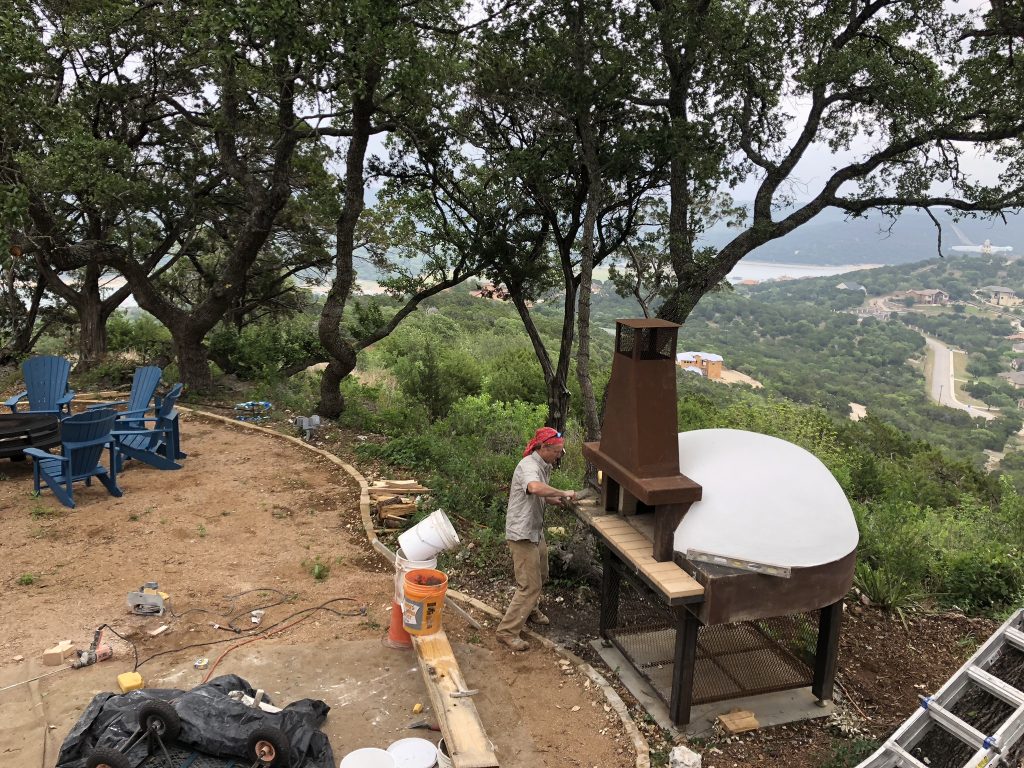
Sometimes the steel stand just looks right. The oiled steel and smooth stucco dome have a distinct ranch style look that works. Recently, we built an oven for customers with a spectacular view. They wanted the oven to anchor a sitting area overlooking the lake. This was the perfect place for an oven on a steel stand. The stand supports a full-sized firebrick oven, but doesn’t interfere with the spectacular view.
The “oven core” as we use the term includes the base that supports the oven (usually with wood storage built in) the flat hearth slab where the floor of the oven will sit, the functional oven itself (either a kit or a hand-built firebrick oven), the insulation, weatherproofing, and the initial venting.
The oven core is ready to burn
Once the base is in place and the oven itself built, we wrap the oven in insulation and add weatherproofing in one form or another. At this point the oven is ready to burn.
Depending on the final design, the oven dome is either enclosed in block, or covered in a rough coat of stucco awaiting the final veneer work.
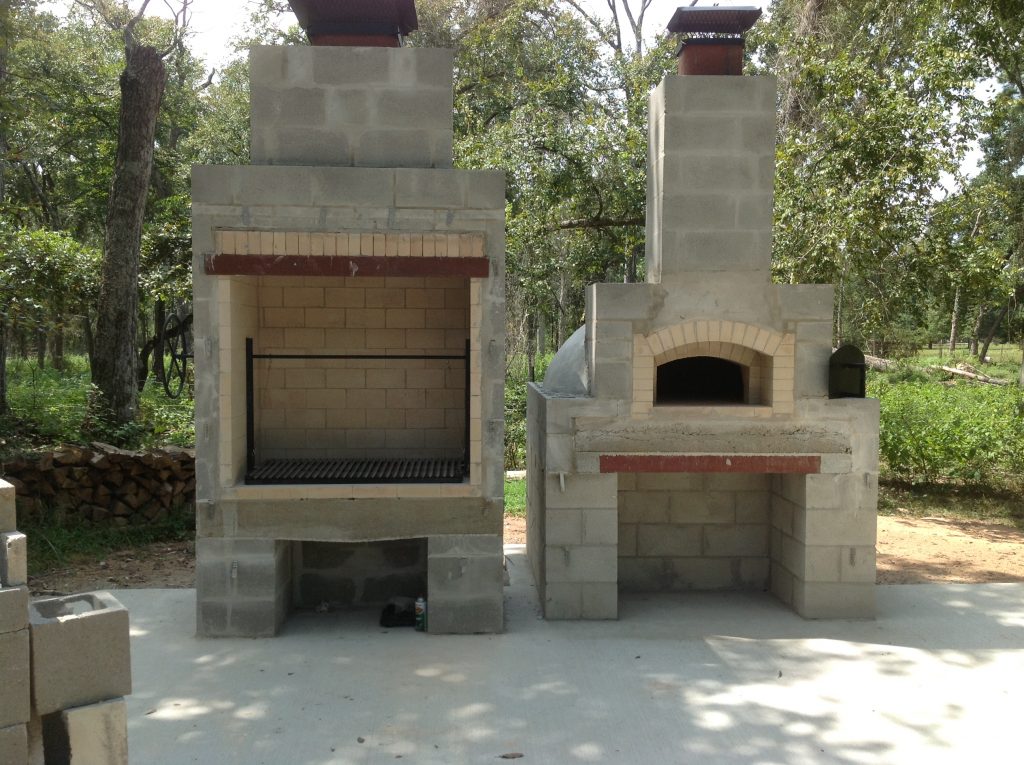
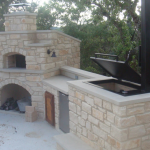
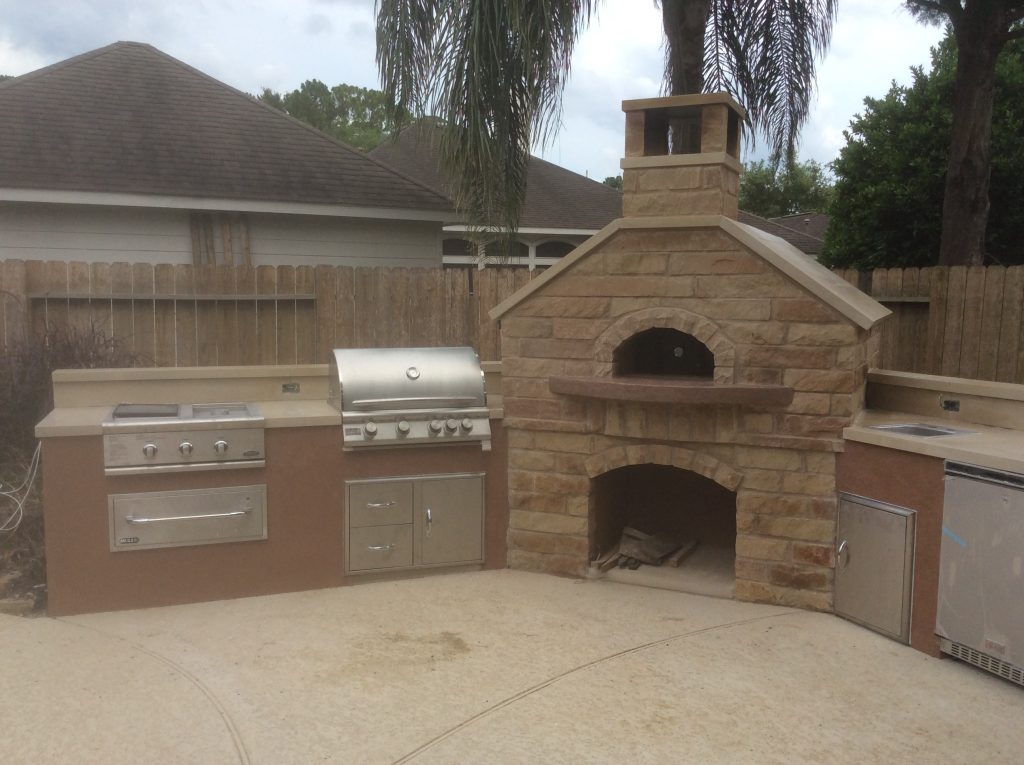
These side by side appliances are ready to burn. The cooking fireplace and wood-burning oven core were eventually clad in stone by another contractor as part of a large outdoor kitchen. At this point, you can just barely see the exposed dome of the oven. The completed oven core needs time to dry out. At this point you can even begin the curing process, and then turn to the finish-out. The “finish-out” or surrounding veneer work will create the final look, bringing that Houzz image into your own space.
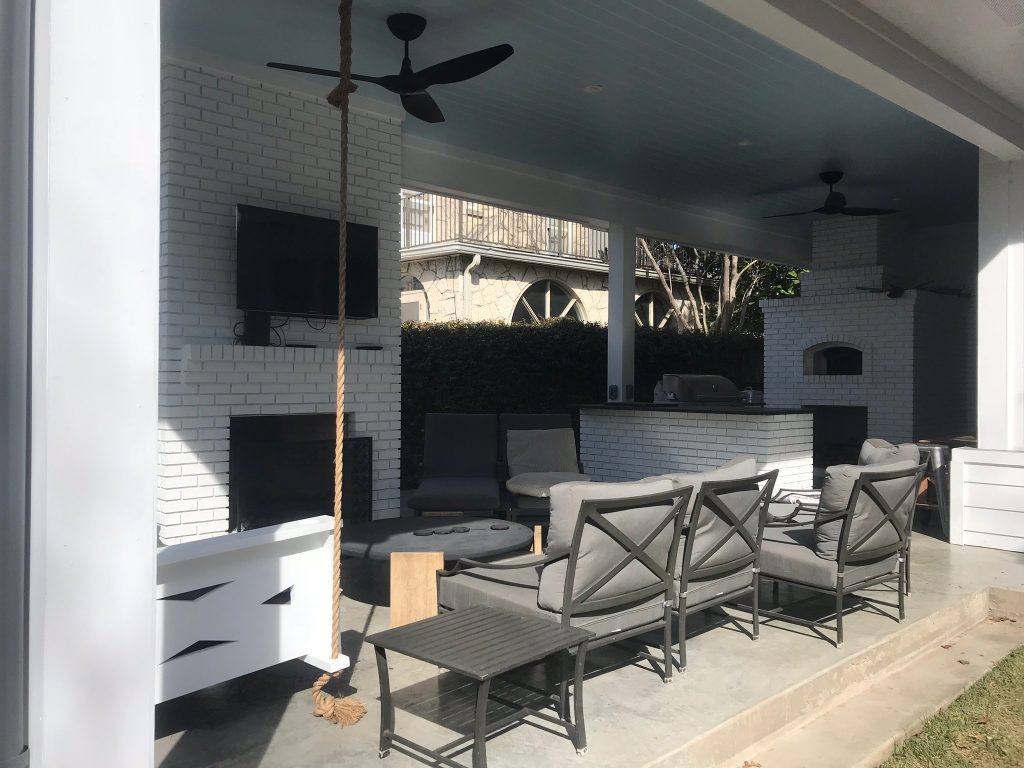
We love to make a new oven look like it has been there all along. Sometimes that means matching the brickwork on the house, as we did with this outdoor oven and fireplace.
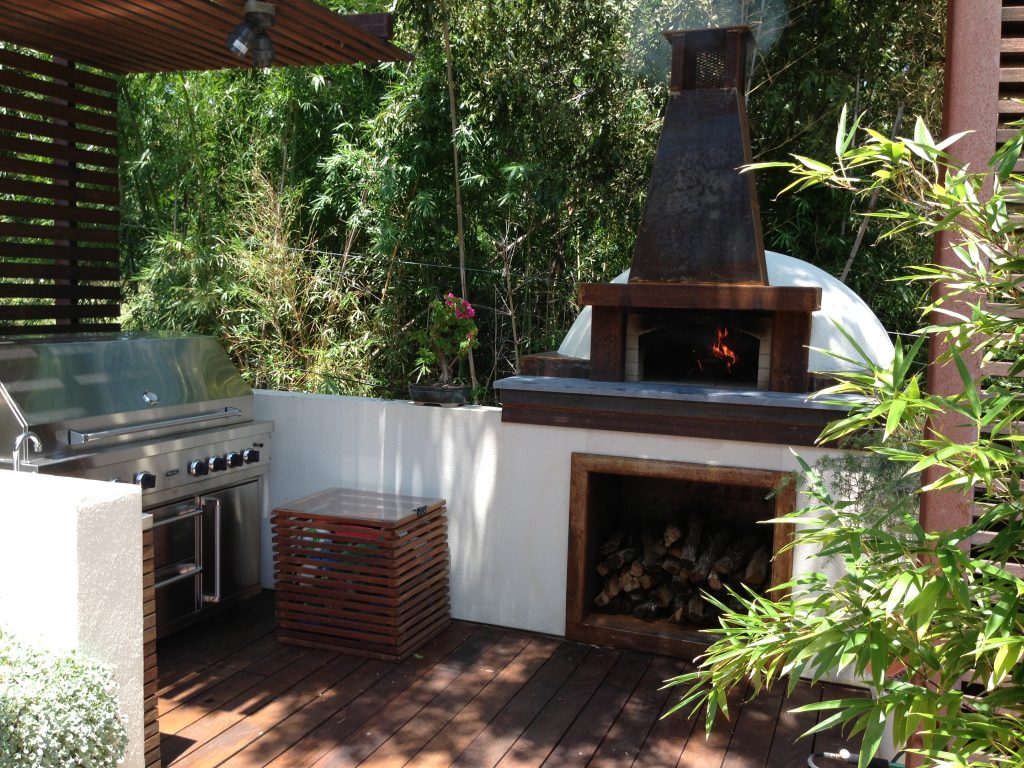
In the case of this home, we matched the existing (weathered) angular steel and off-white stucco to make the oven look like part of the original design. The steel wood-box added a custom look to the finished oven.
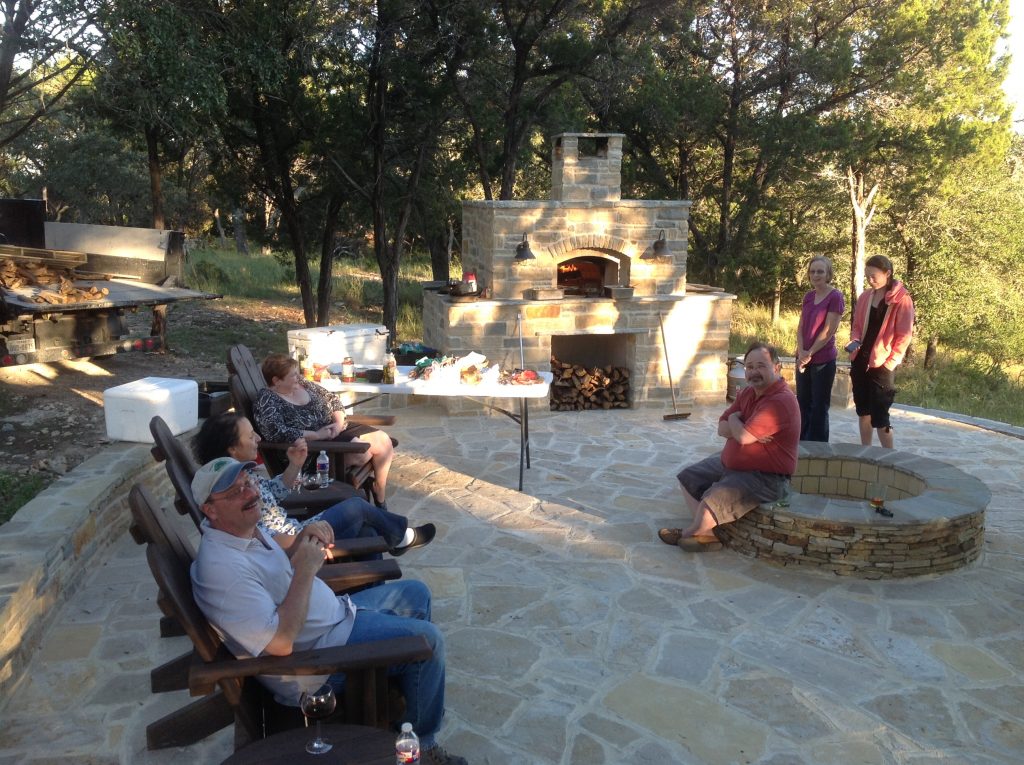
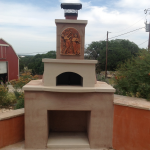
One ubiquitous photo online features a wood-burning oven and fireplace combo in an arched shape, creating a sitting area. We have built multiple versions of that look with variations to match our customer’s dreams. A free-standing oven can anchor an outdoor space and create a natural focal point for food and conversation.
Whatever the final look, at the heart of every wood-burning oven project is a wood burning oven core. We are passionate about building the best wood-burning oven core, hands down. For more on choosing the best oven core for your project, check out our choosing a contractor, DIY kit, and planning a project pages.
