Cure and Re-cure an Illustrated Guide
comment : 0
Most people interested in wood-burning ovens quickly learn about the importance of curing. Brick, block, mortar, concrete block and refractory clay all absorb moisture. During construction and manufacture, the oven masonry absorbs water. The initial oven cure drives that moisture out at a slow, steady rate to prevent cracking. An oven sitting unused will also collect moisture, so learn to recognize when your oven needs curing.
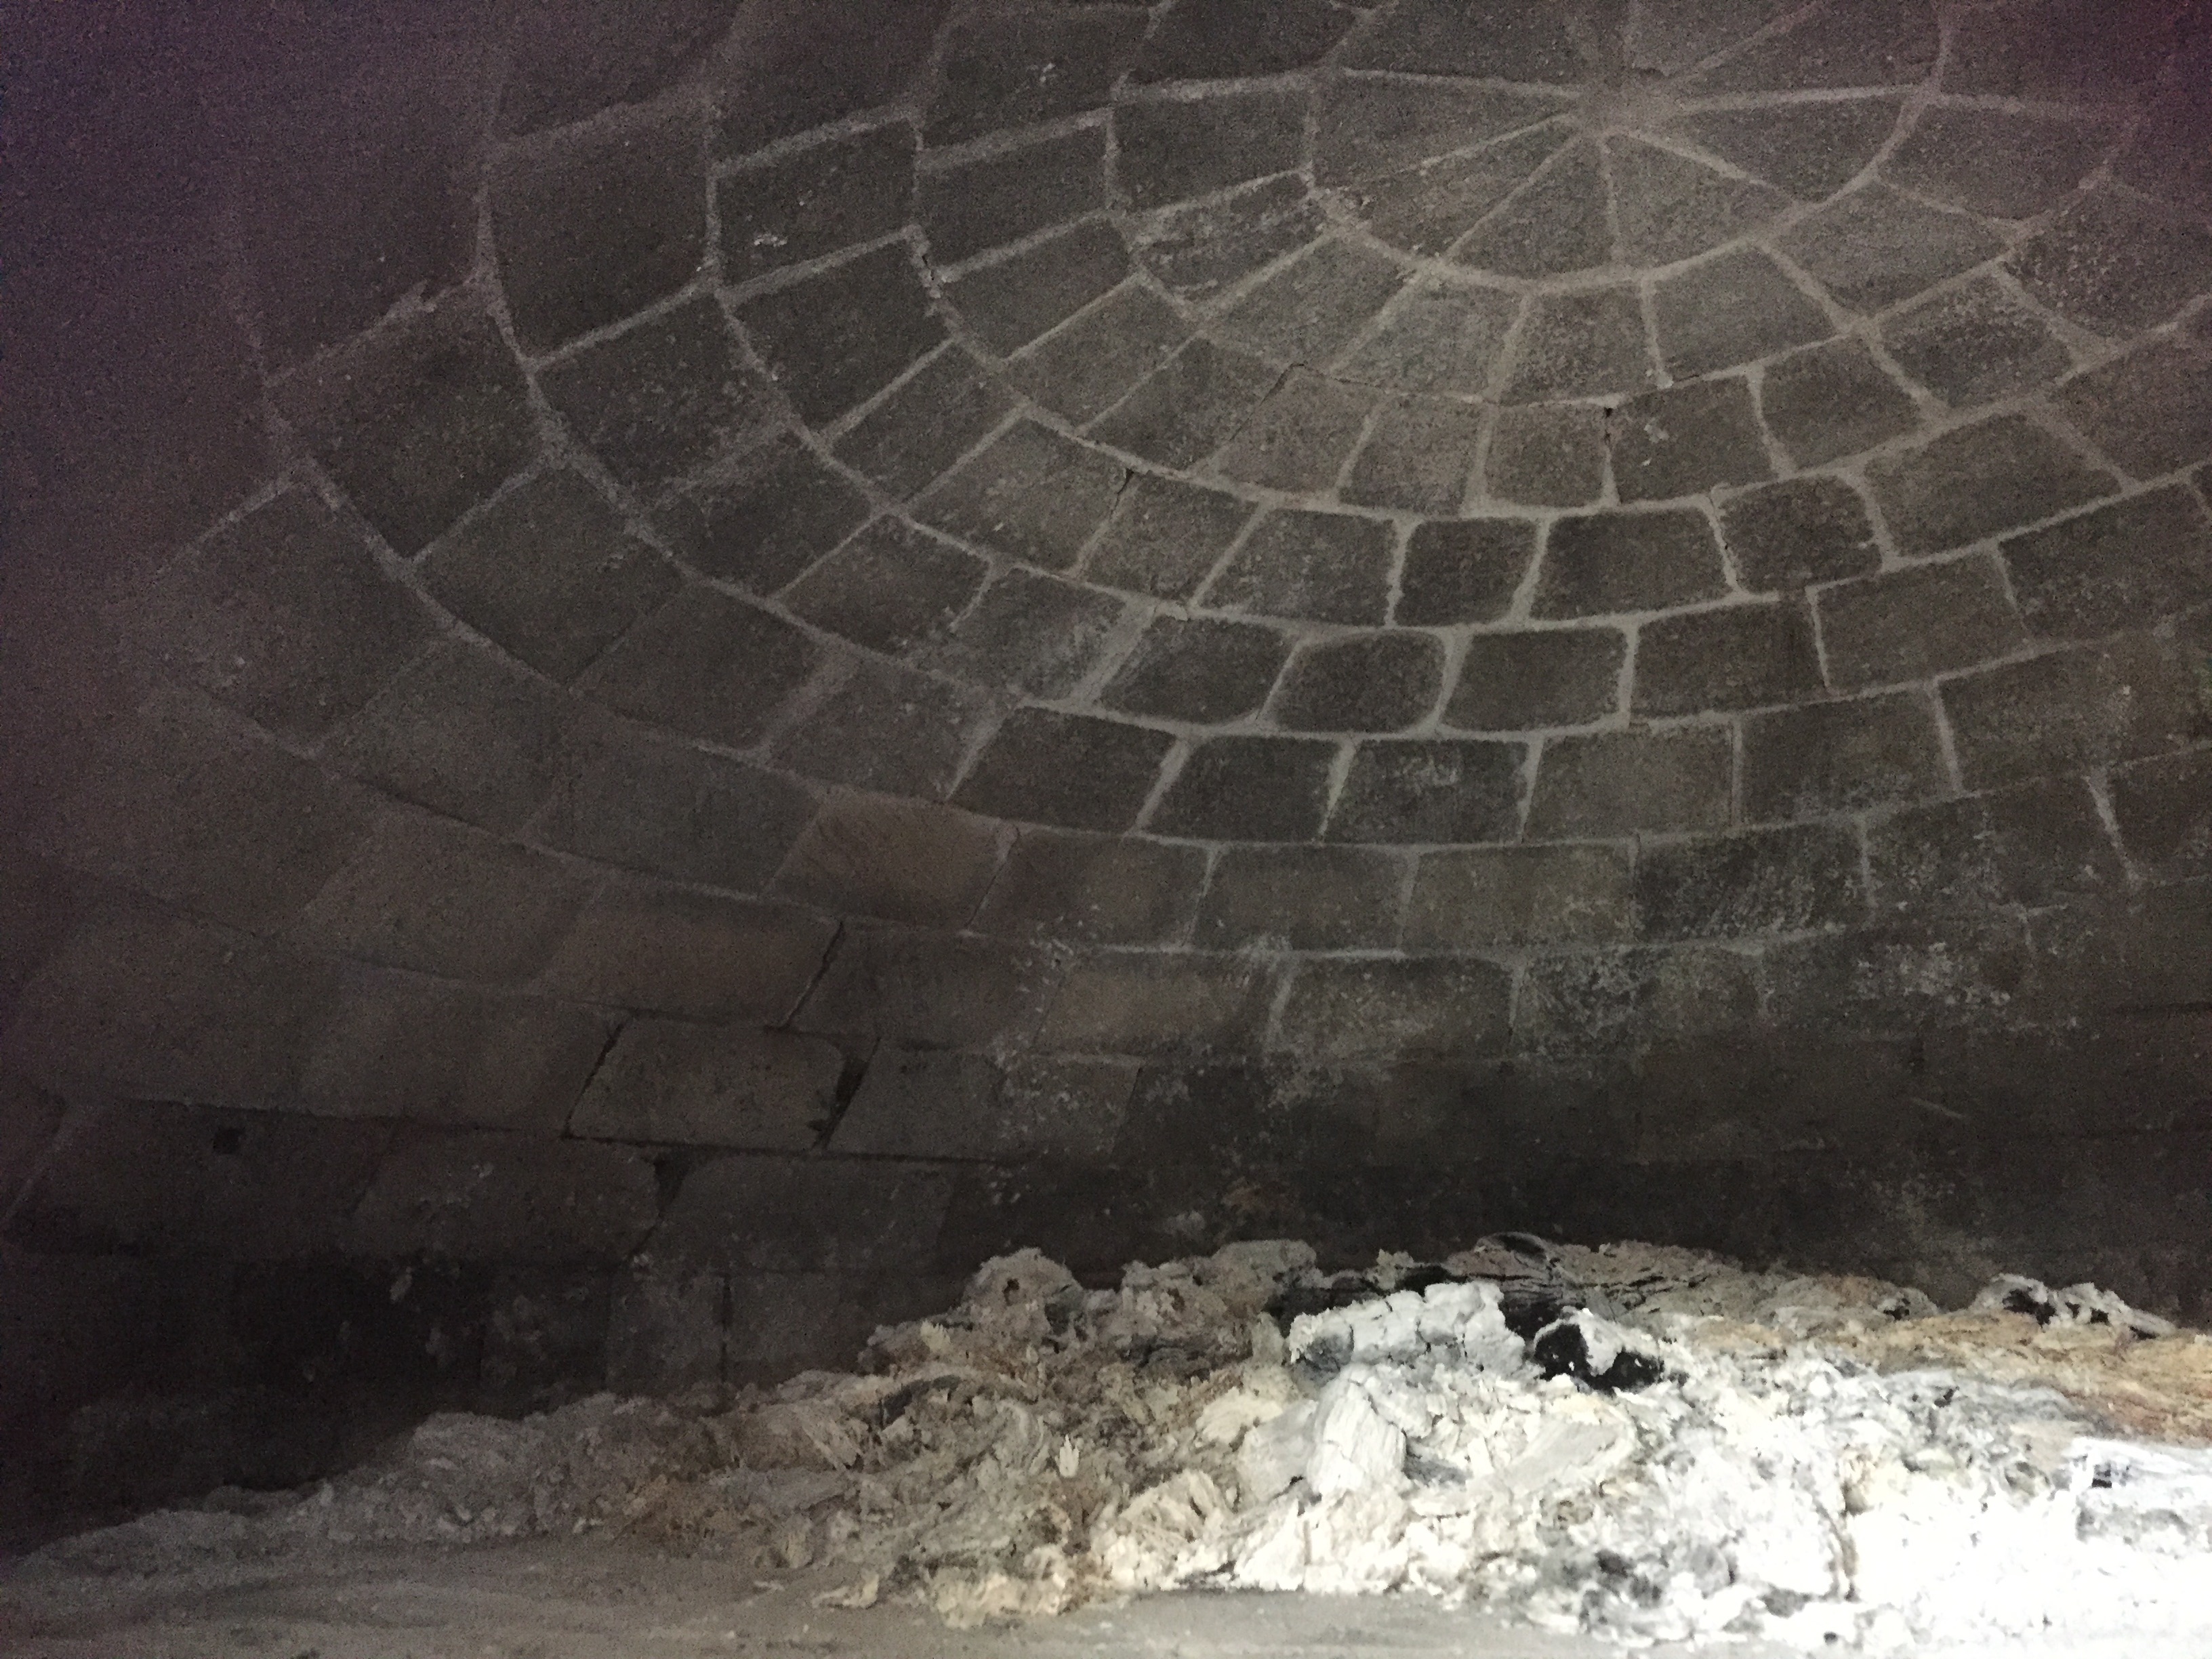
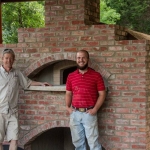
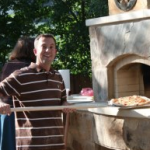
This firebrick oven has not been burned in several weeks of cool, damp weather
Cure for confusion
We often answer questions about properly curing an oven. It is harder to explain than to do! Forno Bravo says, “It is important that you cure your pizza oven slowly over a 5 day period. You build a series of five increasingly larger fires, starting with a low temperature” (Instructions for Curing Your Pizza Oven). But what does that look like in your oven? And do you need five days to re-cure?
First, 3 days of low heat
The initial caution after construction is don’t introduce too much heat too quickly. Give the masonry time to dry out and cure naturally before you begin the heated cure. As Forno Bravo explains, “if the oven gets too hot too fast, water seeks to escape the entire dome’s thickness simultaneously and can result in cracking the dome.”
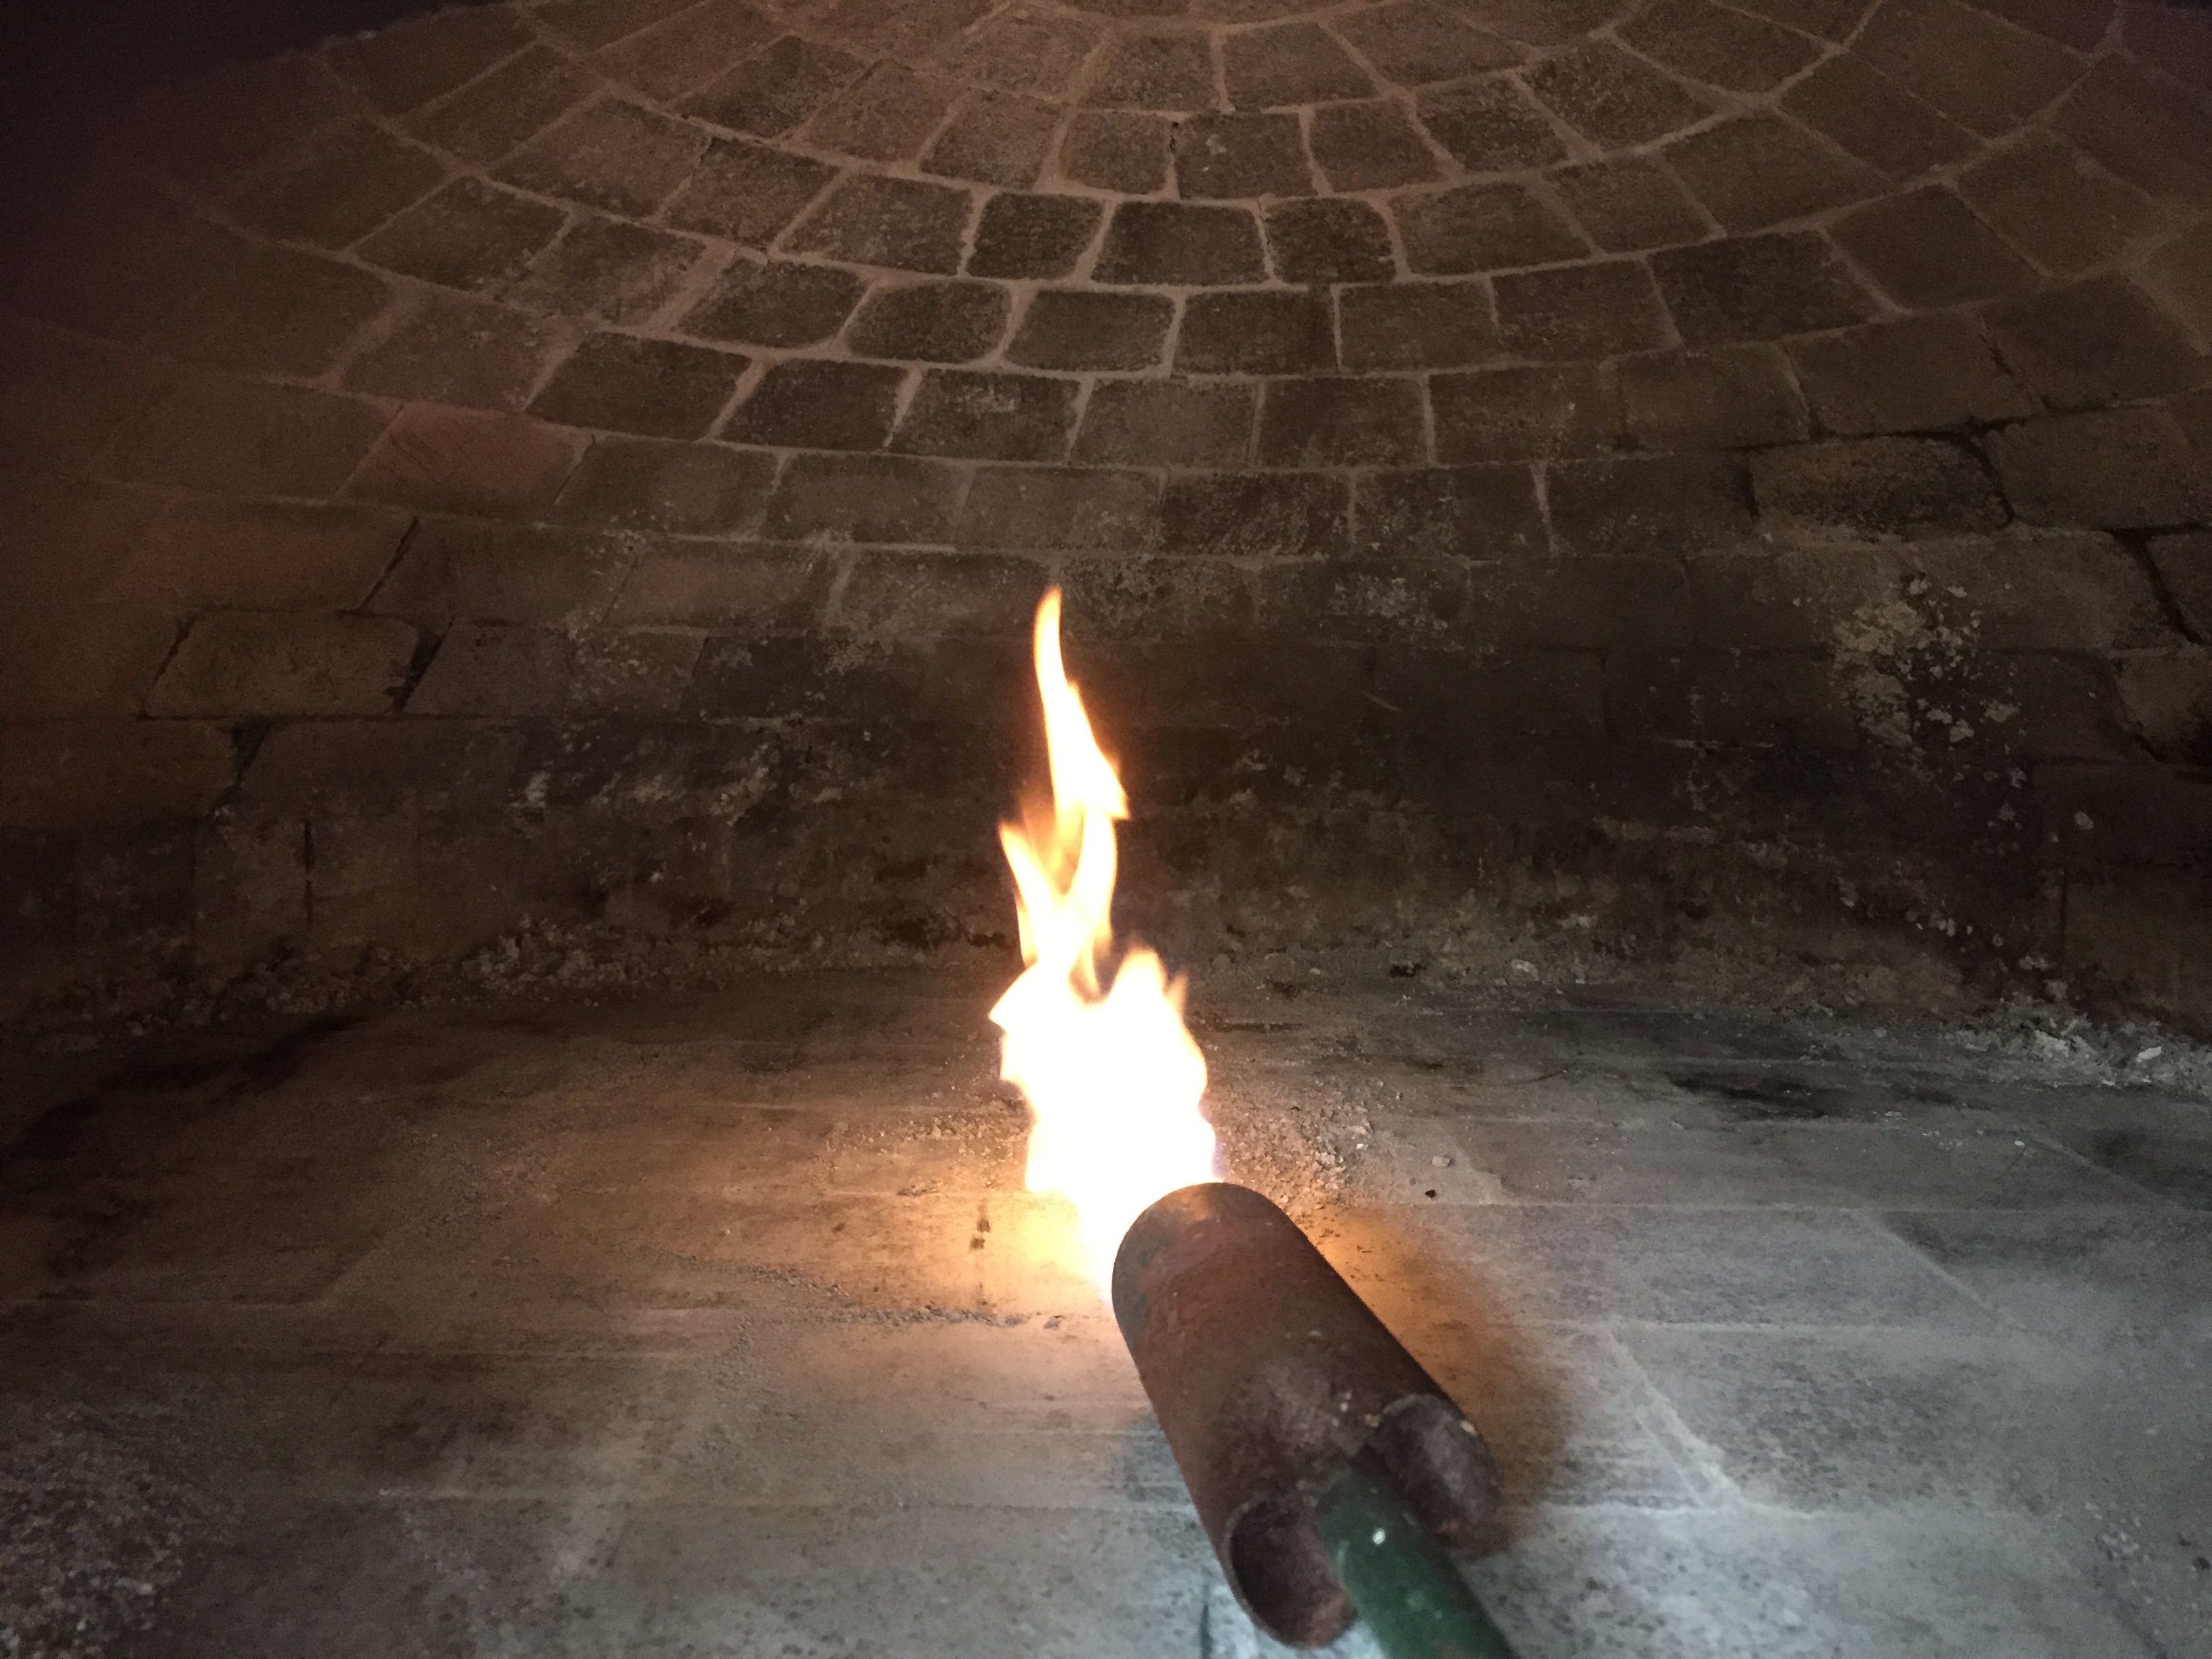
In our earlier blog on curing we described Dave’s preferred method of using a propane wand for the initial days of the oven cure. The wand provides fantastic temperature control, producing a low steady heat that can be increased over several days. We think it is worth investing in the wand and a few tanks of propane to make this foolproof.
If you prefer to use wood, begin by building a fire with kindling-sized pieces of wood. Forno Bravo recommends nothing higher than 300ºF (for 6 hours, longer is better) on day one, followed by a day at 350ºF and a day not to exceed 400ºF. Maintaining these temperatures with wood is difficult and requires attention. Add small pieces of wood in small amounts to minimize temperature spikes. Take care to keep the flames away from the walls and ceiling of the vault. Use your oven door to help control fire size and temperature.
Transition from propane to wood
After three days of low-heat, increase the temperature. This is critical to drive out moisture that can cause cracking. Forno Bravo recommends temperatures of 450ºF and 500ºF on days four and five. The propane wand makes it easy to jump start a small wood fire. Burning wood will immediately generate more heat. (See our blog on properly seasoned wood so that you don’t inadvertently introduce more moisture.)
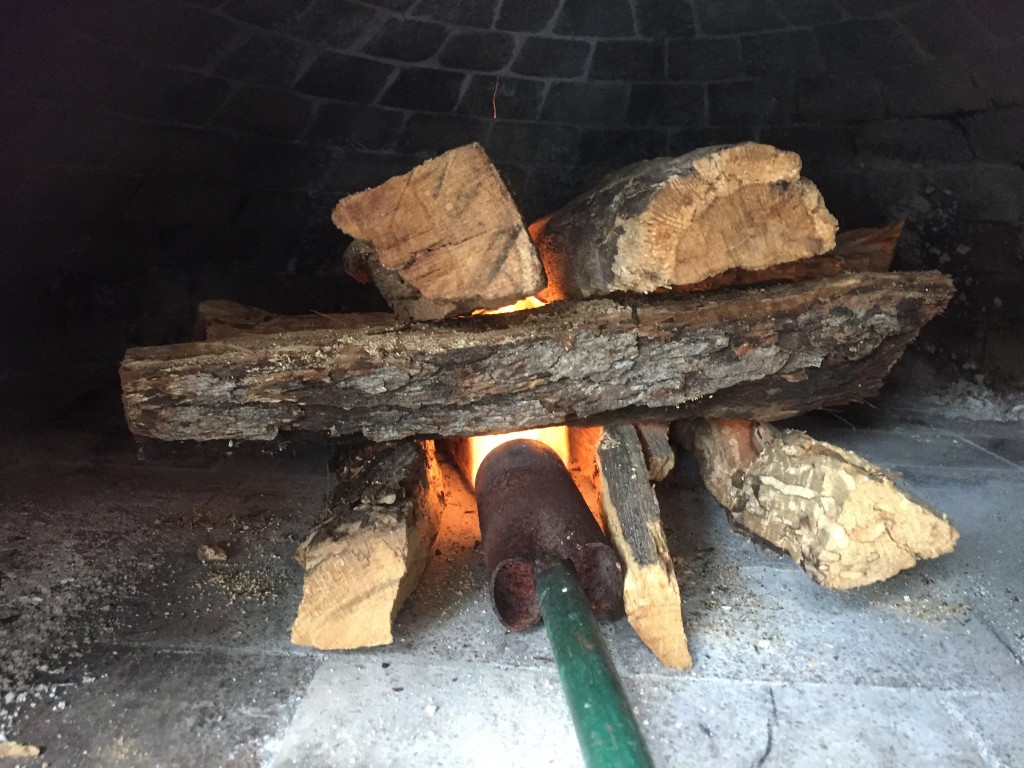
this initial fire has only seven very small pieces of wood
We like to start a small wood fire in the center of the oven, slightly forward toward the door. In this position it will get plenty of air and be easy to manage.
the small fire burns down to coals, the interior is dark
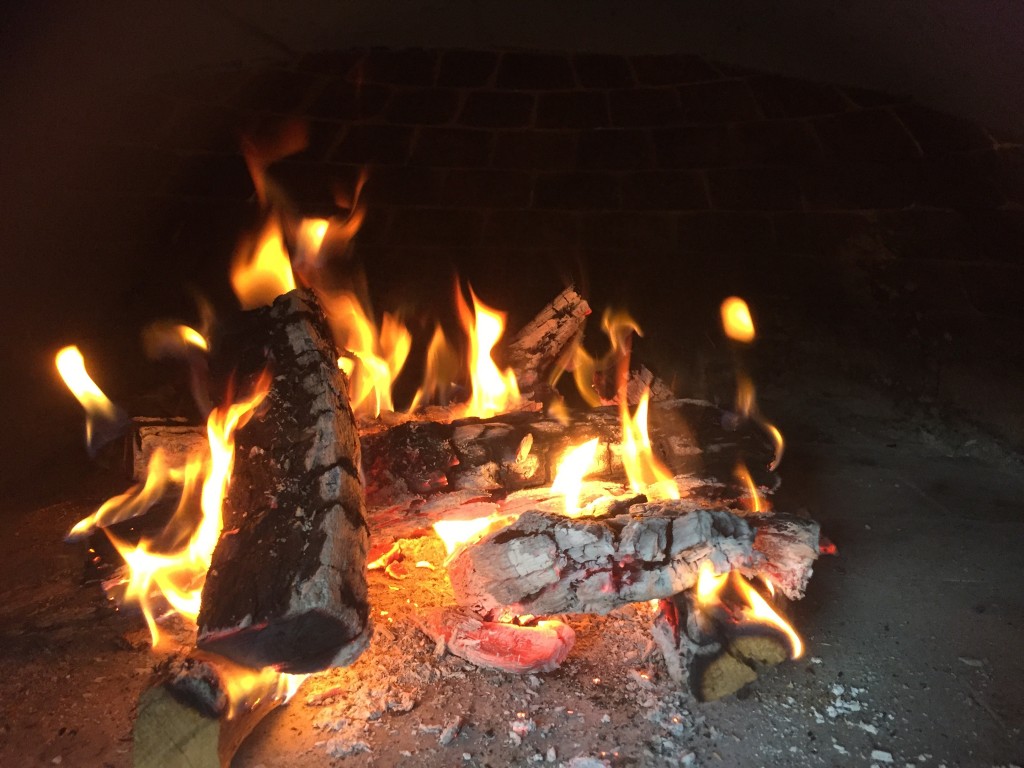
Let it burn down to well-established coals then push it back a bit and slowly add wood in a tee-pee or crossed pattern to raise the temperature.
Not too hot, but hot enough
Warnings about keeping temperatures low leave some wood-fired oven owners hesitant about when and how to build heat. But, like rolling something up a hill, if you stop too soon you will have to start again. With a full roaring fire, oven temperatures can go over 1,000ºF so don’t cure to 400º and stop. To finish the cure, you want to move the temperature steadily up from 400º to 1,000ºF.

notice the bricks at the very top are lightening, but not white
At each stage, let the wood burn down and spread out the coals to create a broader base. Add wood slowly.
Watch the color of the vault
The good news is that you can tell when the oven is fully cured just by looking. A fully cured oven has what Dave calls “a clean white dome.” In this series of photos, you can see a five-year-old firebrick oven go from cool and slightly damp to fully re-cured.
Dave calls this first stage “male-pattern-baldness” in the vault. A small wood fire has generated enough heat to begin to change the color of the dome, creating a small bald spot in the soot, just at the top.
a small wood fire heats the the peek of the dome and it whitens
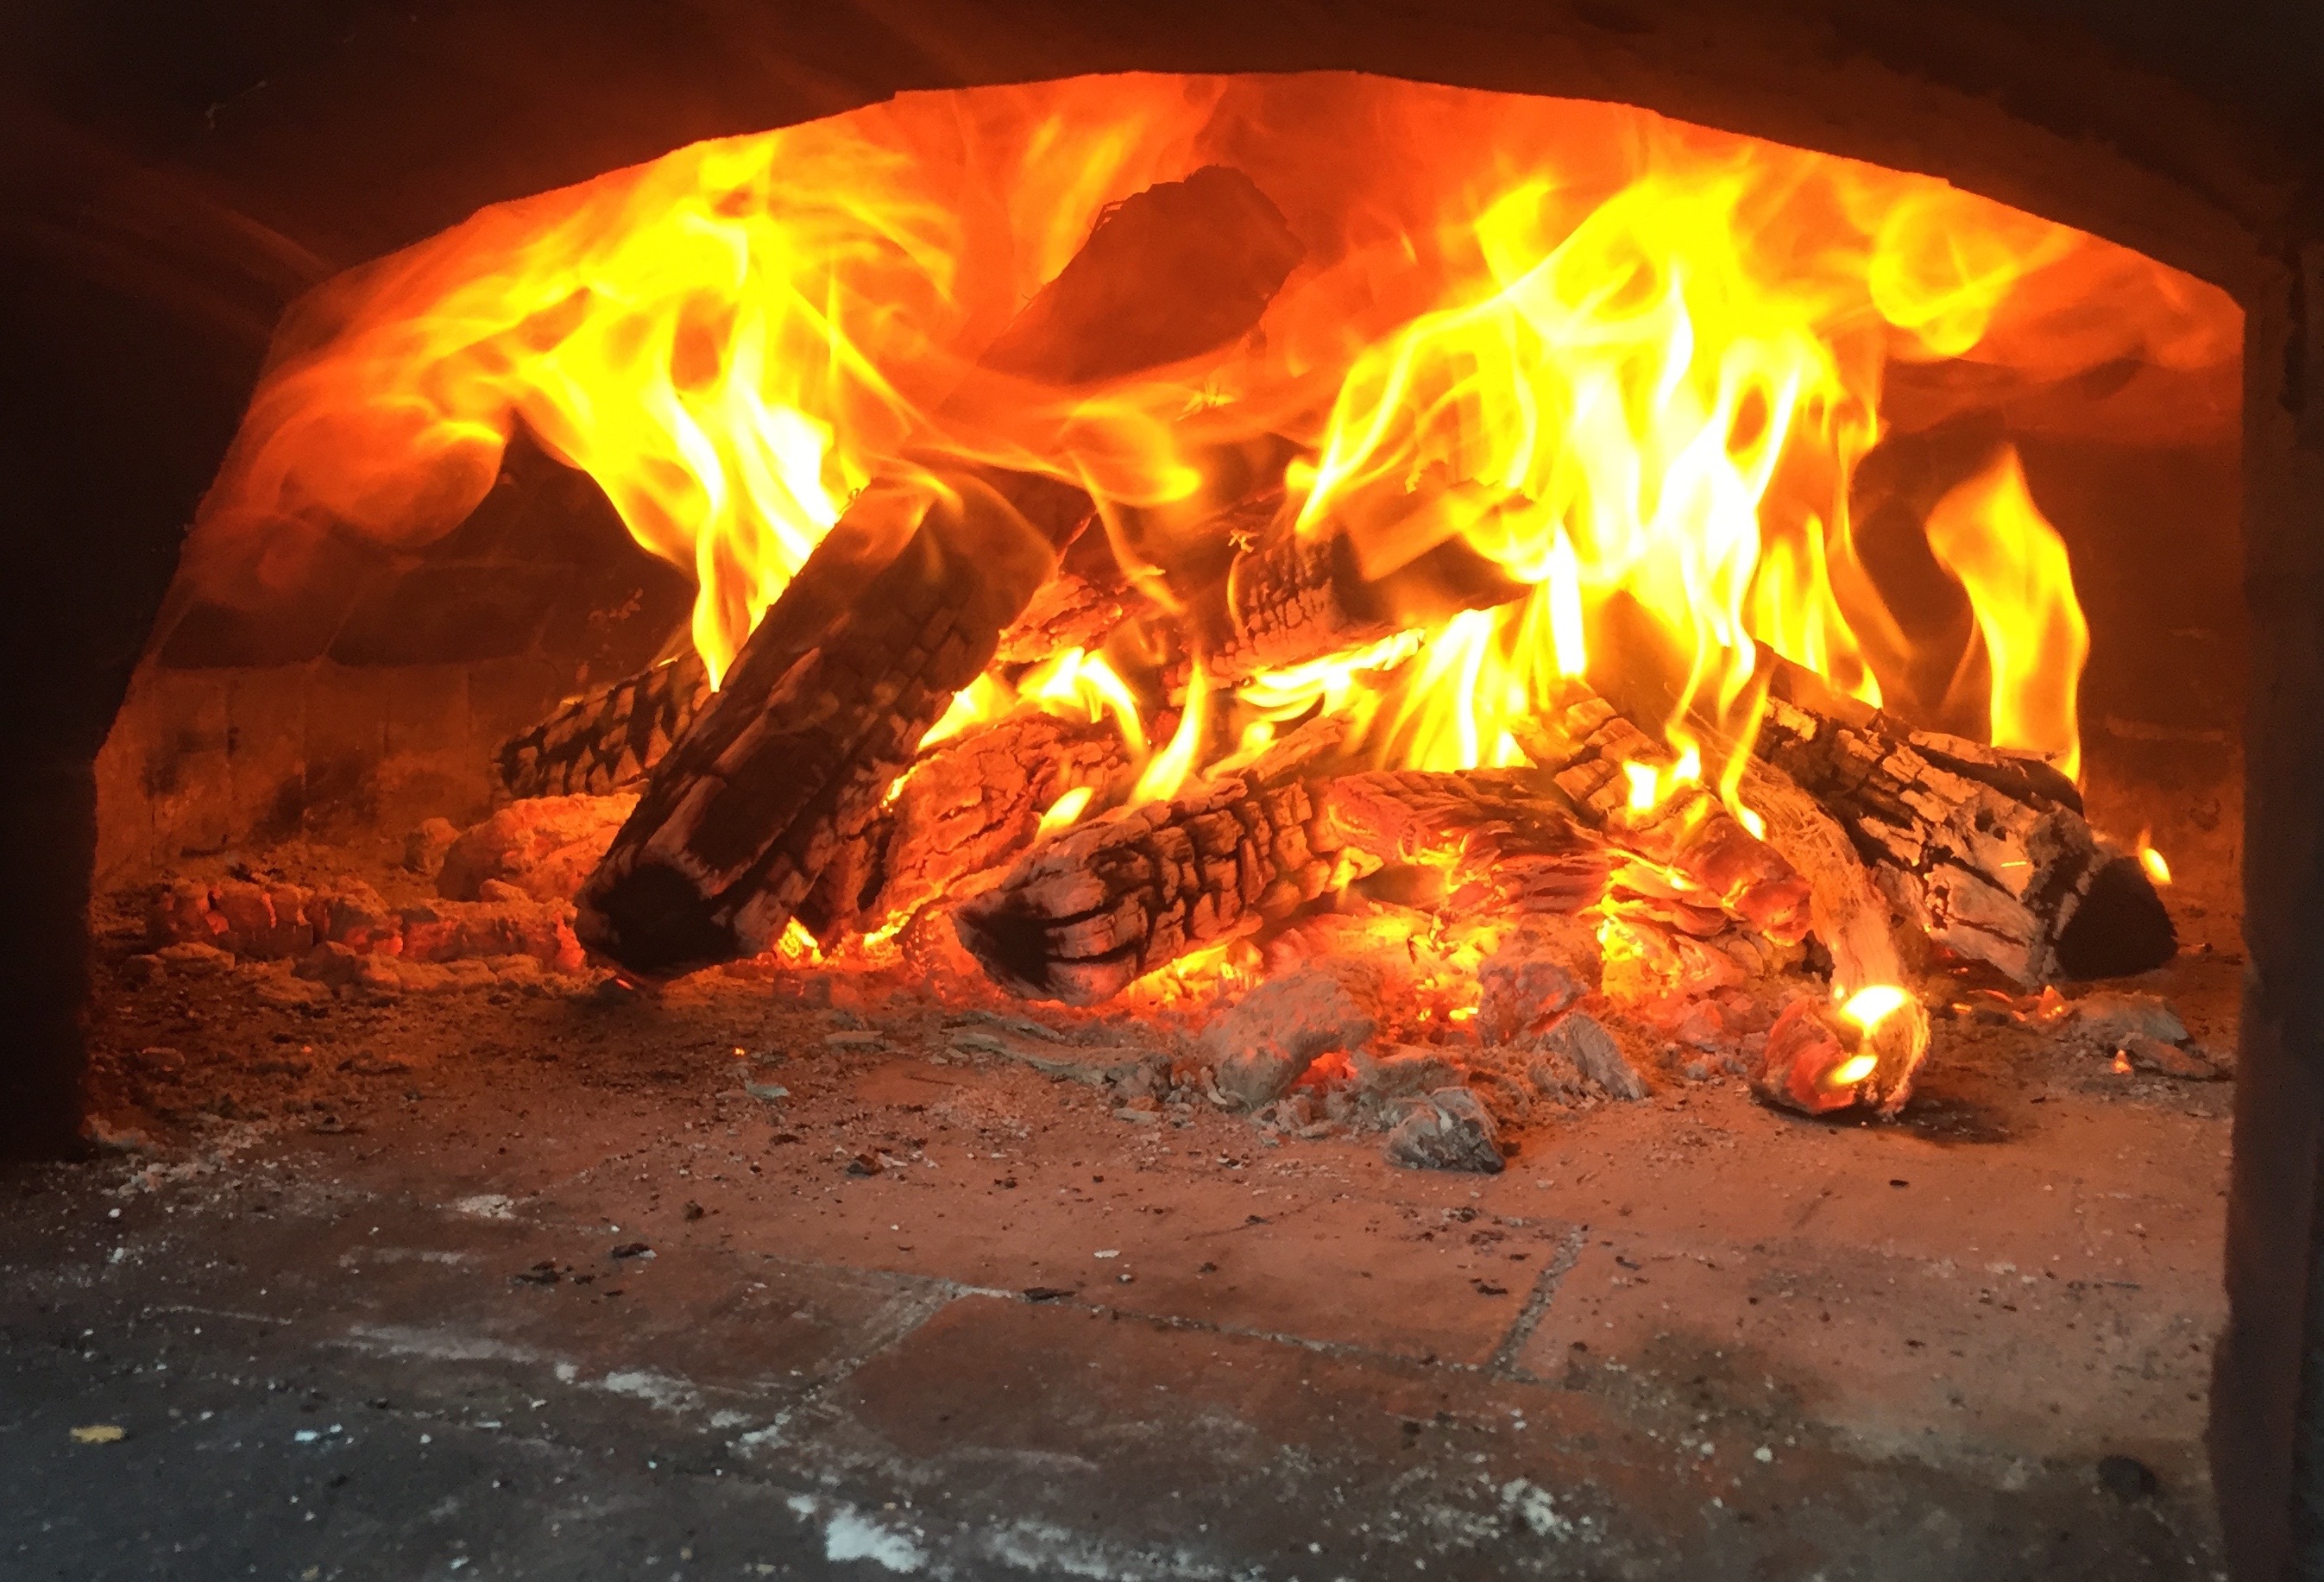
Later, a medium-sized wood fire shows off the natural convection in wood-burning ovens as the flames lick over the vault, pushing heat steadily into the oven walls. Letting the oven really burn between each addition of wood stretches out the time and keeps the heat from spiking too soon. Notice the oven walls are still dark.
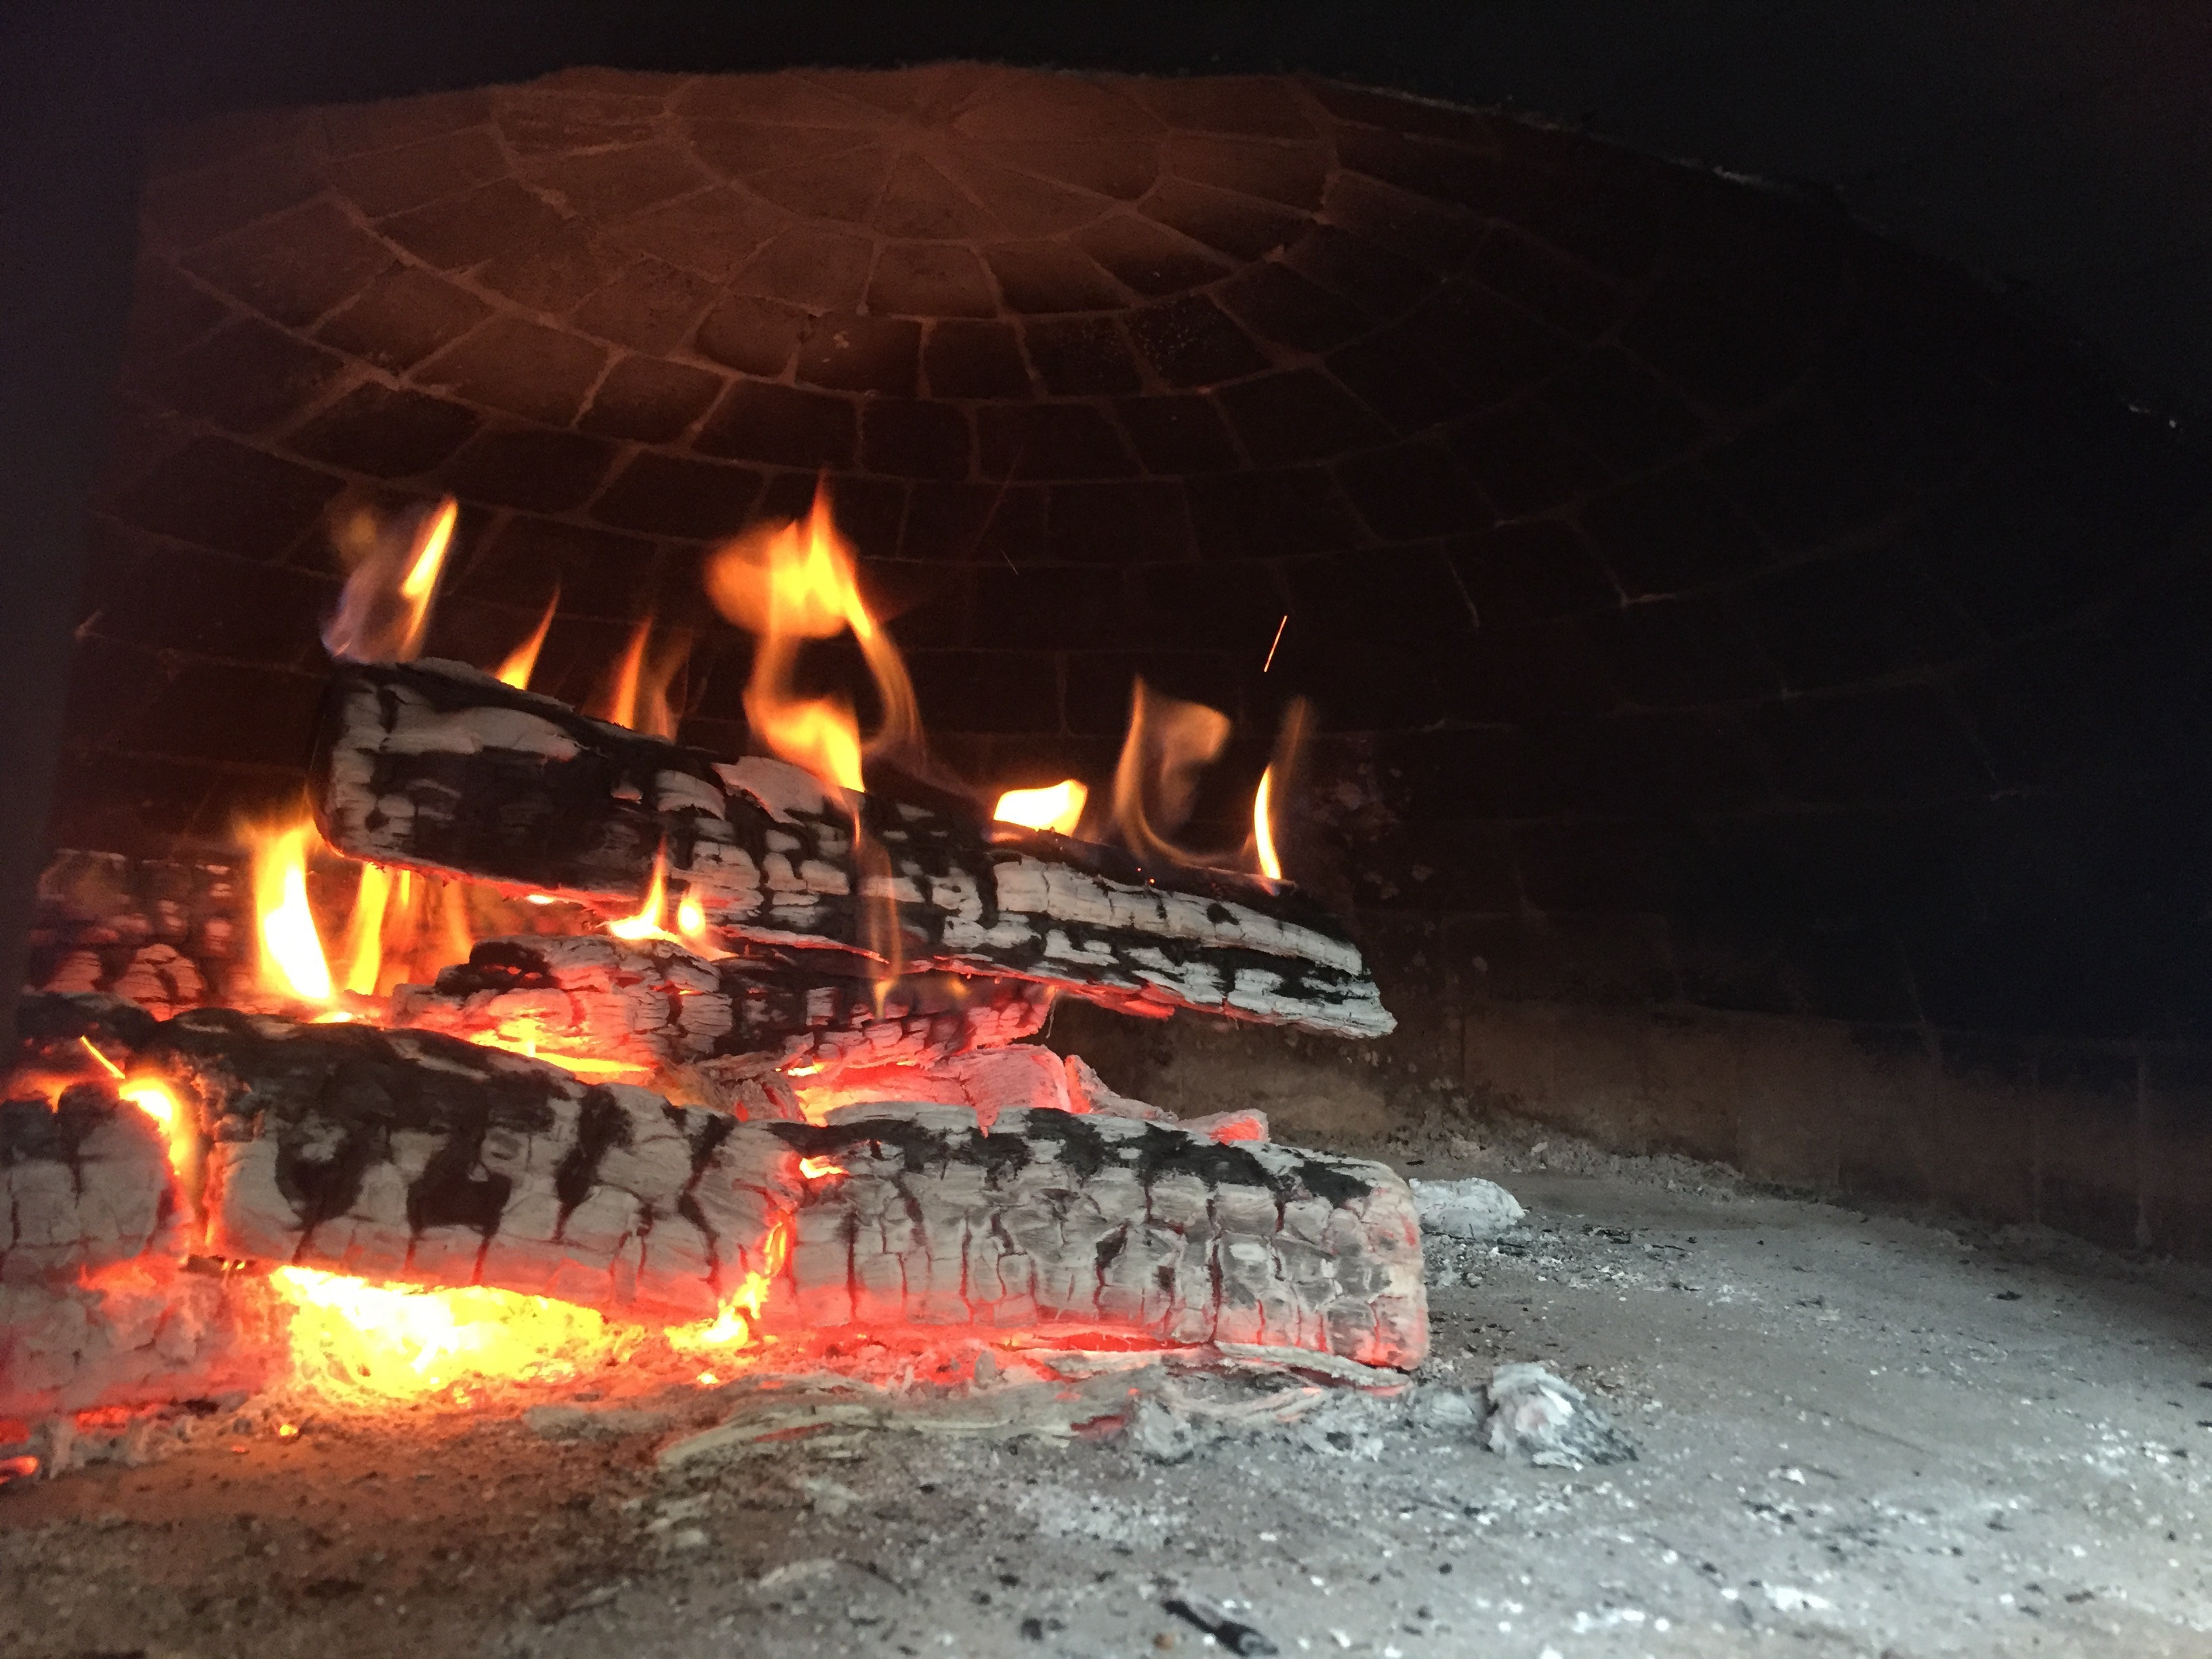
As the medium fire burns down, use your oven brush to push the coals back and out along the perimeter before adding wood. In this video you can see the white expanding at the top and coming up the sides from the floor, but there is a significant strip of black along the walls of the vault. We’re not done yet.
At this point it is safe to load in more wood and let the oven come up to full temperature, burning the vault entirely white. People ask what we mean by the dome turning white. When you see it you’ll know. Watching the oven lighten is an excellent lesson on how heat moves through the oven, and you can reposition the coals to adjust.

with no residual soot or visible moisture, the entire vault looks white and clean.
At some point you’ll see all of the soot has been burned off, the moisture is pushed out, and the dome looks clean and white hot. Burning the oven at this point for a while (which happens automatically if you’re cooking) will also drive enough heat into the vault to give you carry-over cooking heat the next day.
How long does it take to re-cure?
This depends on several factors. Is the oven in an exposed or protected location? How long has it been idle? What has the weather been like? Restaurant ovens in daily use stay cured. Residential ovens used regularly can usually be re-cured in a single day. Start your fire earlier in the day allowing time to move the temperature up gradually.
If your oven is at a vacation home, we recommend burning through a tank of propane before switching to wood. In that case you will want to take it through an abbreviated version of the initial curing process, giving it time in heat up slowly.
Cooking while you cure?
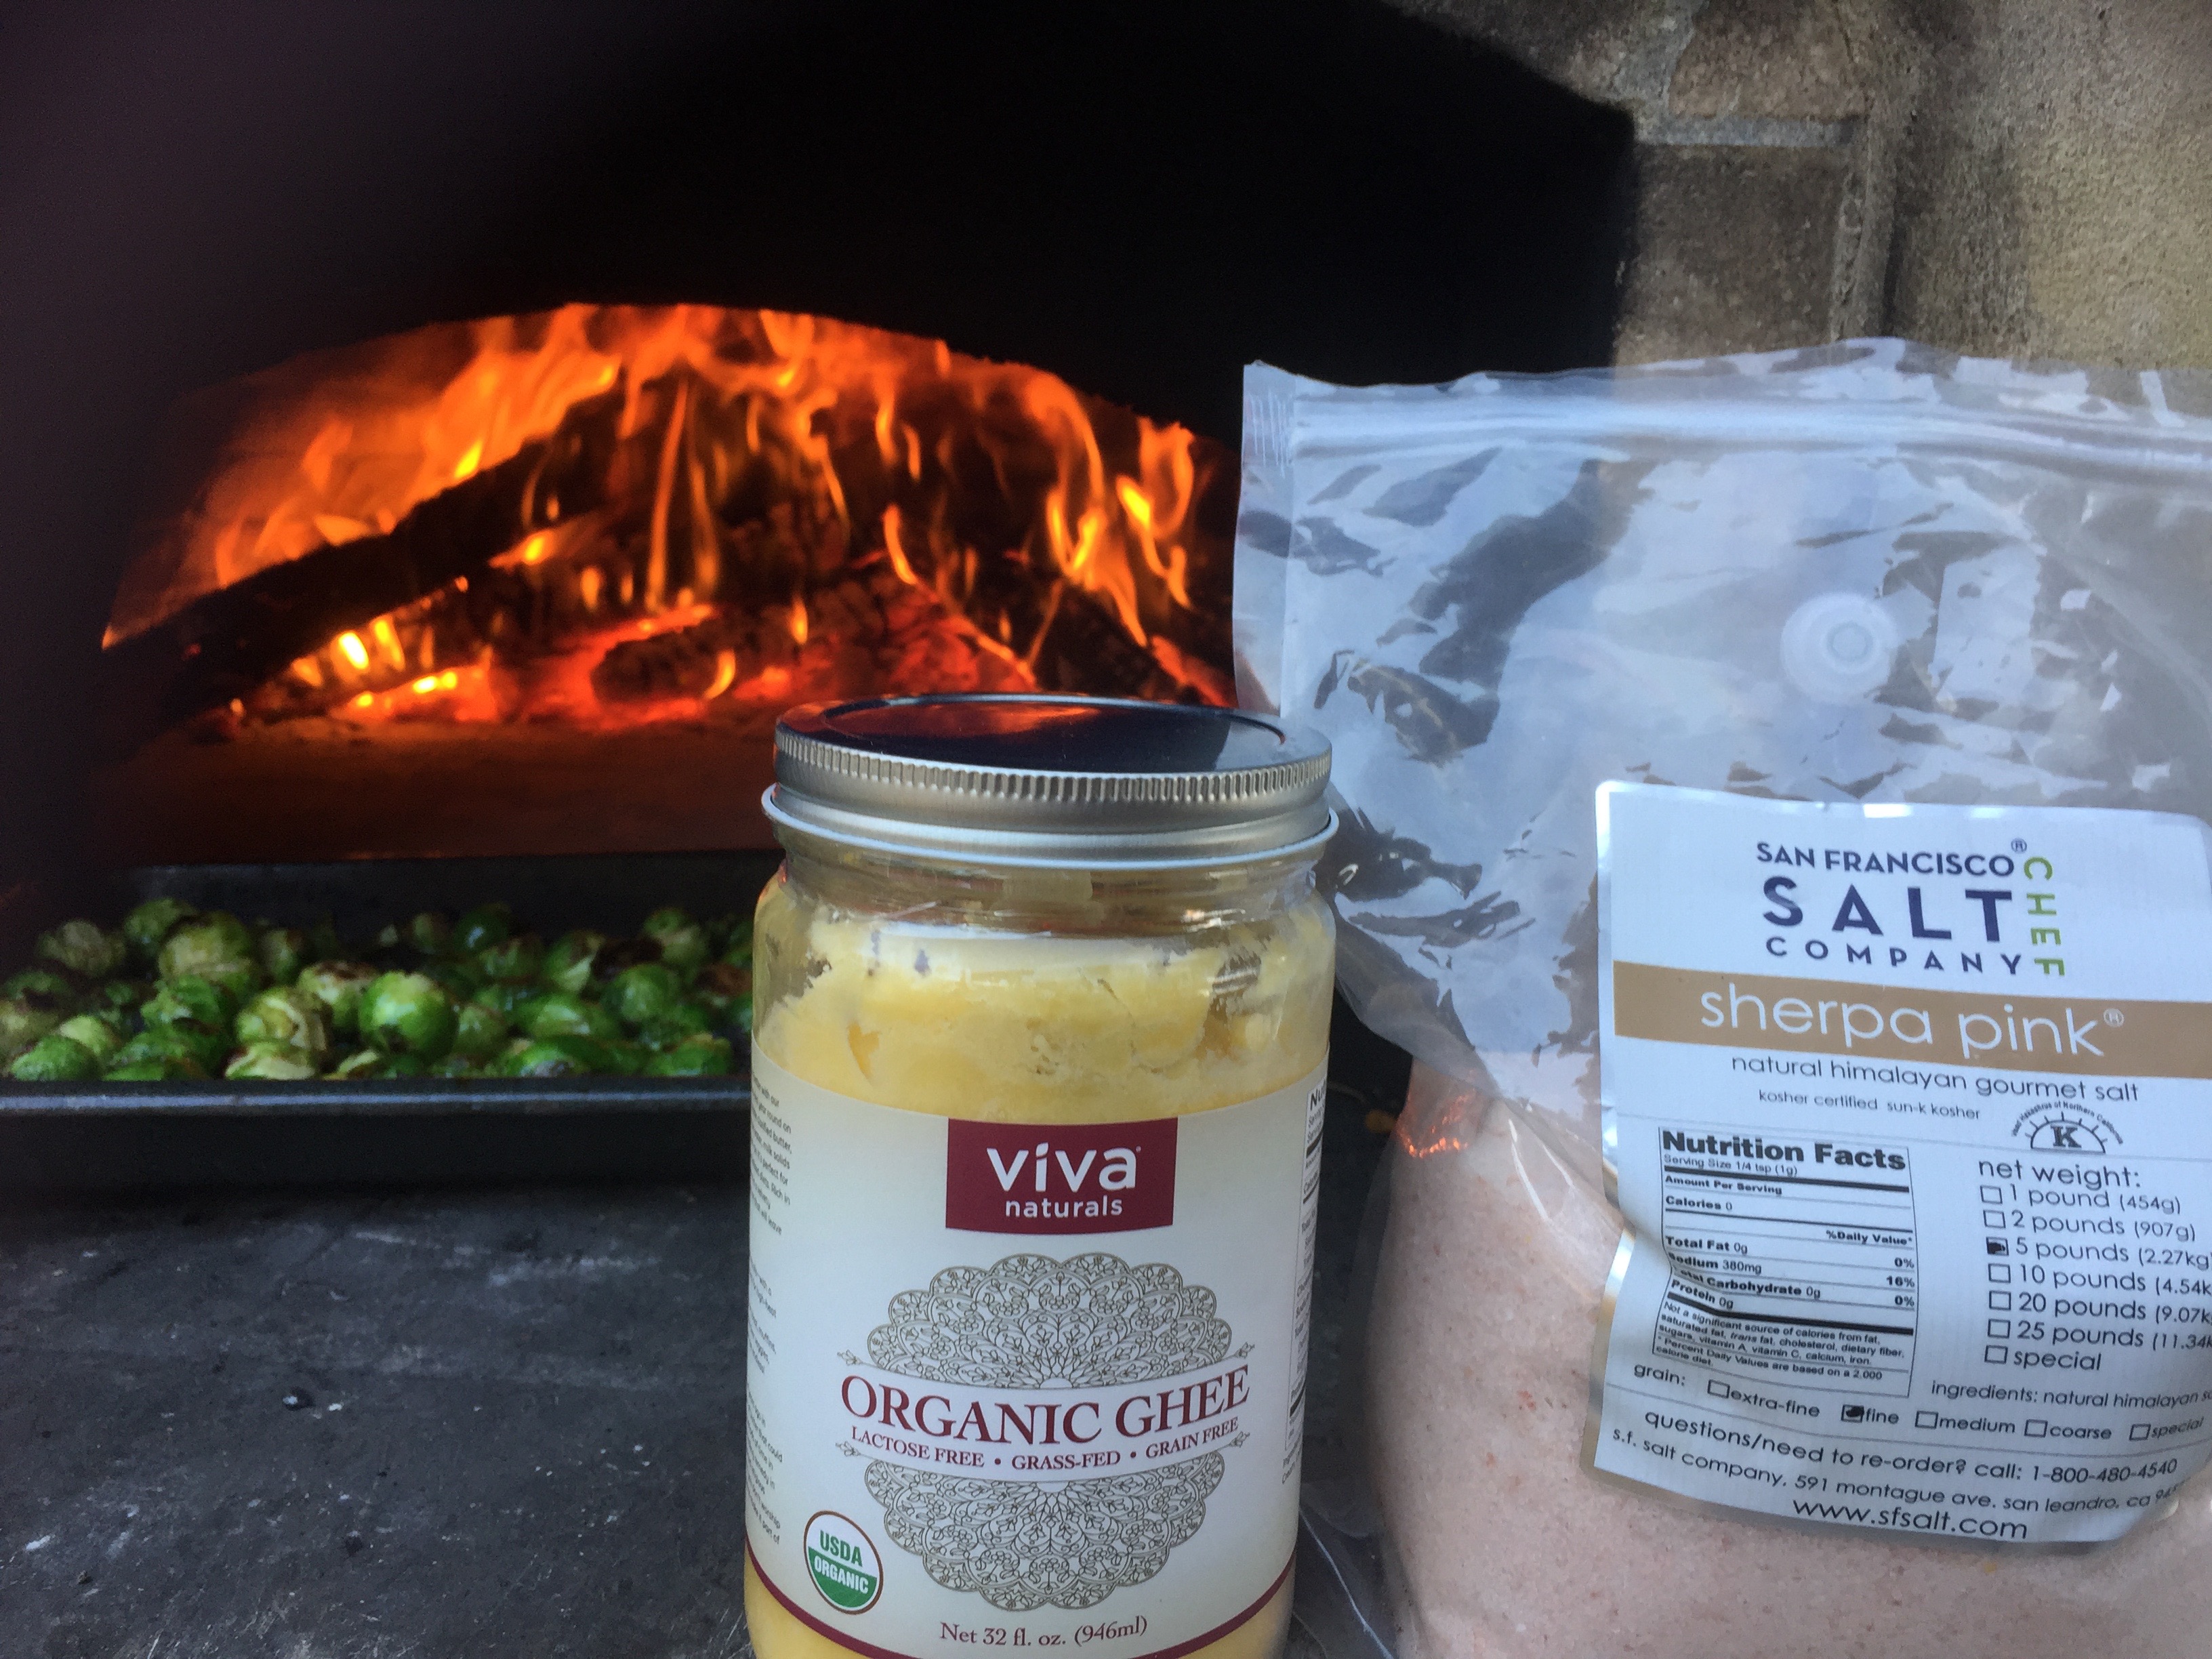
During the first post-construction cure we do not recommend cooking food. Take the oven through a complete cure cycle before cooking. When re-curing you can absolutely use the generated heat to cook. While re-curing my oven for this blog, we pushed the coals back had a nice hot cooking surface with temperatures around 800°. I added some Brussels sprouts tossed with ghee and pink Himalayan salt, a great match for the high temperature and a favorite appetizer around here.
Maintain oven cure for years of beauty and function
Wood-burning ovens can last a lifetime with proper care and maintenance. The first step is to cure your oven properly—and keep it cured. If the oven hasn’t been burned in a while, reach in and assess how it feels. Does it feel cool and damp? When you clear out residual ash does it feel heavy? If you see signs of moisture, or haven’t used the oven in a while, start with a small fire and take your time ramping up the heat.