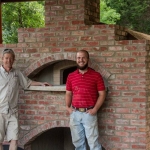
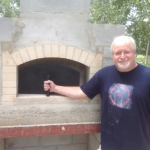
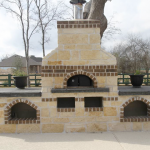
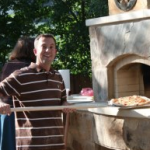
How to Build a Fire in a Wood-fired Oven
comment : 0
A properly built fire not only lights quickly and reliably, it doesn’t make a lot of smoke. We have two suggestions that will help you build great fires with minimal smoke and ash. First: use dry, properly seasoned wood (we’ll cover that in a later blog). Second: build an upside-down fire.
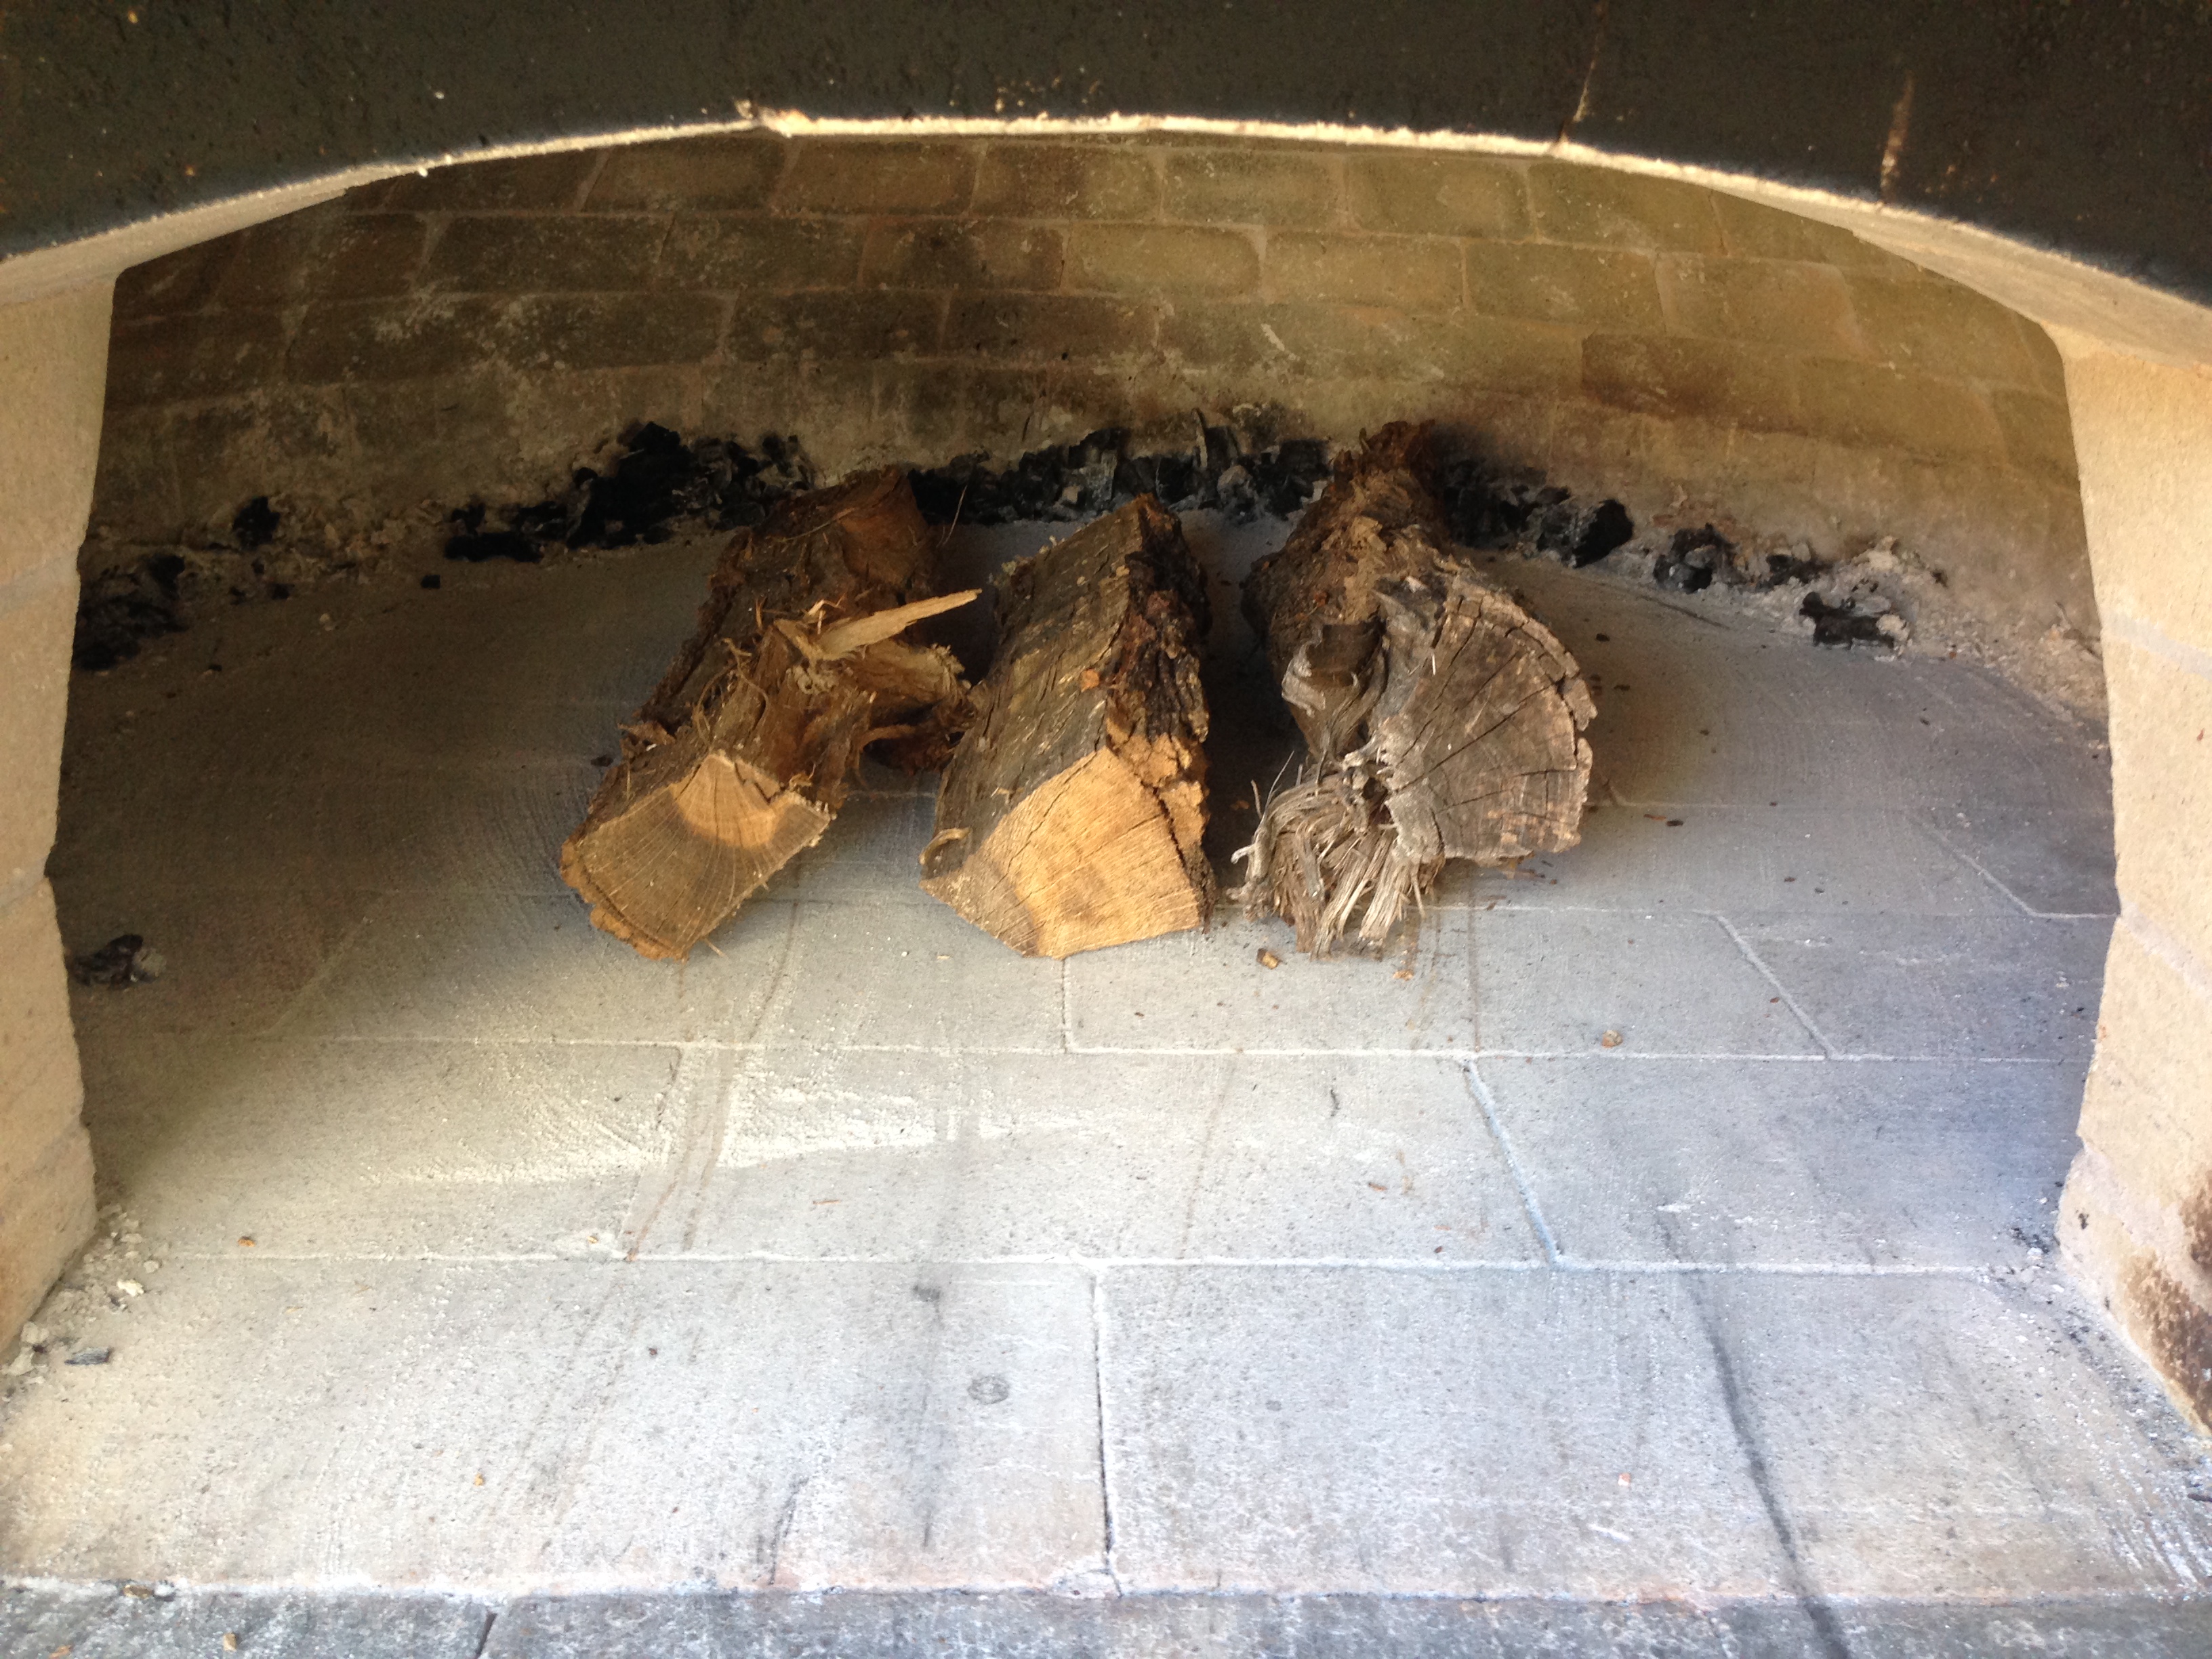
Upside down fires, also known as top down fires, are laid down with the heaviest items on the bottom, in contrast to a “tipi” fire that begins with paper and kindling. It’s counter to what most of us have done for years—starting with crumpled paper, overlaid with tinder, supporting a small amount on kindling, ready for the heavy log that hopefully won’t collapse the structure and smother the tentative flames—the conventional way.
In building a top down fire, place 3-4 heavier pieces of wood down on the oven floor as a base, with the wood ends going front to back. Over the base logs, make a second layer of smaller wood. On the second layer of smaller wood, overlay fine kindling. The top layer is composed of wood shavings or a few knots of paper. A base of logs supports the top down fire, and each successive layer is lighter and more flammable.
When the paper knot is lighted, the fire burns down, “gaining in intensity” (Wood Heat Organization) as it moves through the layers to the base. A top down fire should light with one match and be a “light it and you’re done” fire (Chimney Safety Institute of America).
The folks who’ve done most of the research on upside down fires agree that they produce little smoke and less ash than conventionally built fires. That’s a great benefit for limiting smoky emissions into the air and minimizing the smoke when lighting a fire in a cold oven. Top down fires heat up quickly, require less fussing with the wood and maintain heat.
These instructions show how to build a top-down
fire in a wood-burning oven to light quickly and
reliably with minimal smoke and ash.
lay a few pieces toward the door so air can get through them easily.
Leave room for small burning bits to drop between them

Cross stack 2 or 3 small double split
logs, again leave space between them
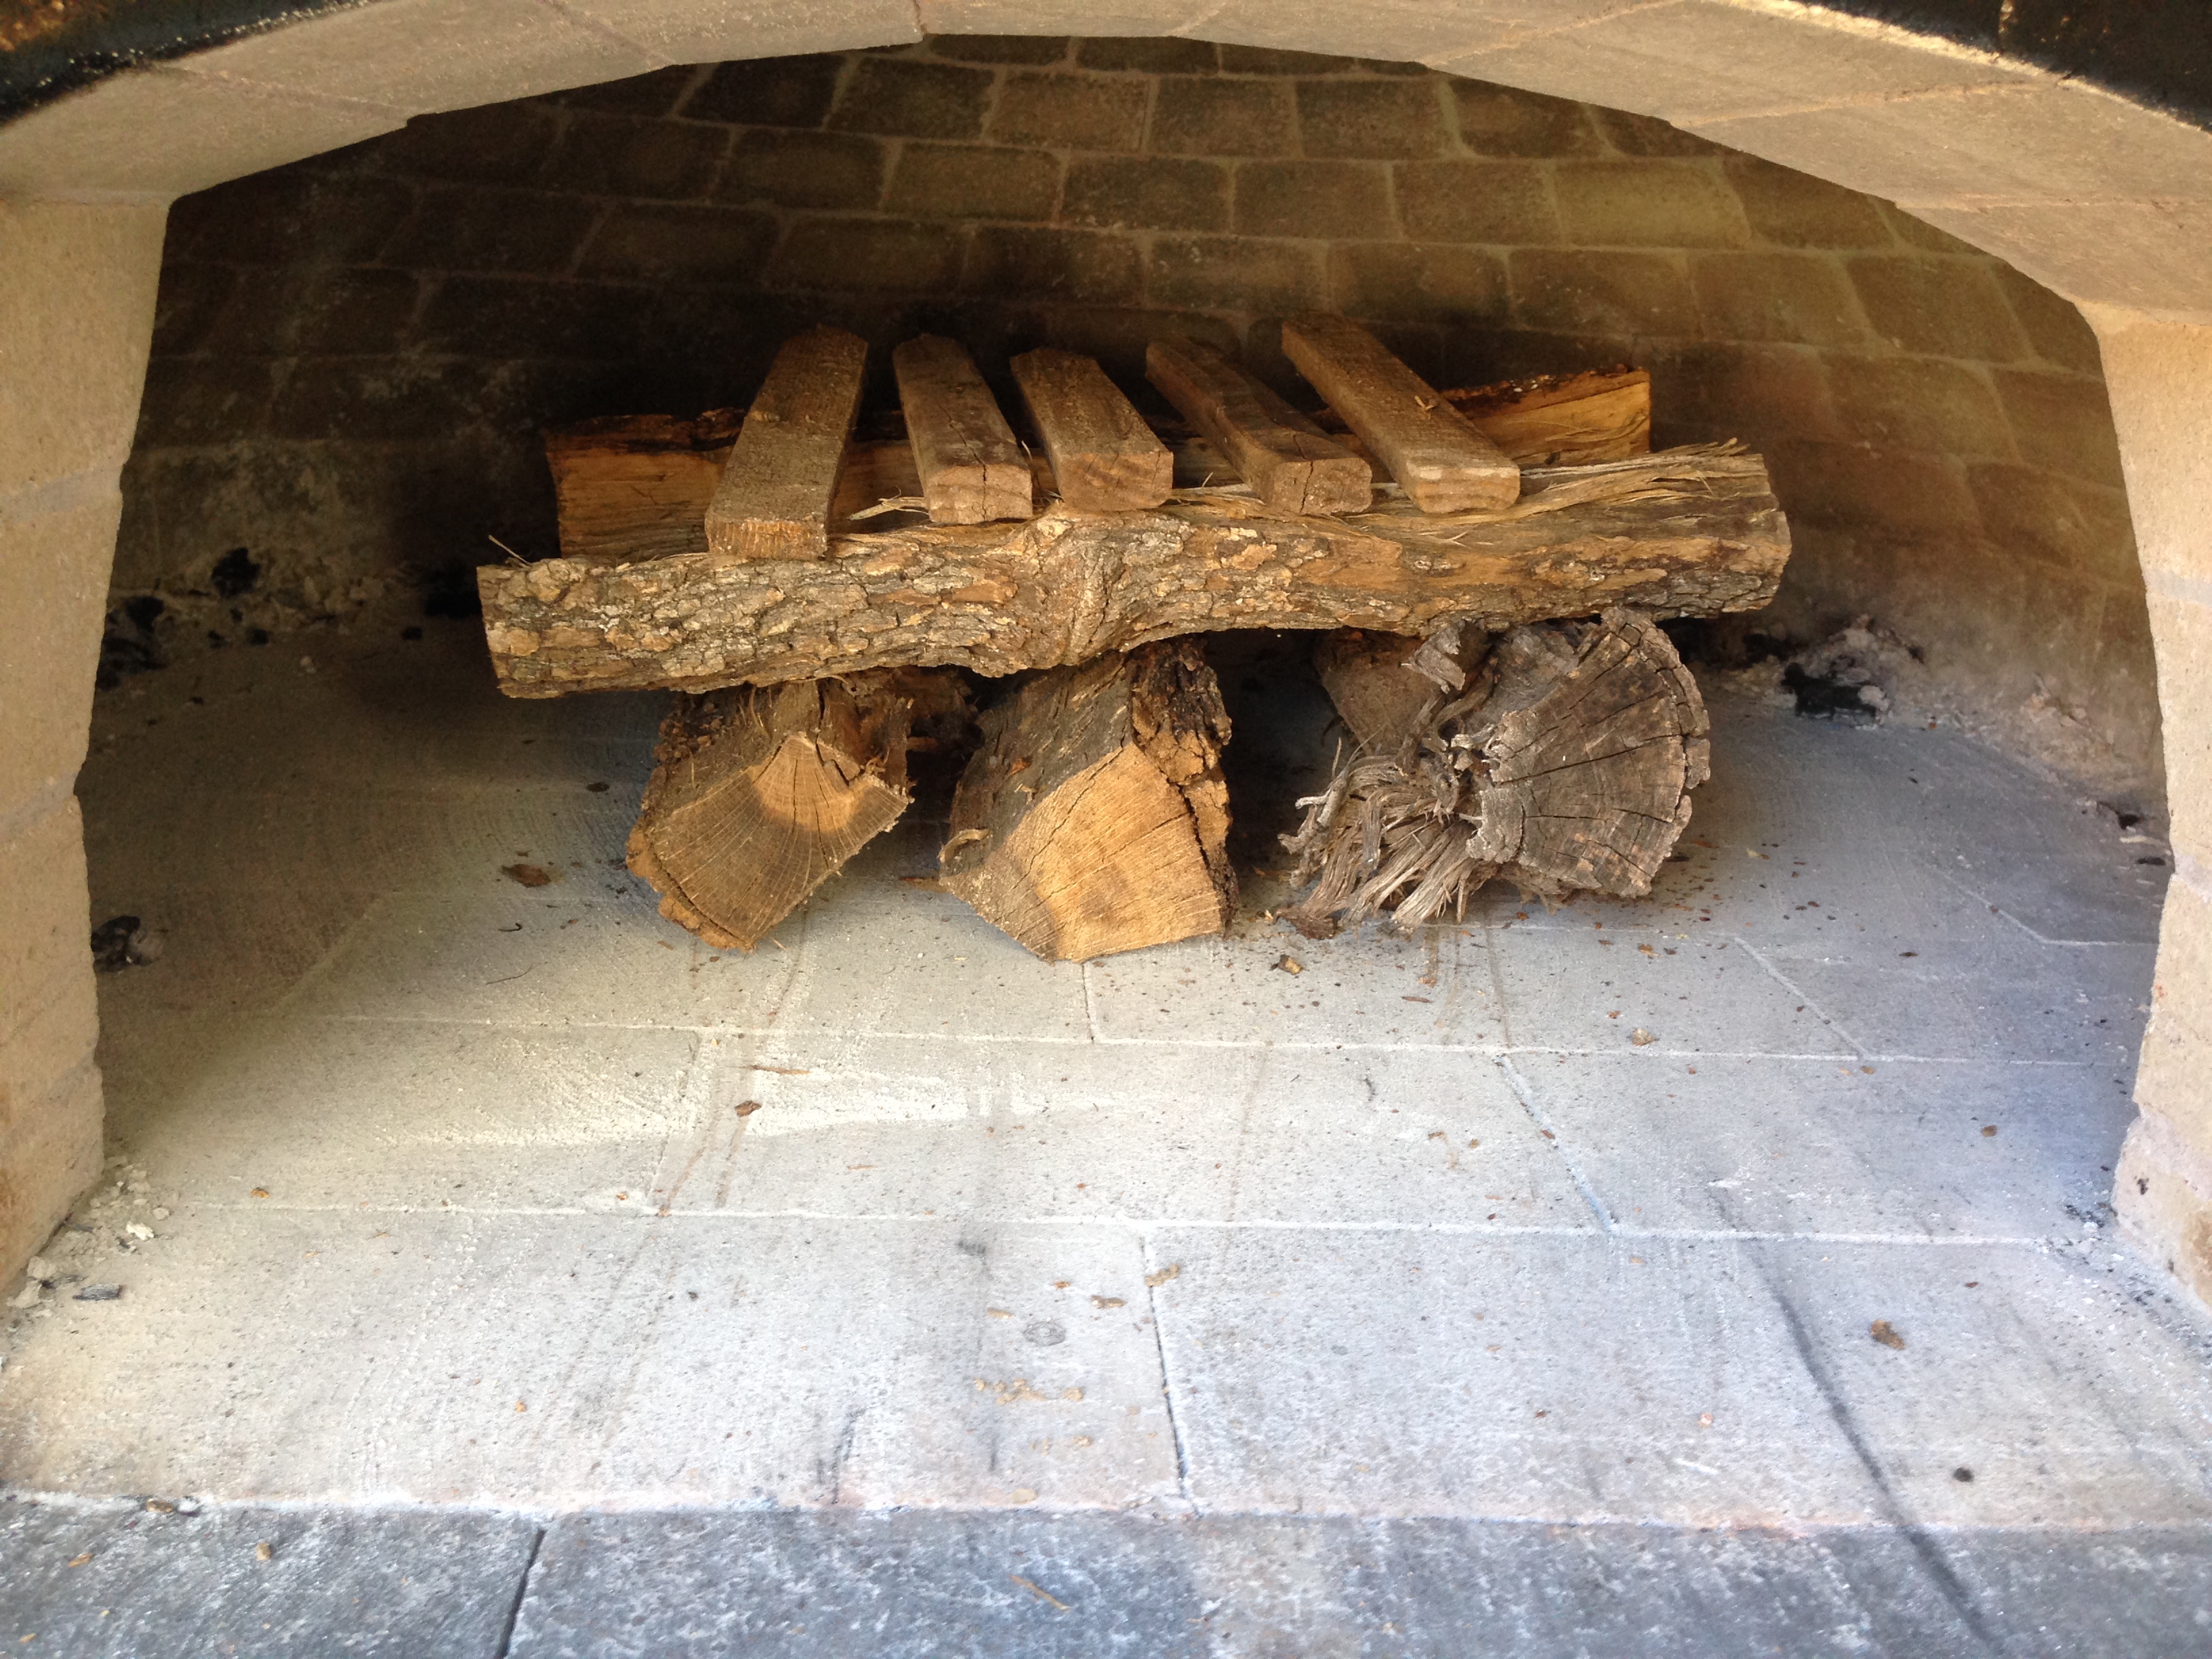
Stack on some small pieces of wood that will
catch quickly. This is a great place to use scraps
of lumber (untreated only).
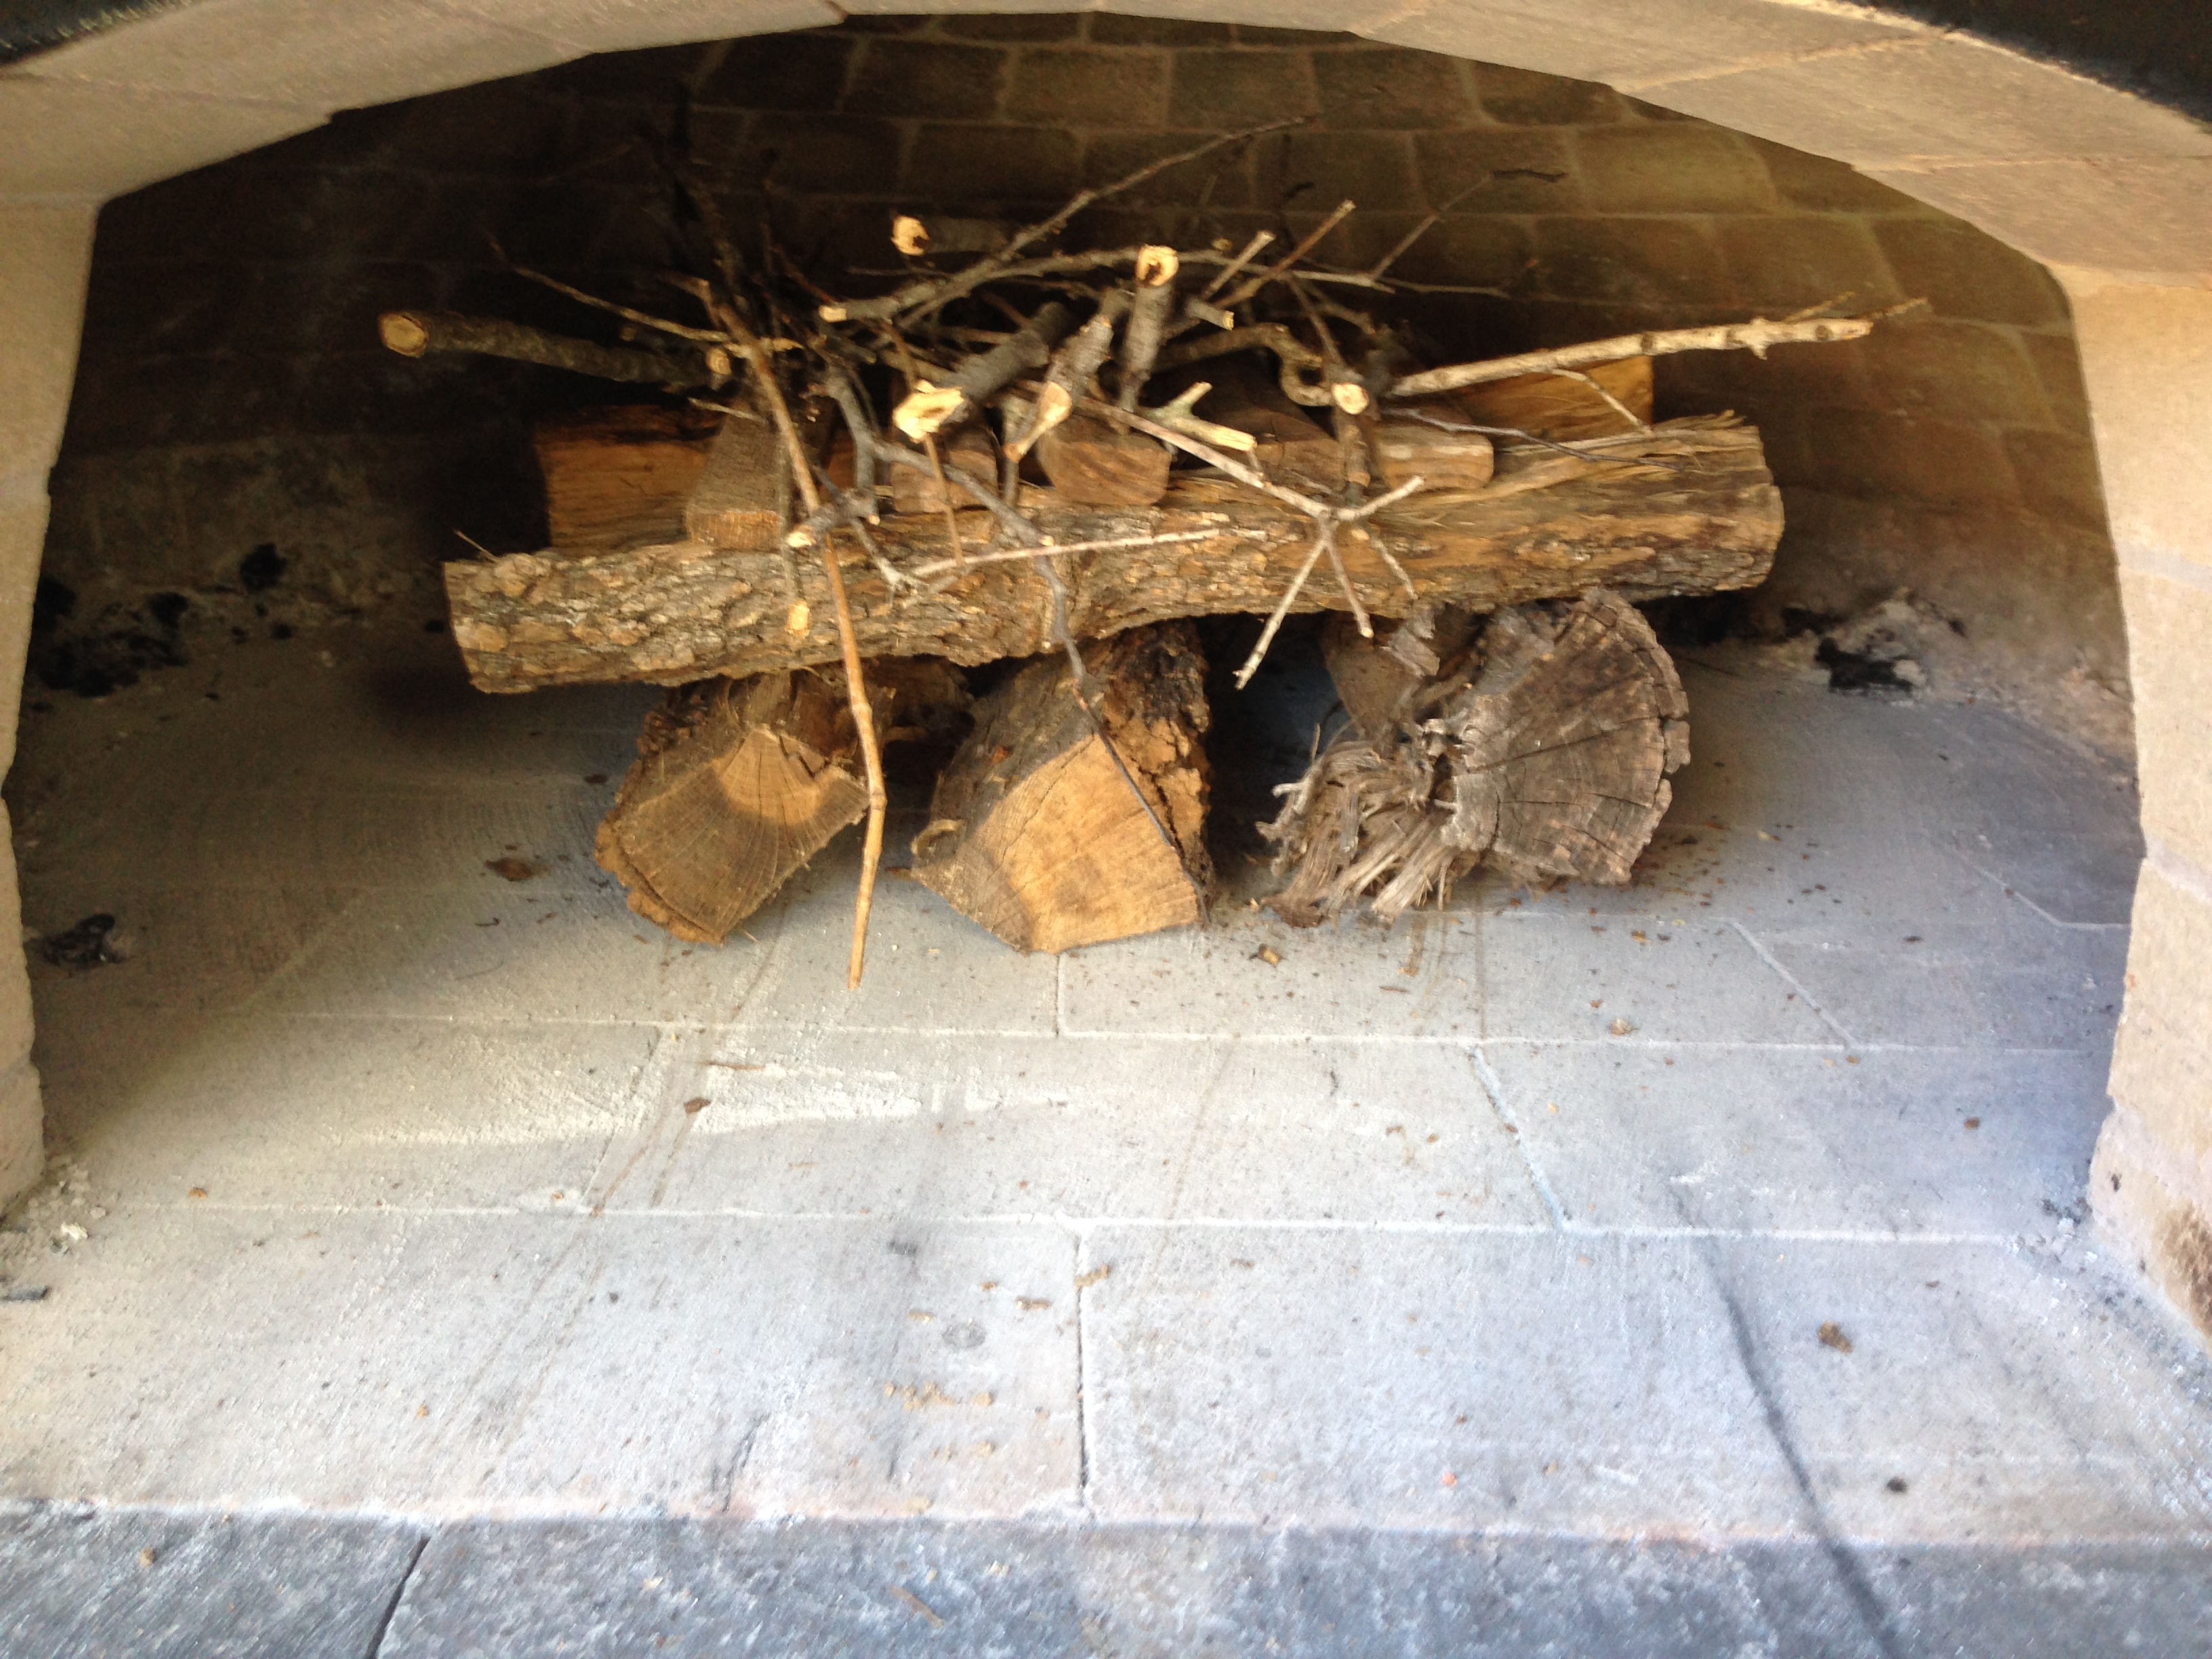
layer on small twigs or bits of kindling
(Lawn trimmings are great here.)

Top with a few balled up pieces of paper and light.
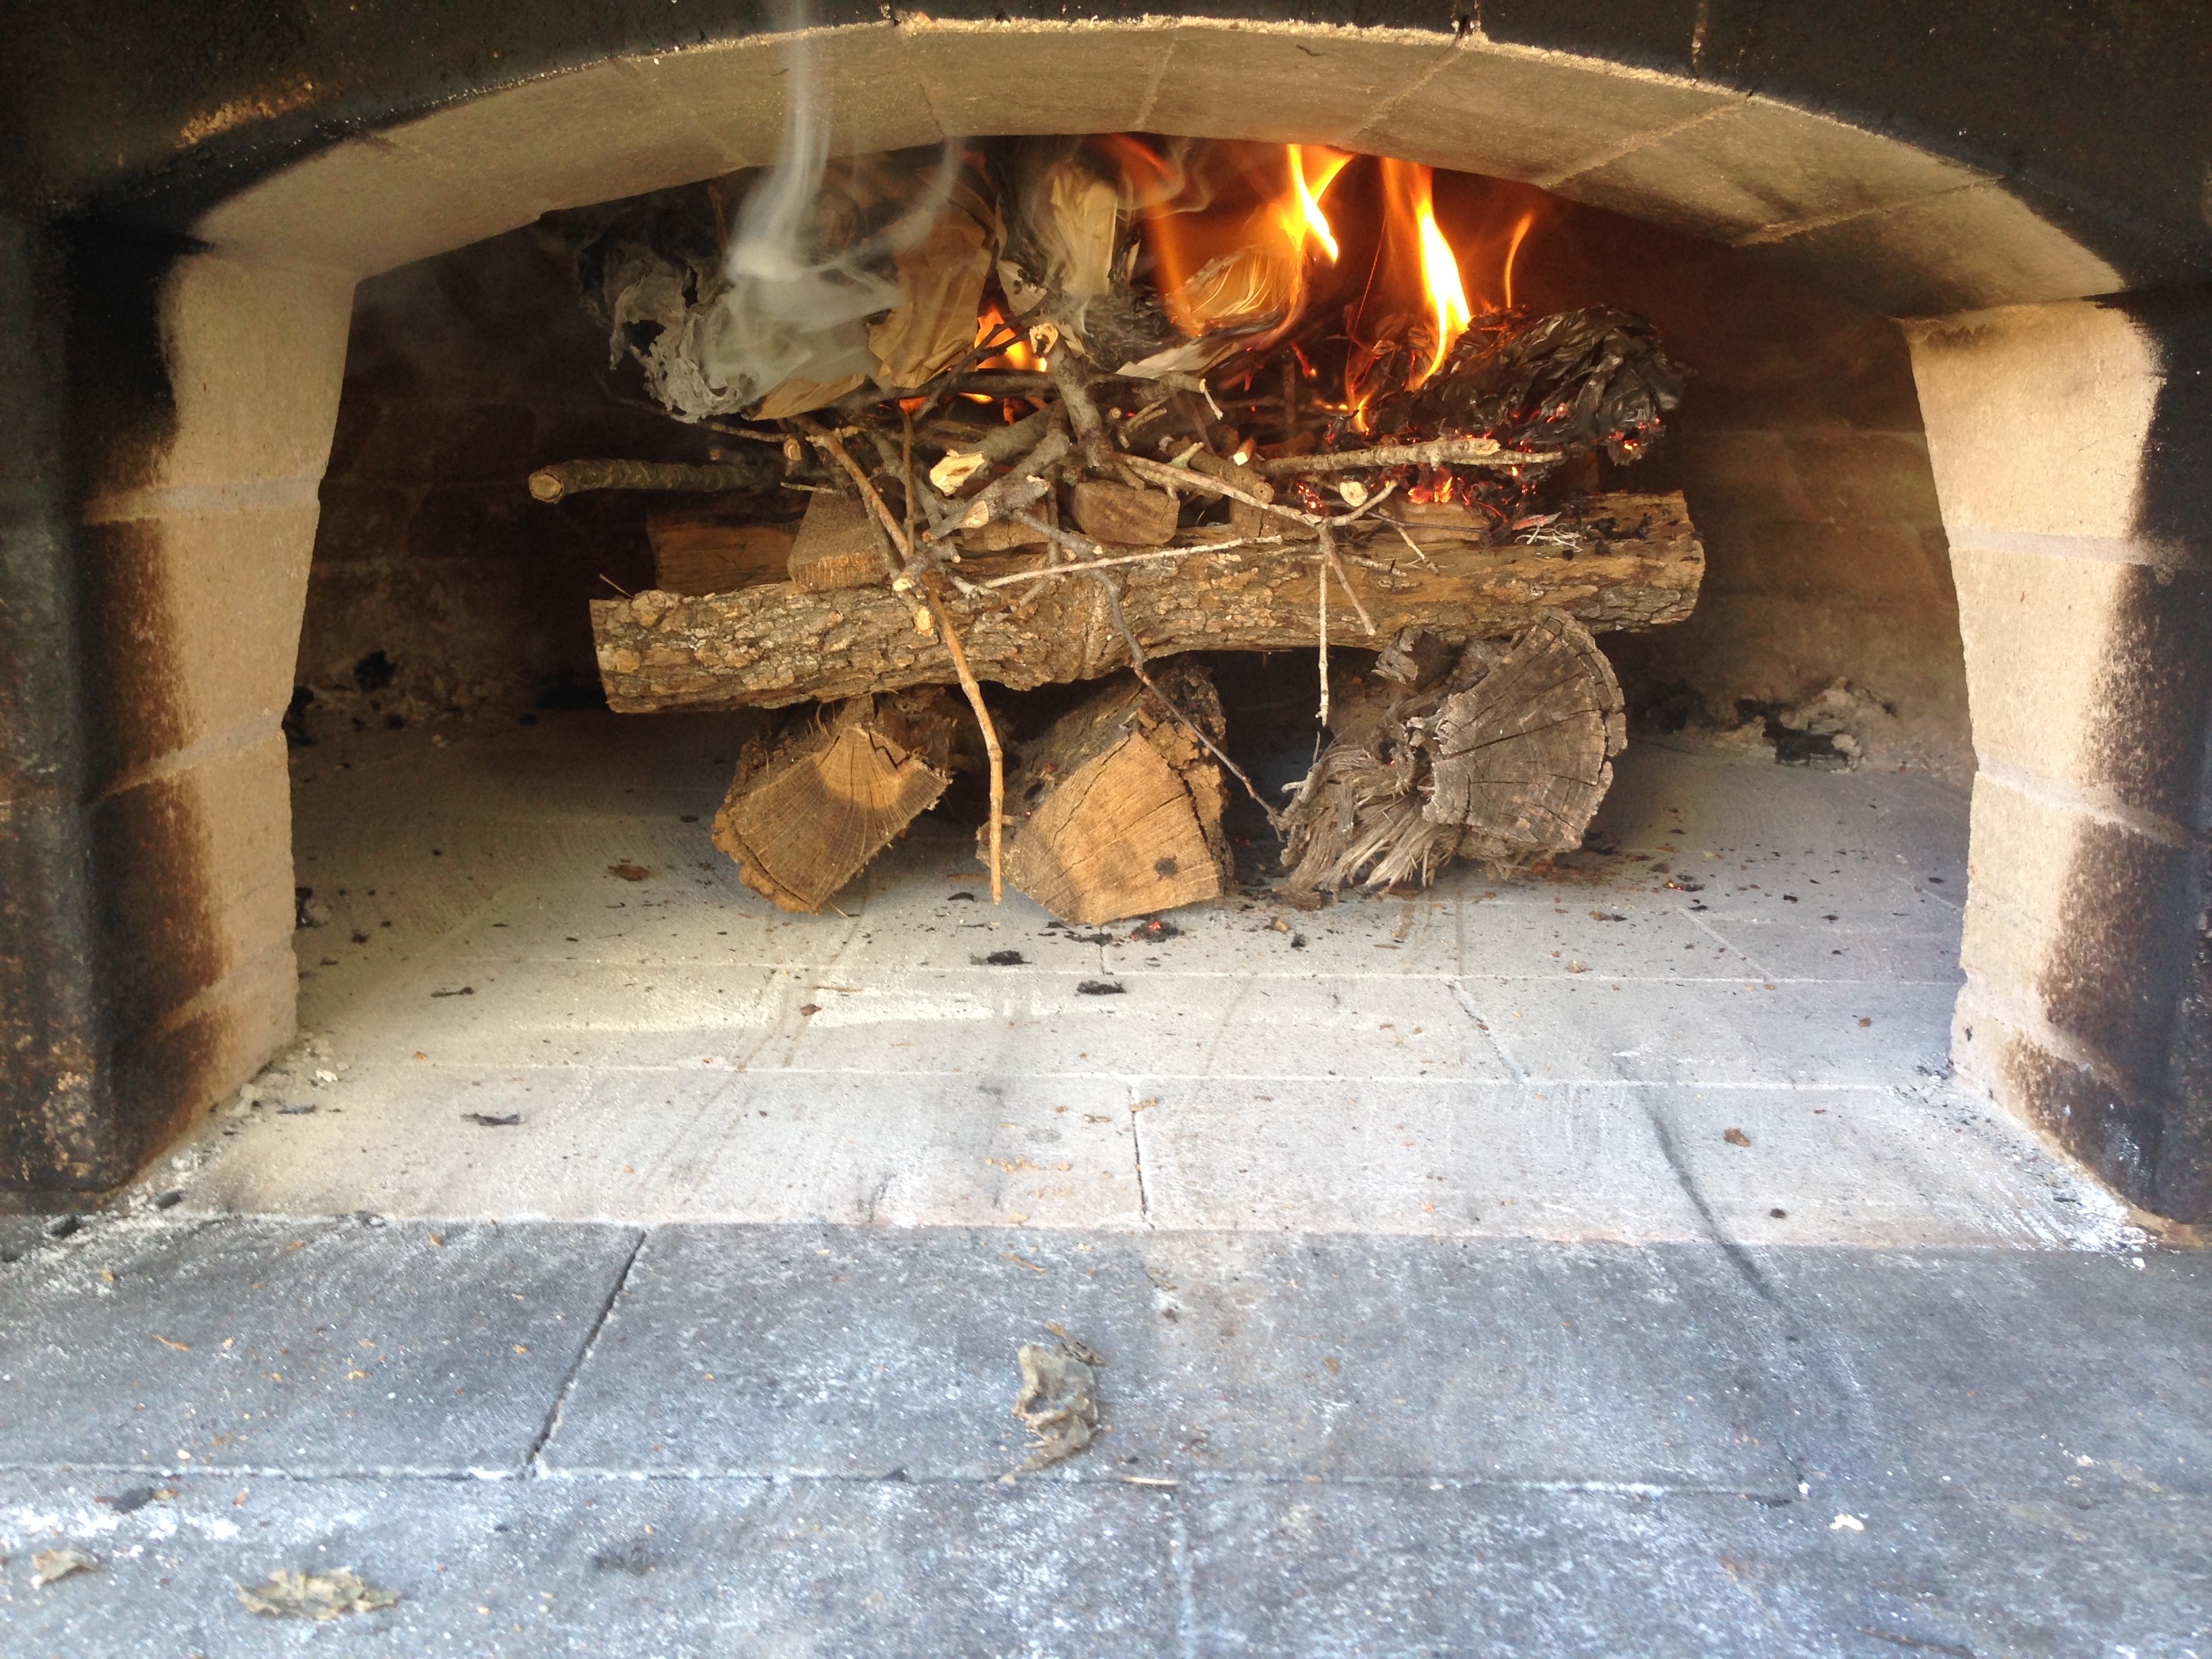
After 2 minutes he paper is burning and some of the
small twigs have caught.

After 9 minutes the lawn trimmings are burning.
Bits of twig and paper are falling down between the
bigger pieces, the scrap lumber is burning steadily.

After 12 minutes you can see many smaller bits
have fallen through. The top split logs are burning.
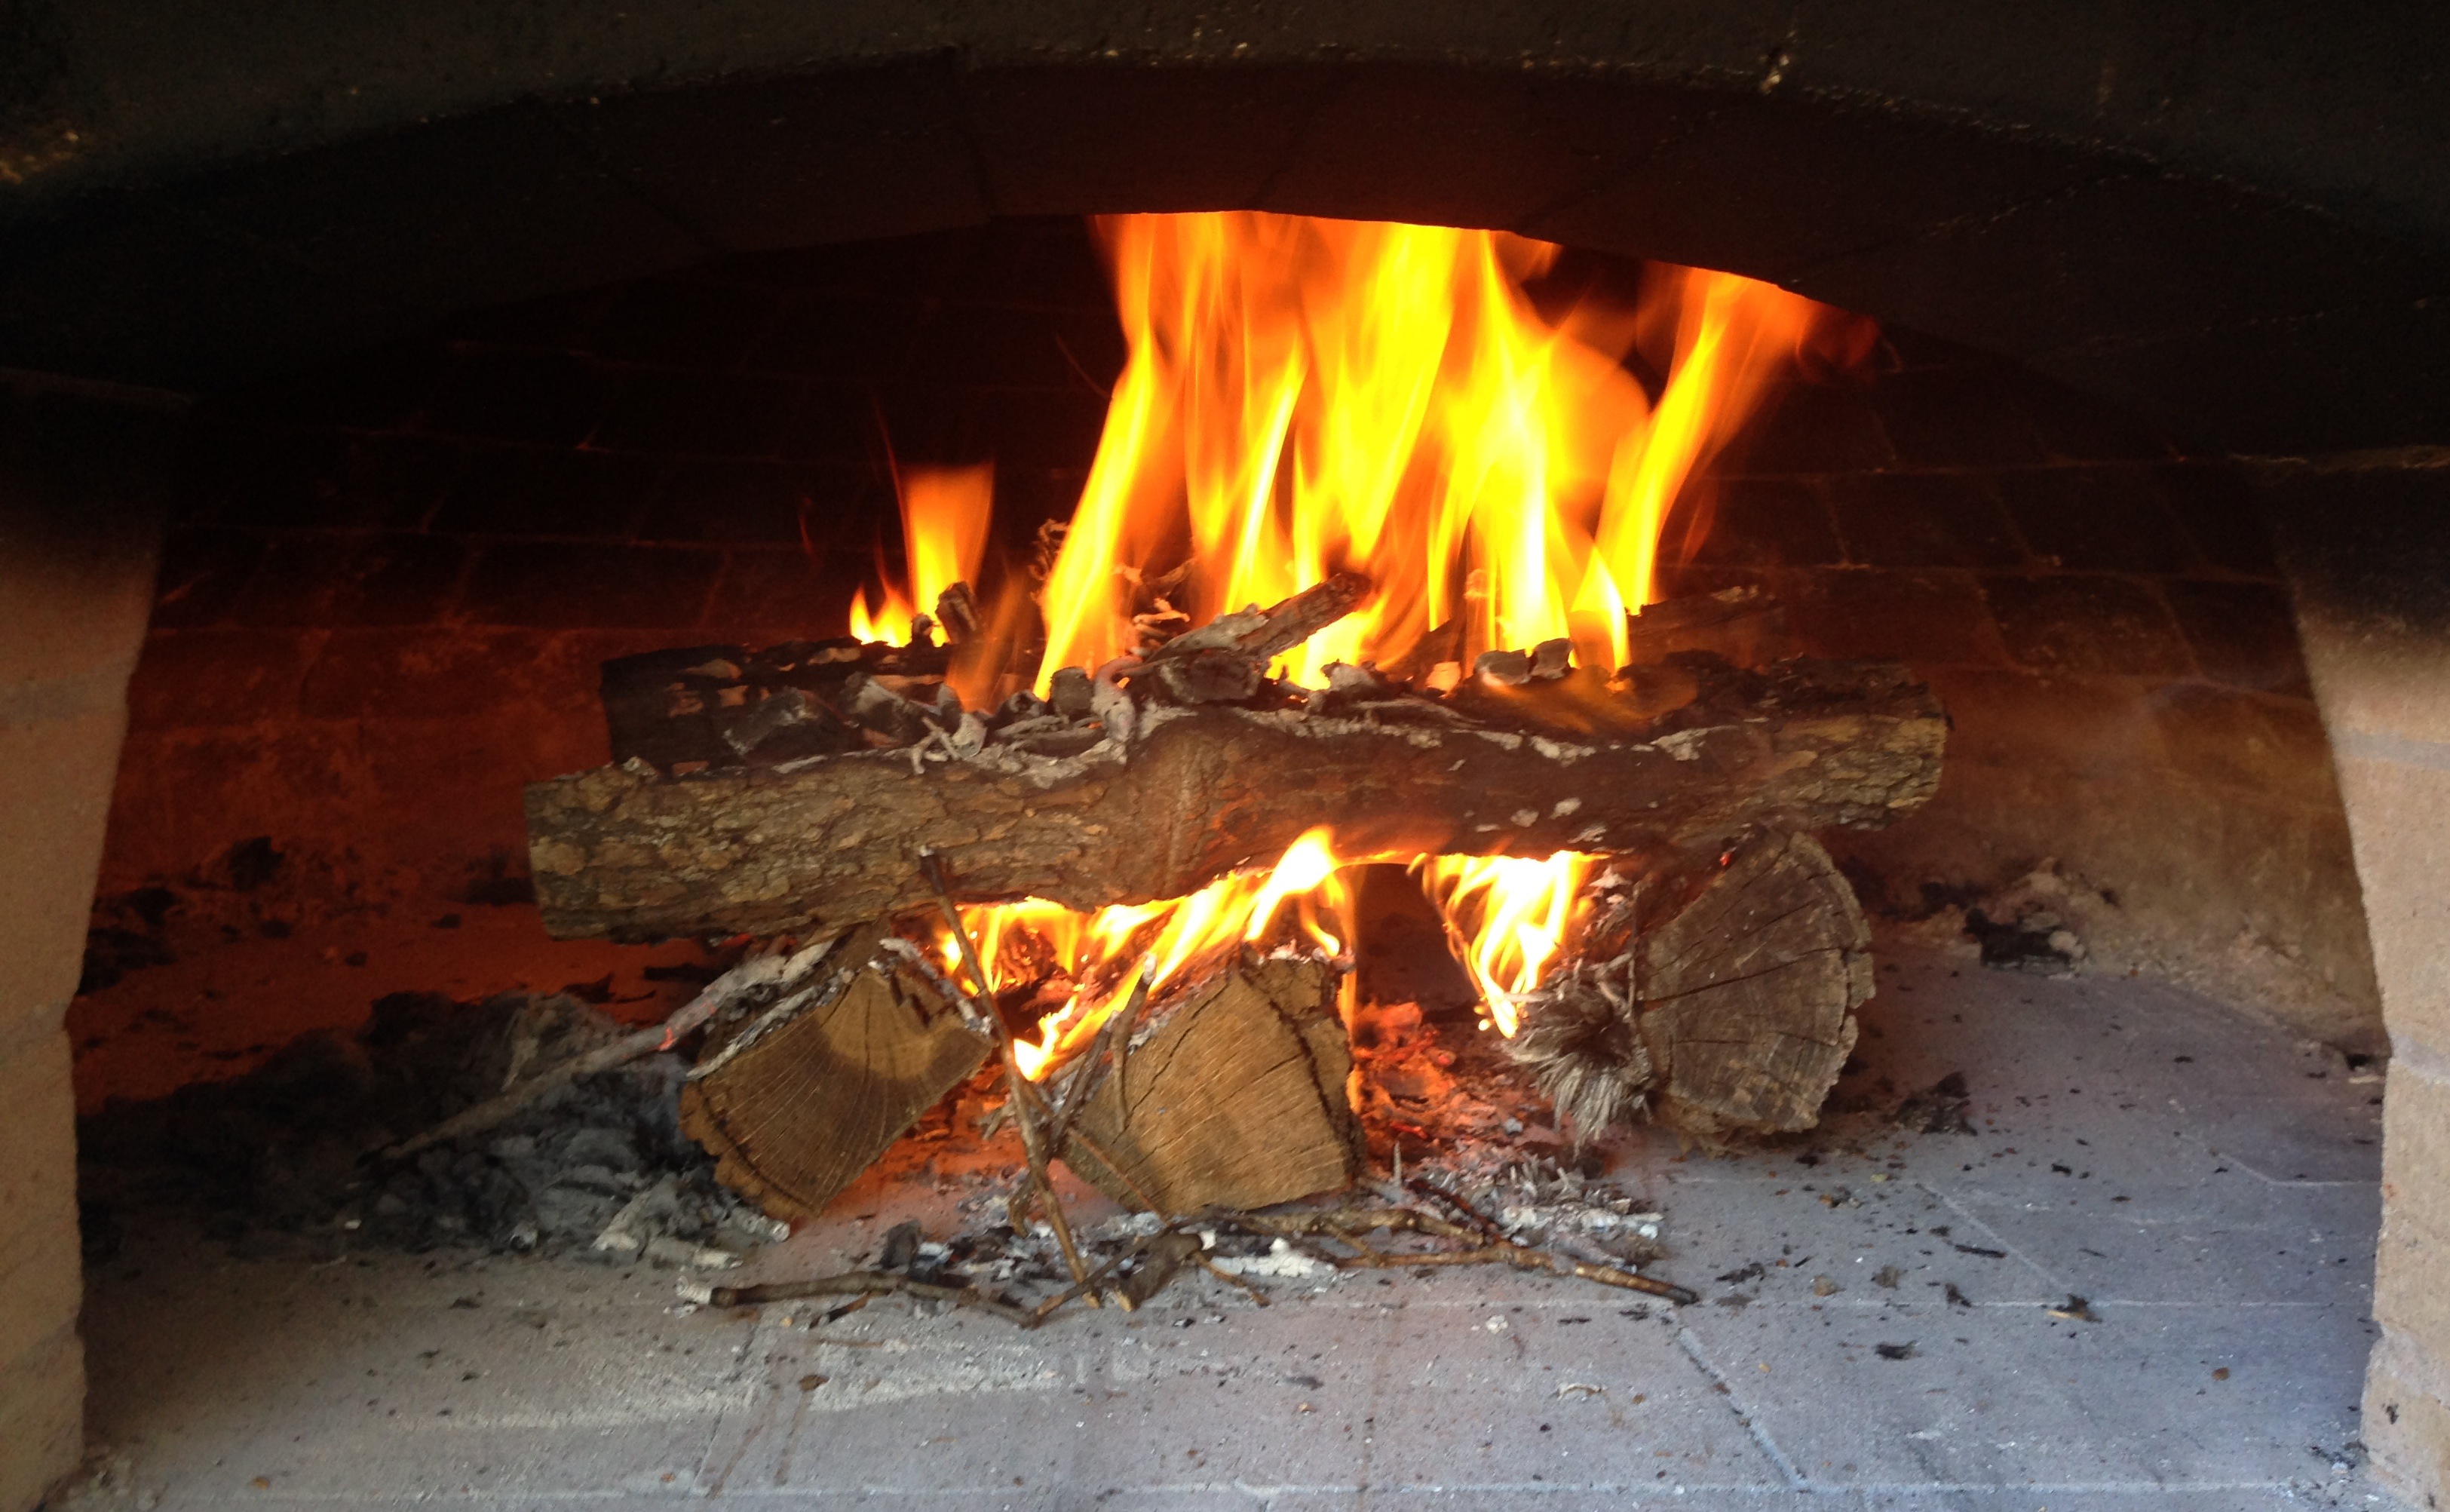
After 17 minutes everything has caught and the fire is
established enough to move around or add more wood.