Reverse Sear Shows off Wood-fired Oven
Just when everyone thought they understood how to perfectly grill a steak, chefs and food science types started the buzz over a reverse sear. As chef and food blog writer Jess Pryles states, “It’s what all the cool kids are doing.” And what is it they’re doing? They’re slowly bringing meat up to the desired finish temperature then blasting it with a hot sear. Searing takes place at the end of cooking and not at the beginning.
Why do a reverse sear?
Chefs at smart kitchen.com say that searing is an important technique–that both searing at the beginning of cooking or searing at the end “have their place.” Searing at the end allows chefs in busy restaurants get out a lot of steaks quickly. Steaks are brought up to medium-rare (by sous vide or in the oven) then blasted with a hot sear to give a beautiful crust and crisped edges. Chefs control the browning of the edges and crust, confident that the interior of the meat is uniformly cooked. The chef’s goal is preparing a steak that is beautiful on the outside with an evenly cooked interior. As the folks at Epicurious say that for a great interior, aim for “edge to edge medium-rare.”
Does reverse sear work at home?
We tried reverse sear both in a conventional oven and in a wood-fired oven. We followed the excellent instructions of Chef Pryles and ended up with a tasty T-bone steak for dinner. However, it is more finicky than just throwing a steak in your cast iron skillet on the stovetop and pan frying it in butter. The advantage is that if you manage the temperature carefully, the reverse sear technique yields a steak with an even cook all the way through. The chefs at Bon Appetite stress that you must “trust your meat thermometer,” and pay attention to your meat. This was the time-consuming part because reaching medium-rare (120) varies depending on the thickness and quality of the meat and your pans.
Be brave, reverse sear with fire
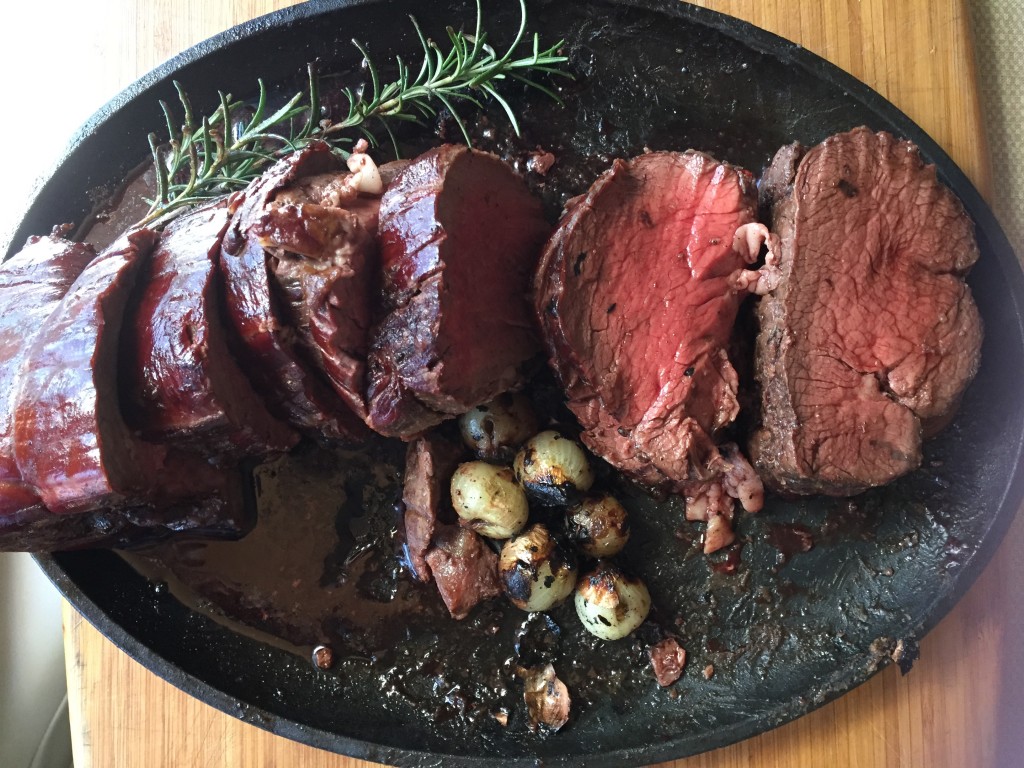
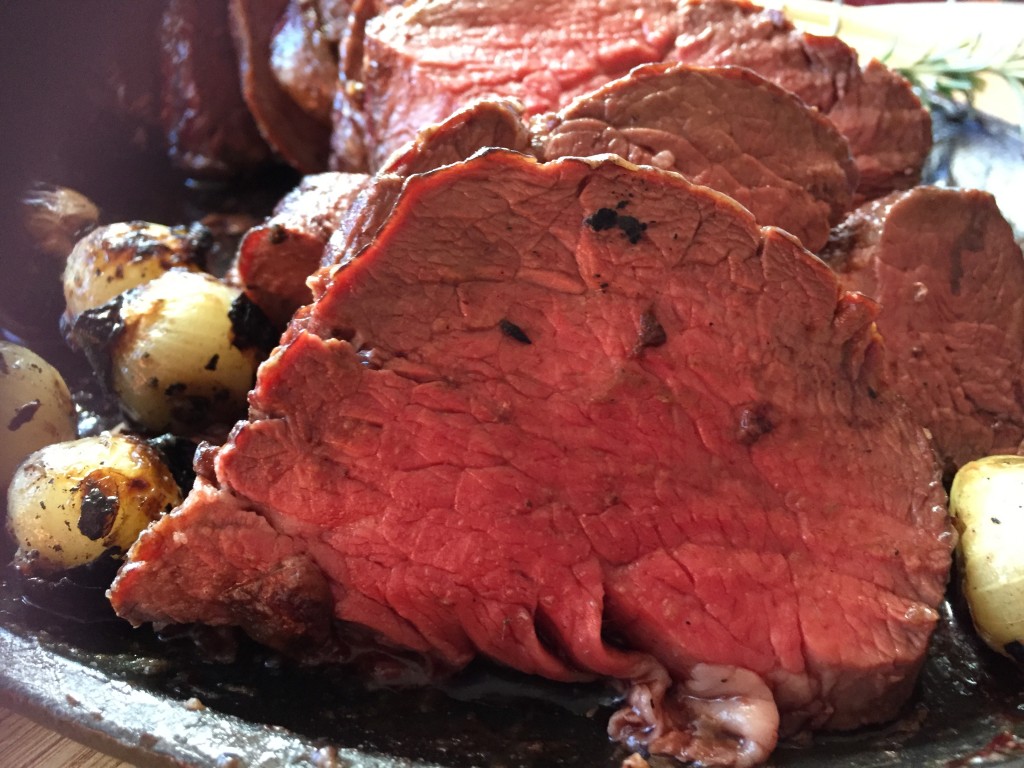
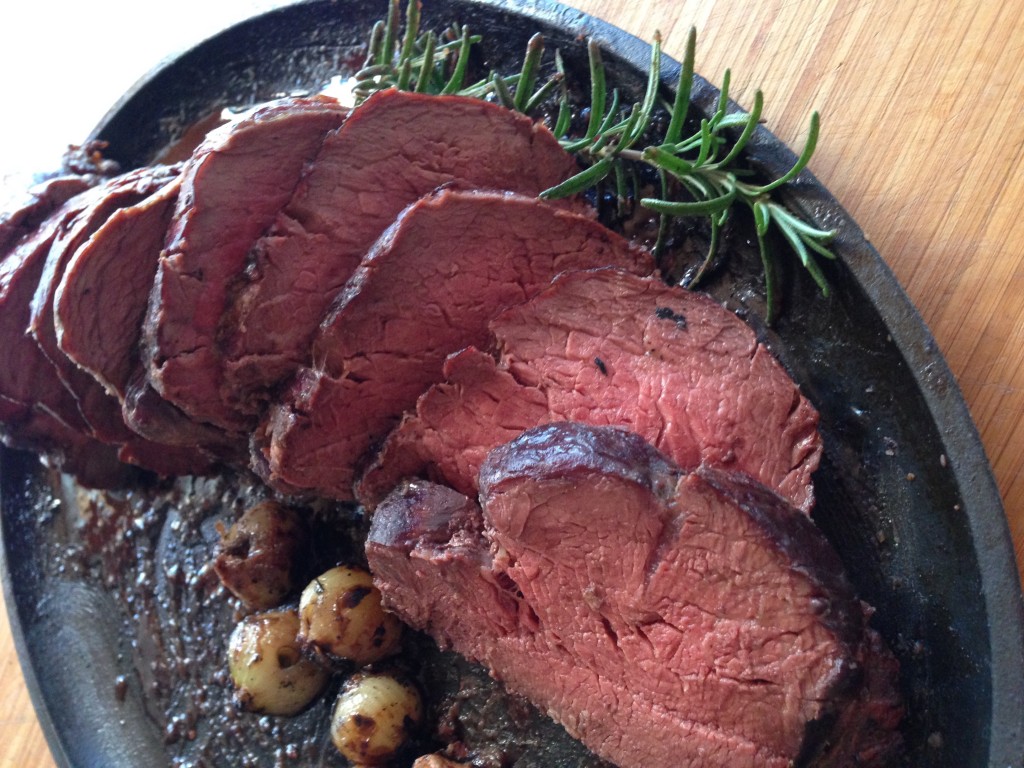
Inspired by the fantastic and thorough guide on Serious Eats, we decided to go big or go home, trying the reverse sear on a whole beef tenderloin. We already knew that cooking with a wood fire would give a big flavor advantage. We decided to use the cool-oven start technique we wrote about for smoking brisket. This automatically adds a hint of smokiness which worked beautifully with the tenderloin. We took advantage of the distinct cooking zones within the vault, cooler areas away from the fire and near the door to keep the temperature around the tenderloin between 225° and 250°F. We rotated the pan a couple of times but didn’t have to flip the entire roast.
Dramatic proof of cooking efficiency
Most articles recommend cooking in the 225° environment for two to three hours. I’m so glad that I decided to check the temperature in less than half that time. In fact, just under an hour after the tenderloin went into the oven (ambient temperature about 230°) we had hit our target temperature. Wood-fired ovens create a super-efficient environment cooking with radiant heat, conduction, and convection. With a wood-fired oven, be even more vigilant about temperature. Rely on the thermometer and assume your steak will be done faster than the recipe’s estimate.
