Pre-Bake Pizza Dough Shells
comment : 0
The longer you own a wood-fired oven the more you find to cook in it. What you cook in a conventional oven, on the grill or in a smoker can be prepared with convenience and great taste in a wood-fired oven. But everyone associates wood-fired ovens with fantastic pizza (calling them “pizza ovens”) so it’s fun to throw pizza parties and let your friends experience wood-fired pizza up close. Pre-baking pizza dough shells makes a large party run smoothly. It is a key to staying ahead of demand and making your party a success.
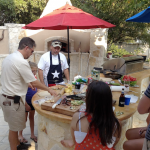
It is really satisfying to pull fresh, hot pizza out of the oven—pizza made exactly as your guests want. With the high heat capabilities of a wood-fired oven, you can slide a pizza in the oven and pull out the finished pie in 90 seconds. There’s nothing quite like hosting a party where guests make their own pizzas from assorted meats, vegetables, cheese, fruit. With a small group of foodies who enjoy the whole process, pass out the dough and rolling pins and let the more adventurous hand-toss their shells.
For entertaining a large crowd, it’s easier to partially pre-bake pizza dough shells to have a stack ready ahead of time. The final baking takes place when the guests arrive, and everyone experiences delicious pizza right out of the oven. I find it helpful to pre-roll and partially bake shells when we’re hosting a large or formal group. This is a great technique for a children’s party too. A friend and I recently made 20 pre-baked whole-grain pizza dough shells for a crowd. (Check out our blog on whole grain pizza dough). When the guests arrived we were ready to keep up with how quickly the pizza baked and how quickly it was eaten!
I’ve included some general instructions below. This is the same technique you would use (either ahead of time or as you build them) when making dessert pizzas.
Instructions for Pre-Baking Pizza Shells
Make the dough a day ahead and refrigerate it. Take the
dough out an hour or two before you plan to start baking.
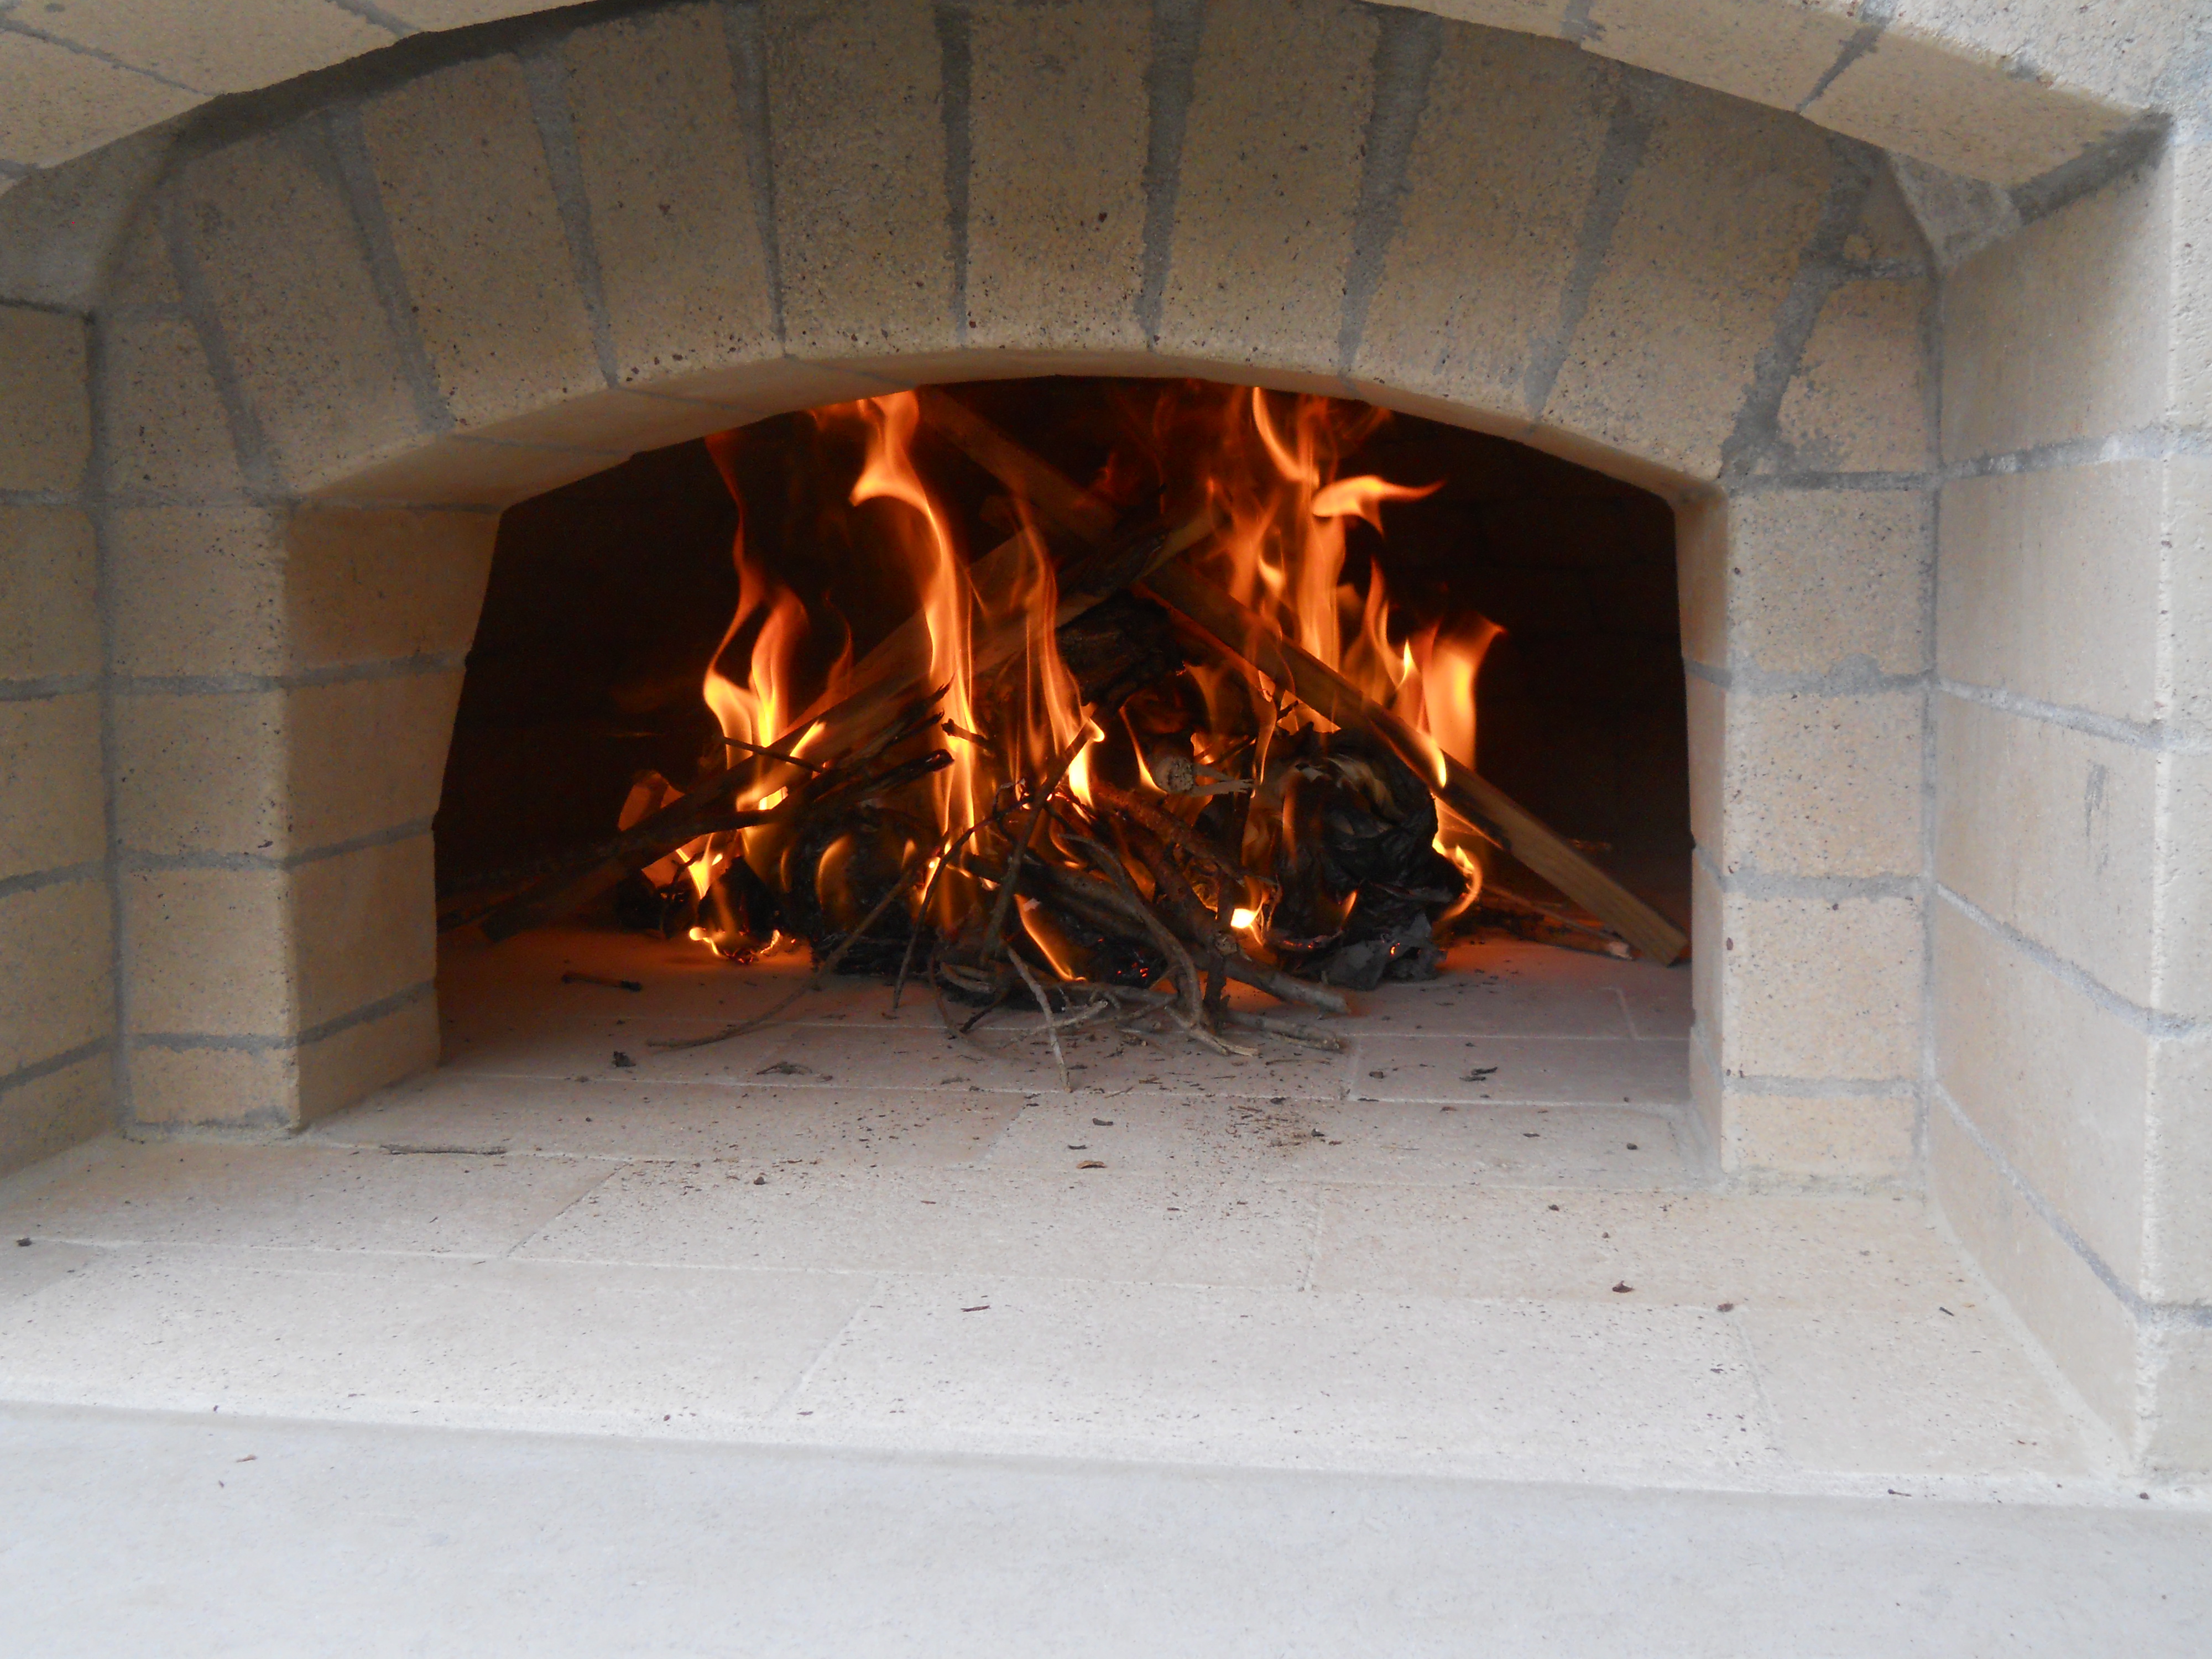
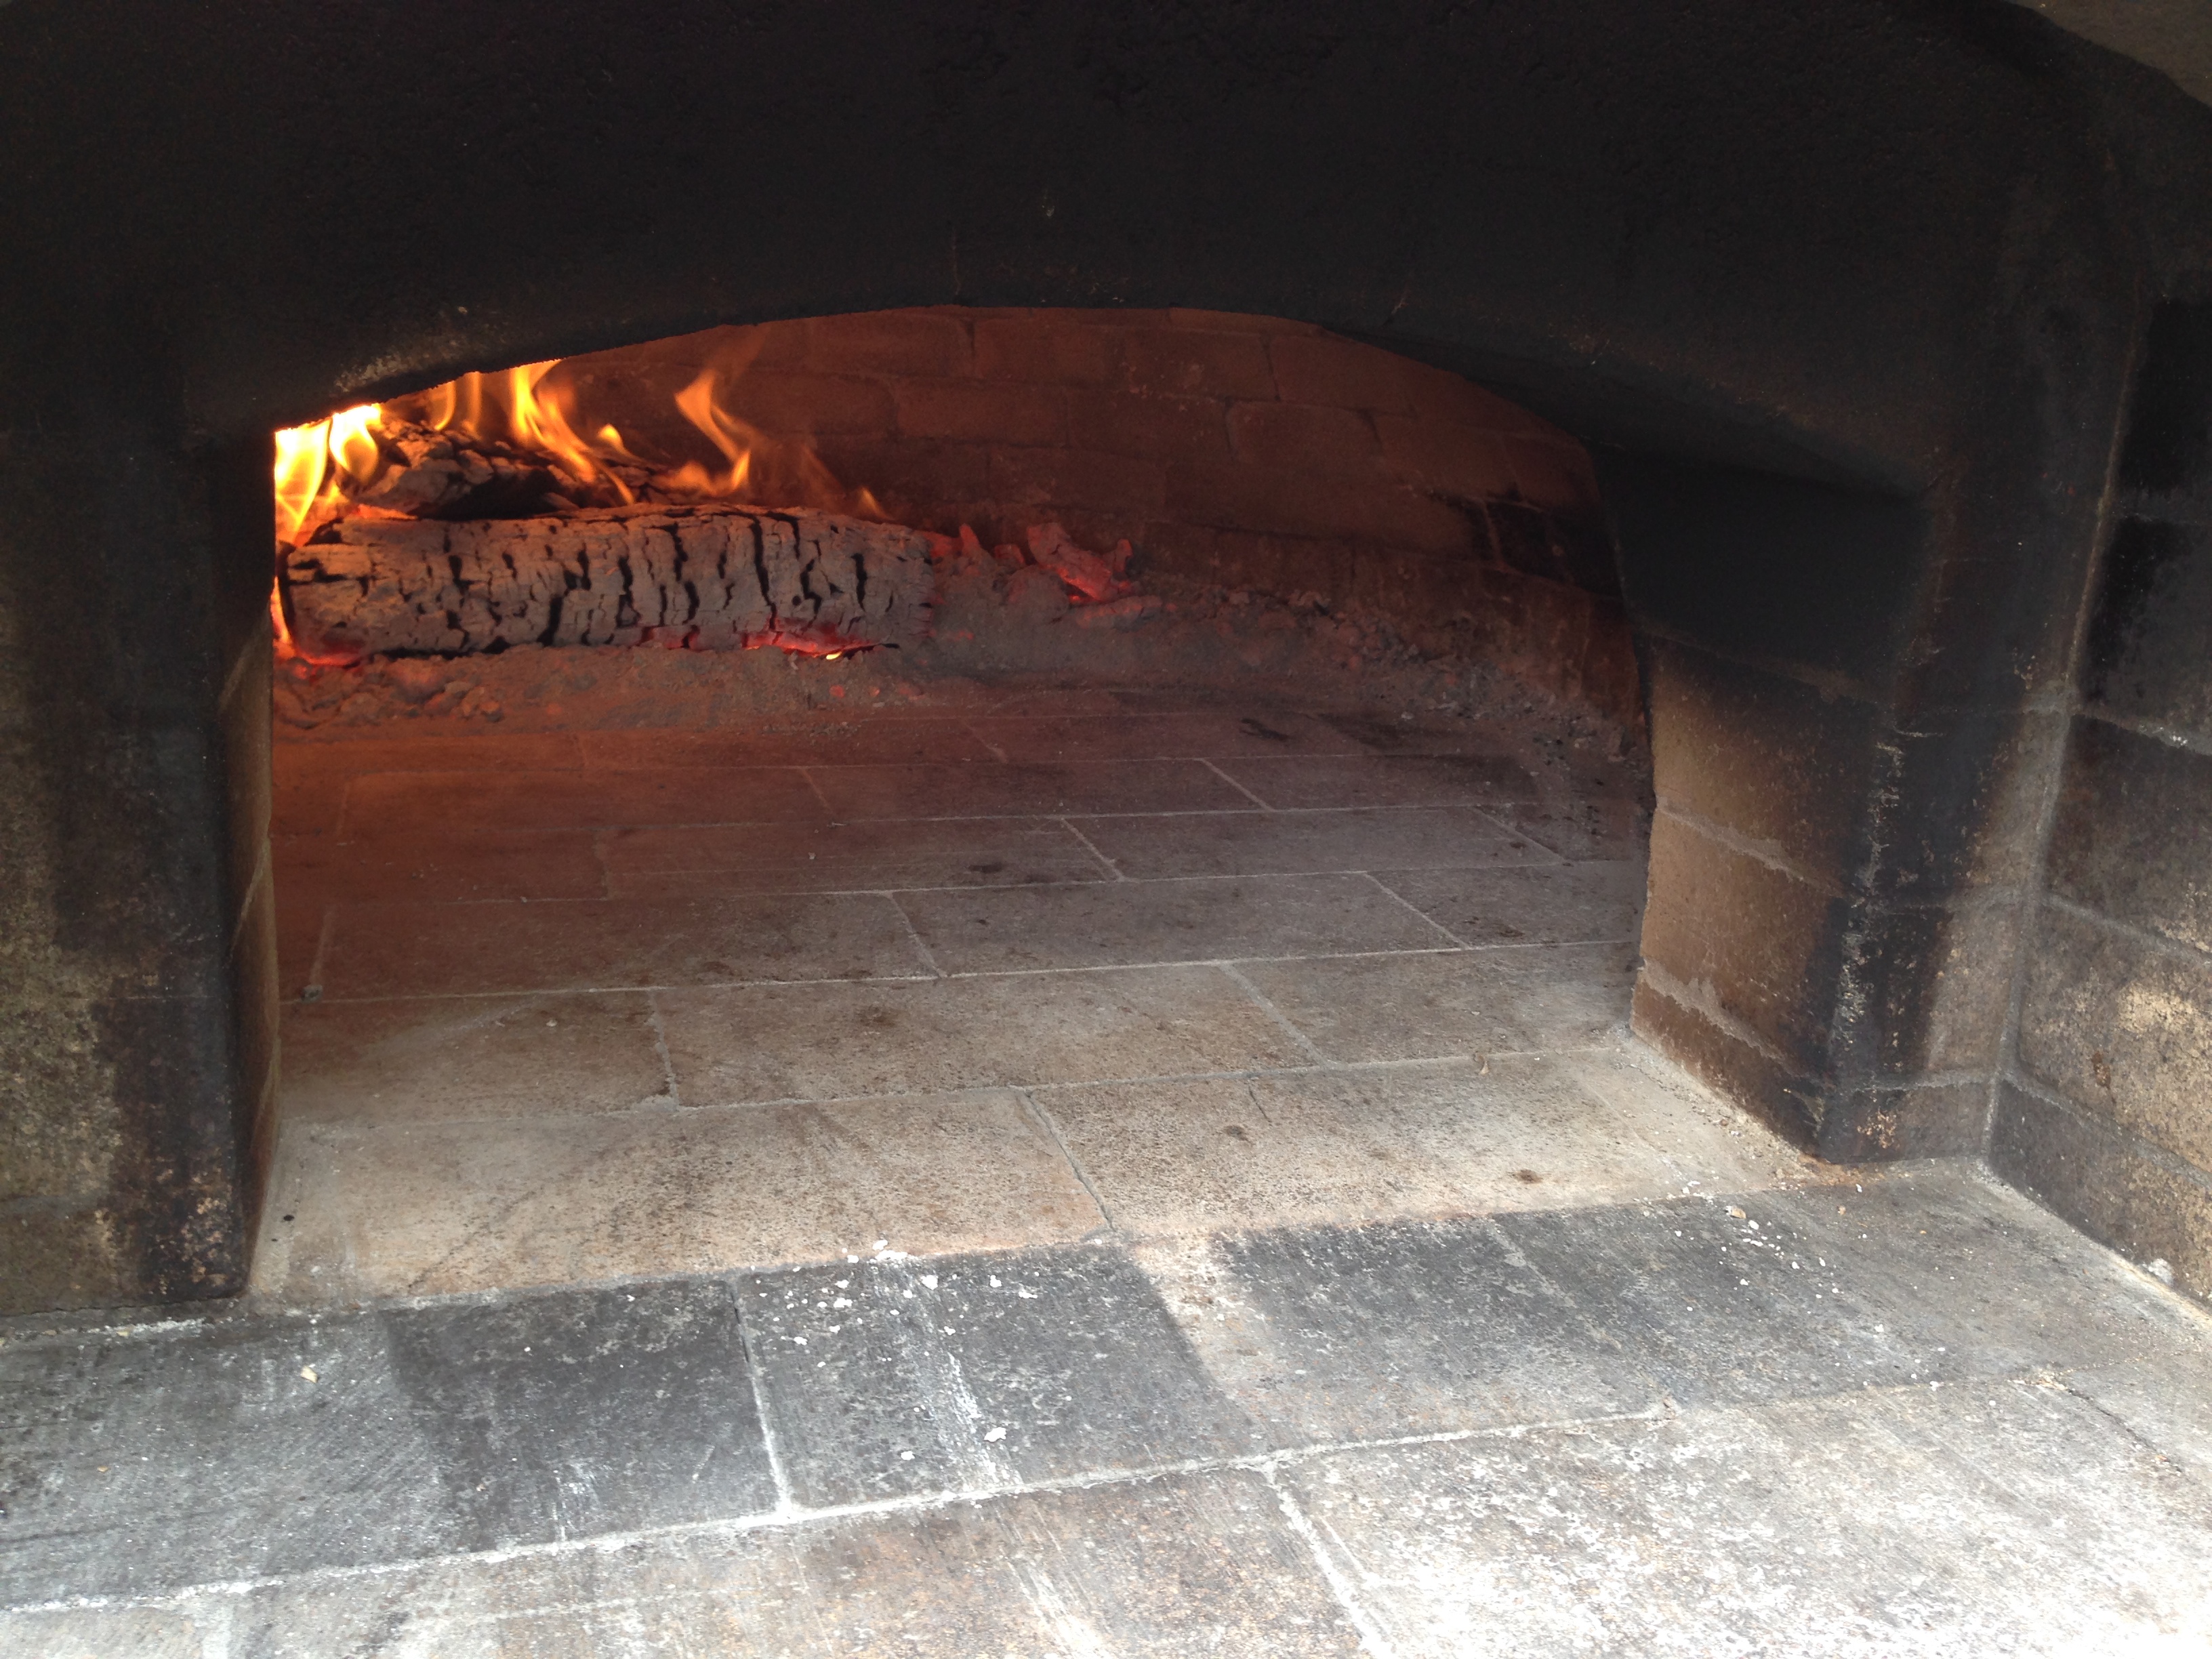
Light a fire going in the oven and let the temperature get to about 750.
(This is lower than we recommend for baking pizza in one step.)
Using your pizza peel or oven brush, push the fire and ash
toward the back. With a damp (not wet) cloth wrapped
around an oven brush, quickly swipe the oven floor to
remove any residual ash.
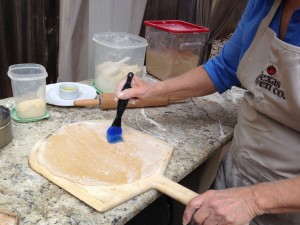
Begin rolling out the shells. Place one shell on an oven
peel dusted with cornmeal or coarse flour. Brush the top
of the crust with olive oil and a sprinkle of salt.

Slide the pizza into the oven and let it sit, 15-20 seconds.
Rotate it so that it cooks evenly.
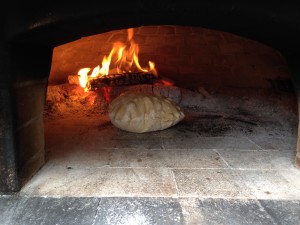
When it puffs or bubbles you know the inside is no
longer raw. Pull it out while the dough is still flexible
and hasn’t developed much color.
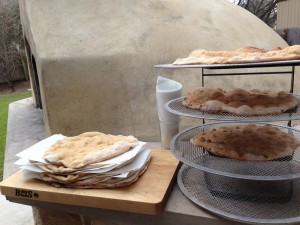
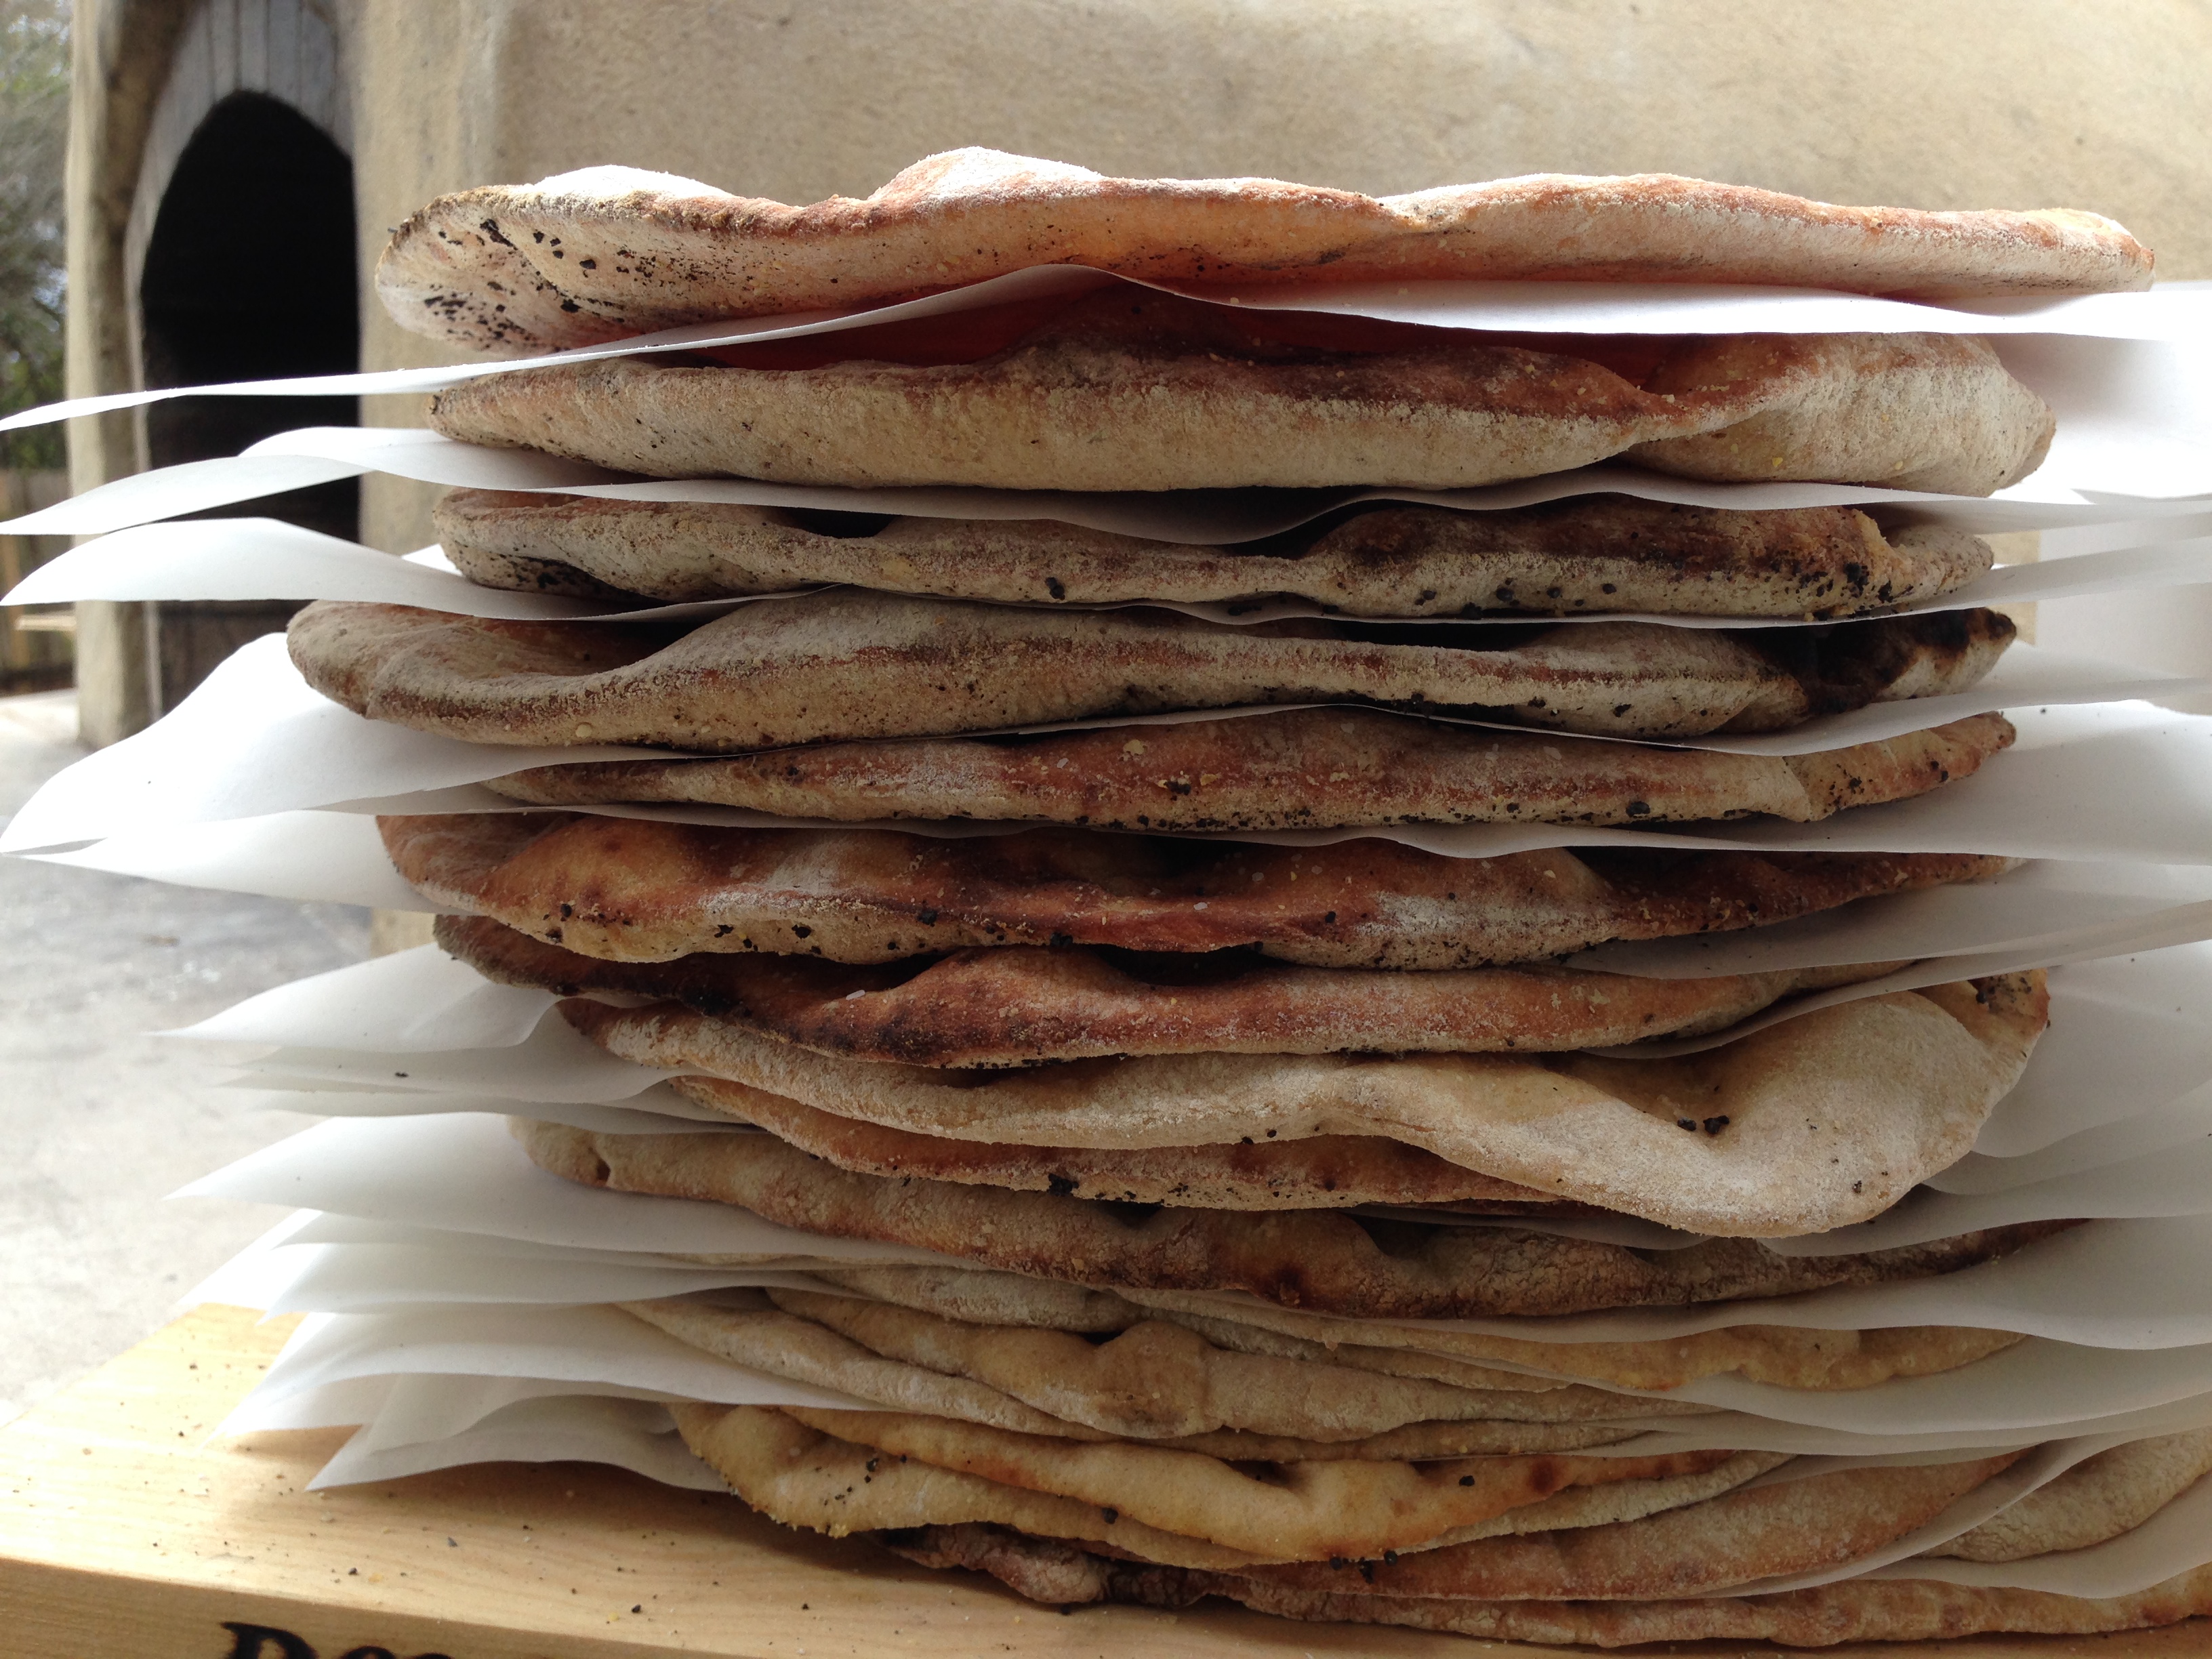
Cool the shells on a wire rack. When they’re cool,
stack them between sheets of parchment paper.

Keep them at room temperature, and you’ll be ready for
the finish baking when guests arrive. (Or wrap them in
plastic wrap and freeze them.)
Decorate the shells with favorite toppings and reheat them in the oven (750 is still a good temperature when working with pre-baked pizza dough shells).
You’ll have a steady supply of hot pizza ready to feed the crowd.
Occasionally in pre-baking I’ve left a shell in the oven a little too long. When that happens, we tear it into bite size pieces and set it out for taste testing.